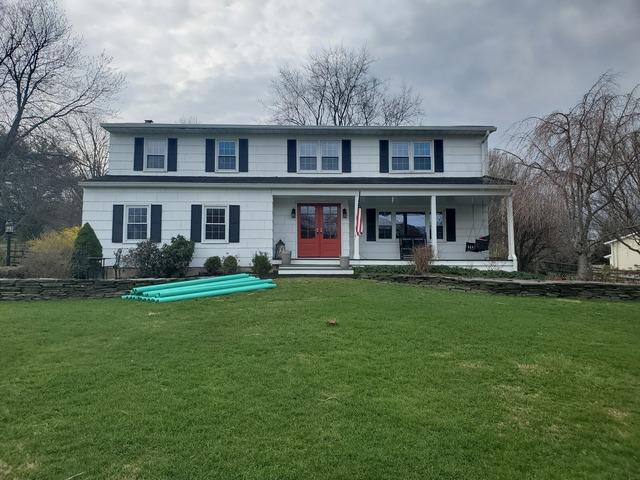
Front View
Here we can see what the home we were performing the project on looked from the front.
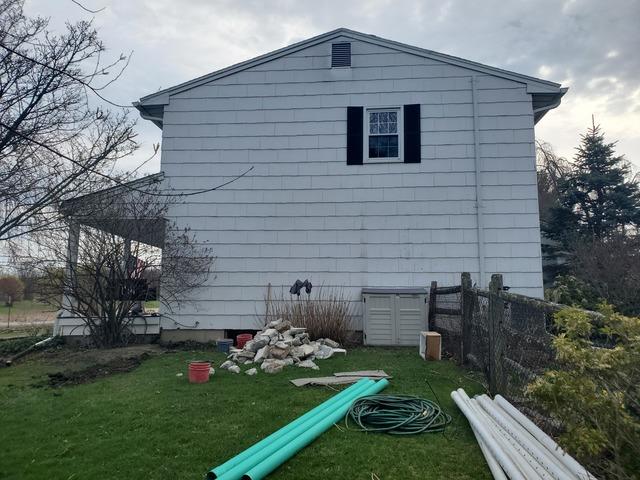
Side View
Here we can see what the home we were performing the project on looked from the side, as well our exit and entry point.
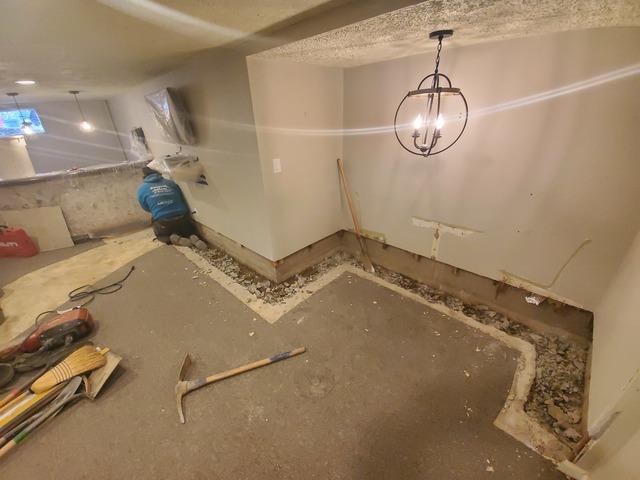
Right Side To The Bar
Starting to demo the perimeter of this basement to install our patented waterproofing system.
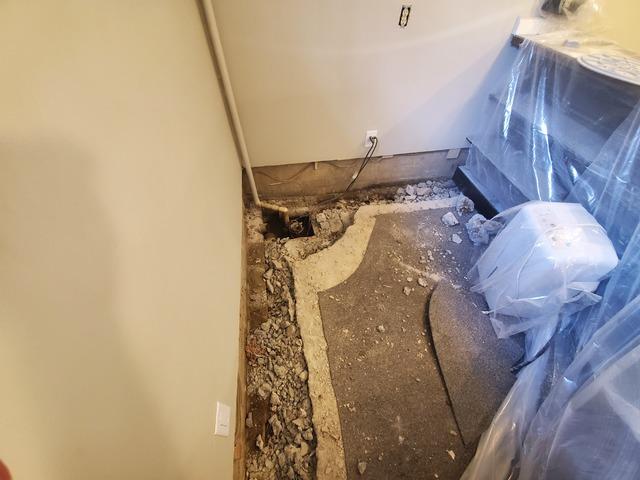
Behind The Bar
Starting to demo the perimeter of this basement to install our patented waterproofing system along with our gravity basin
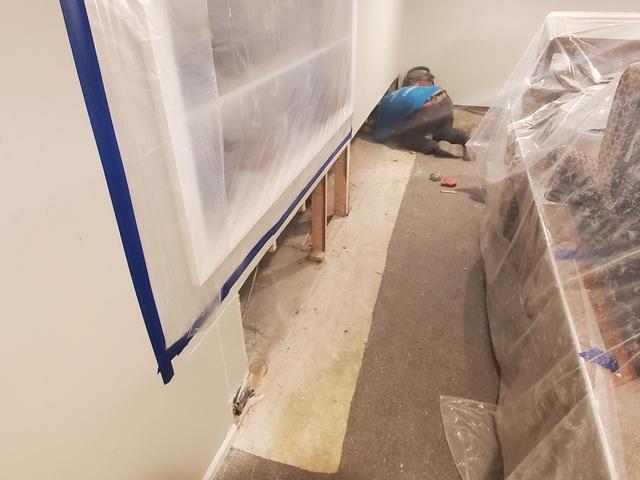
Corner To The Center
Working on demoing the rest of the back side and left side of the basement so we could install our waterproofing system.
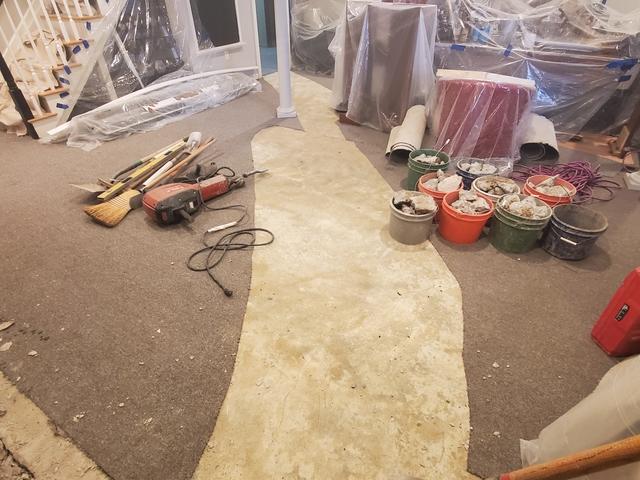
Center Of The Room
After demoing the perimeter of the basement we will be removing the concrete from the center of the floor to install a lateral.
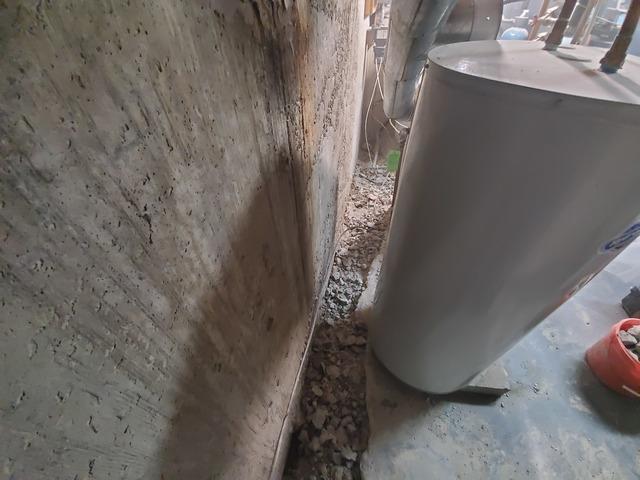
Behind The Boiler
Starting to demo the perimeter of this basement to install our patented waterproofing system.
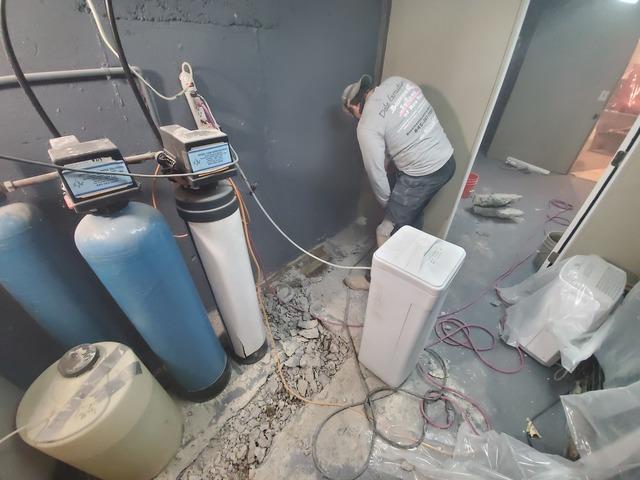
Behind The Oil Tank
Starting to demo the perimeter of this basement to install our patented waterproofing system.
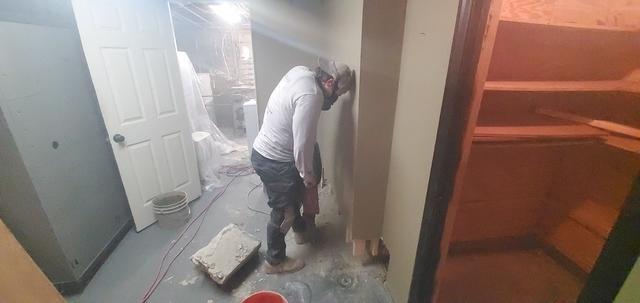
Next Room Over
After finishing up demoing the mechanical room we moved on to the outer area of the basement.
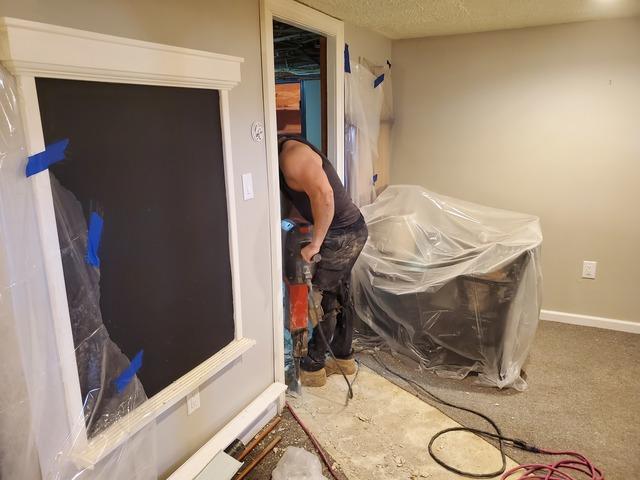
Starting Our Lateral
Once the back area where the mechanical room was completely demoed we were able to start cutting our lateral.
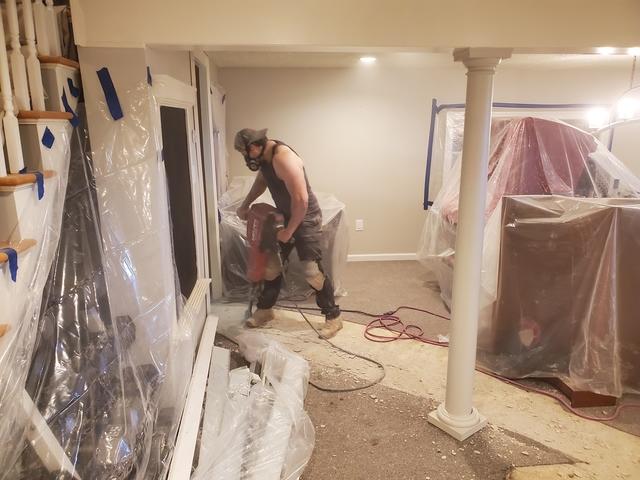
Slow And Steady Wins The Race
Once our lateral was started we had to go slow and smooth in order to make sure that the cut was precise, as well as to not tire out the operator and the jackhammer
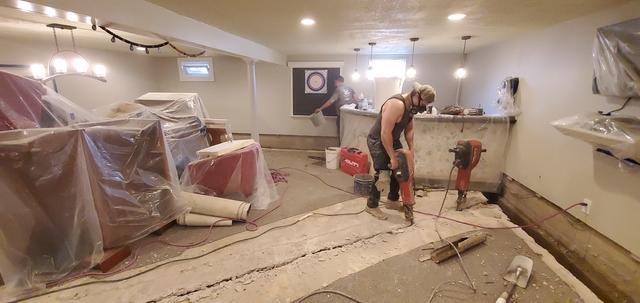
Half Our Lateral Cut
After cutting the first side of our lateral we moved on to completing the remainder of the cut.
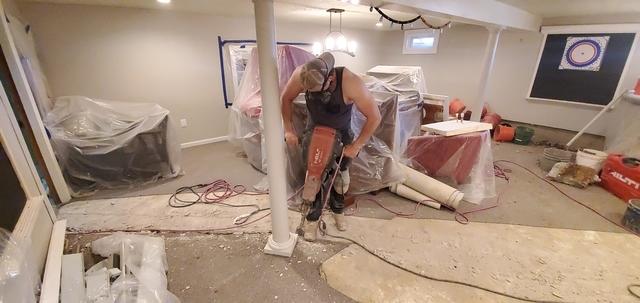
Second Portion Of Our Lateral Almost Cut
Moving to the other side of the lateral we started to cut it precisely. Once we got to a certain point we had to be even more precise and go even slower as we had to make a very precise cut next to their lally column.
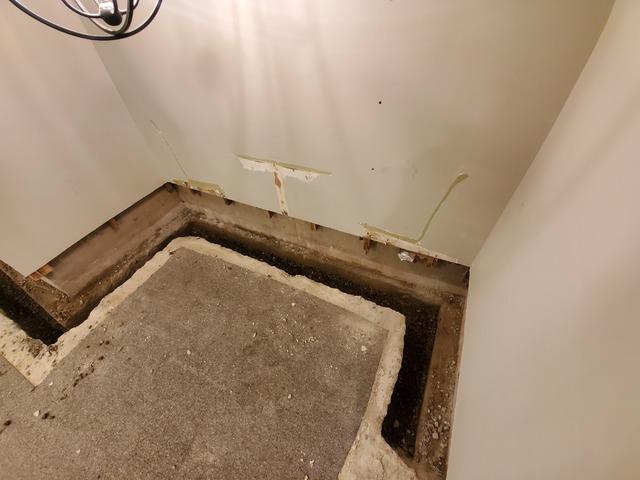
Right Front Side Cleaned Out
As some of our Specialists worked on different parts of the trench we had created several other Specialists were able to start the debris removal process.
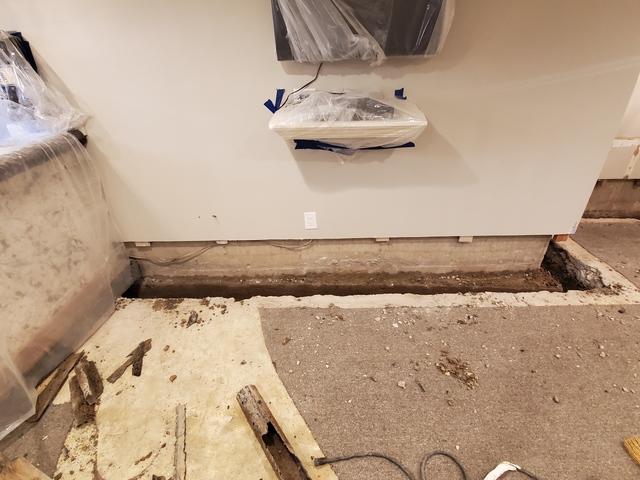
Center To The Bar Cleaned Out
As some of our Specialists worked on different parts of the trench we had created several other Specialists were able to start the debris removal process.
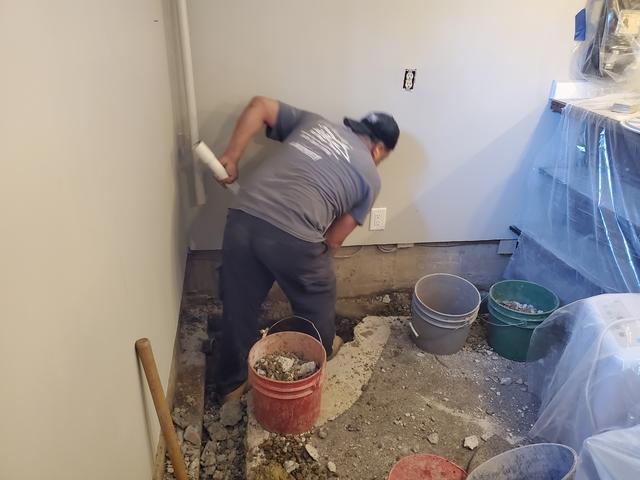
Digging For The Basin
After roughing out the trench behind the bar we had to dig down several feet so that our basin would sit flush with the floor.
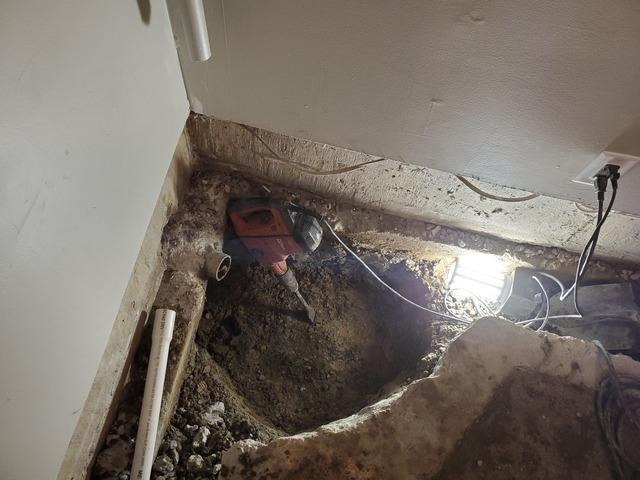
Basin Hole Ready
How our basin hole looked before we installed our basin into it.
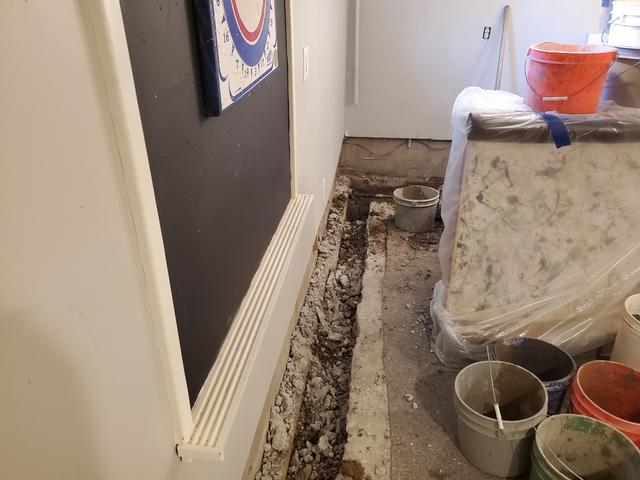
From The Bar To The Left Back Corner
Our roughed out trench before removing the debris from it and installing our waterproofing system.
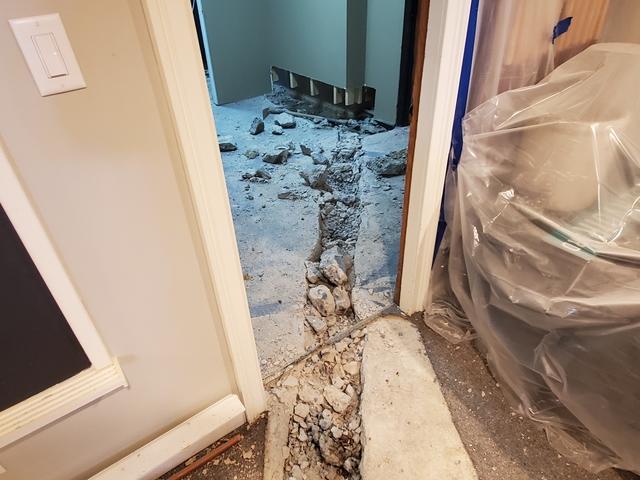
Rough Cut Lateral
After all the meticulous cutting of our lateral we finally had it roughed out and ready for debris removal.
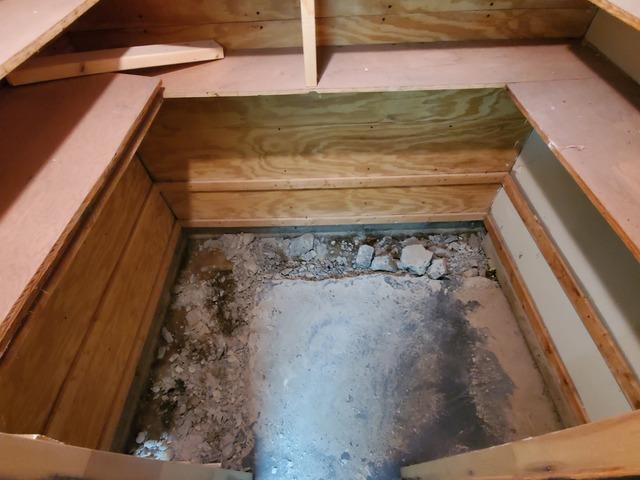
Small Room Roughed Out
In order for our system to be effective we had to create our trench in the small room in the back and install our waterproofing system as well.
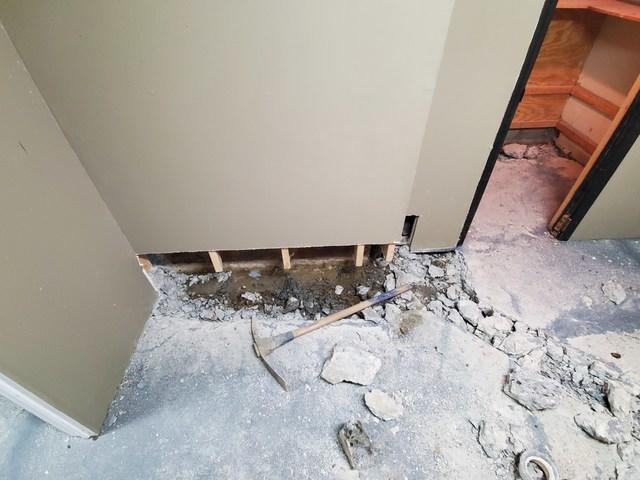
Roughed Out Lateral To The Other Room
Our Lateral extended from the front corner of the basement by the bar all the way to the back room just before the mechanical room. This was done in order to keep the entire basement bone dry.
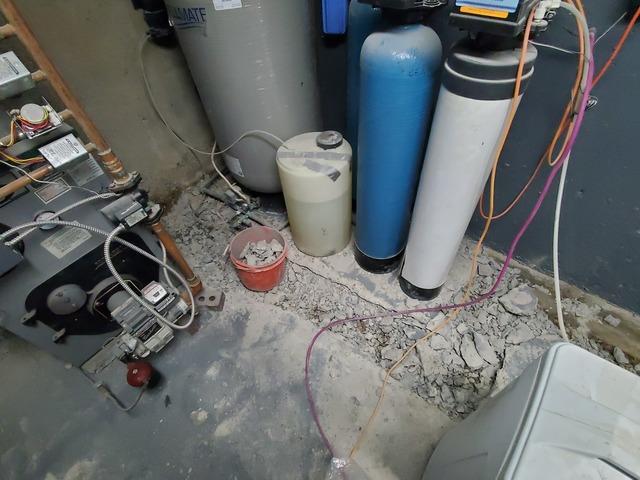
Mechanical Room
Our roughed out trench before the debris removal process in the mechanical room.
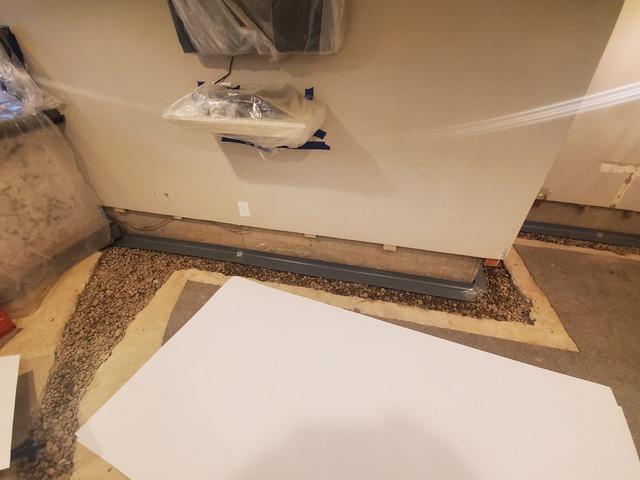
Front Right With Waterproofing System
After cleaning our trench, as well as our lateral we were able to start installing our FlowGuard waterproofing system.
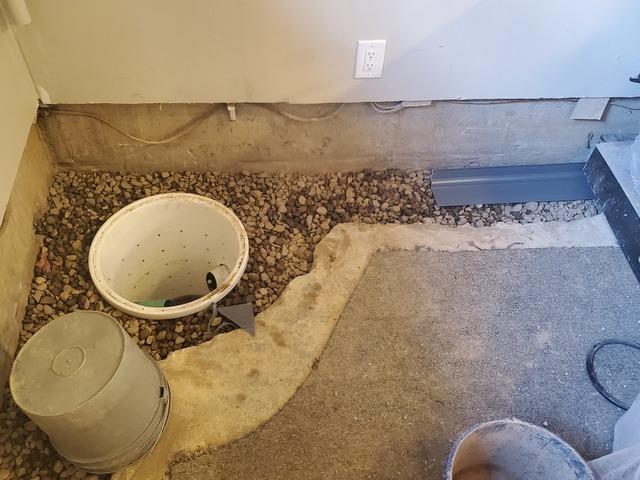
Behind The Bar
Before installing our FlowGuard system we installed our basin, as well laid our gravel which our FlowGuard system would sit on to of.
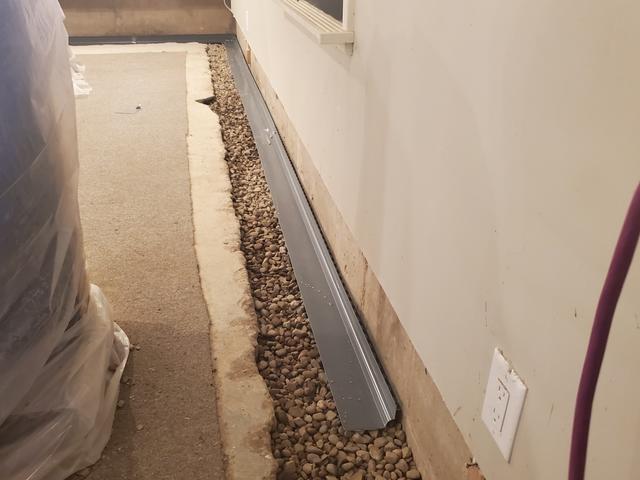
From The Basin To The Corner
After cleaning our trench we were able to start installing our FlowGuard waterproofing system.
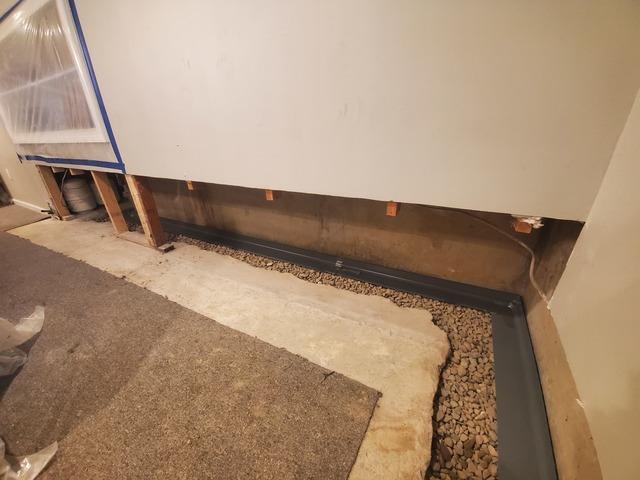
Back Left Corner To The Center
After cleaning our trench we were able to start installing our FlowGuard waterproofing system.
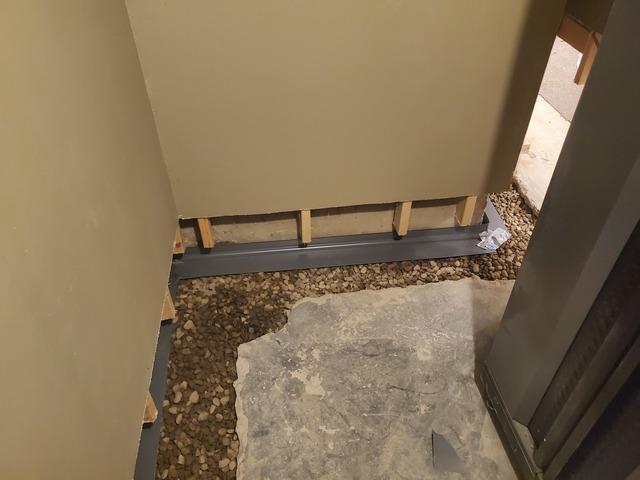
Behind The Wall
After cleaning our trench we were able to start installing our FlowGuard waterproofing system.
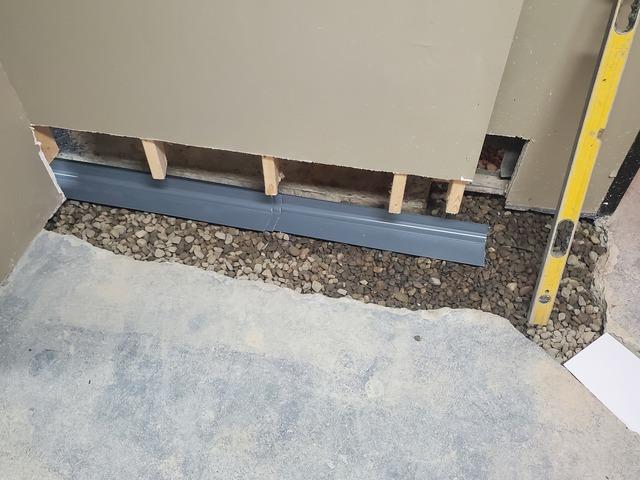
Outside The Mechanical Room
Almost done installing this small section of FlowGuard, which leads to the rest of our waterproofing system in the mechanical room
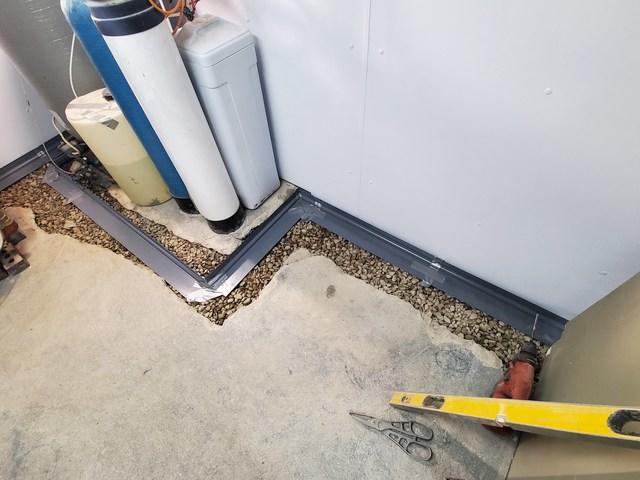
Mechanical Room
The Mechanical room with our FlowGuard waterproofing system installed.
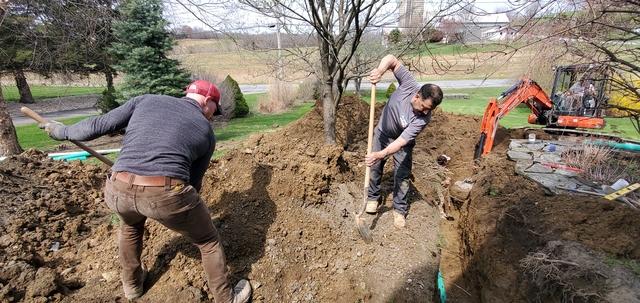
Digging For Days
After getting our system installed in the basement we turned our attention to digging out the yard in order to install our gravity discharge line.
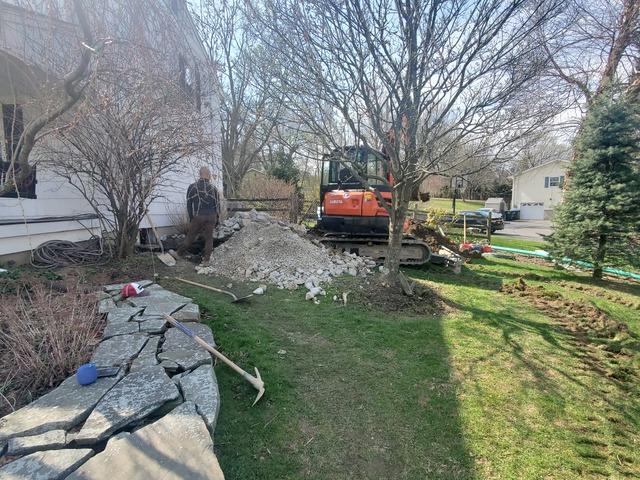
Help Is On The Way
Because of the depth that we had to go one we hit a certain point our machinery took over.
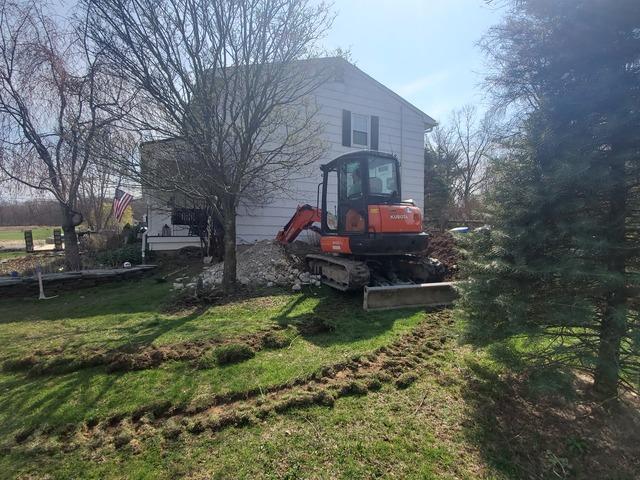
Digging For Day
Once our machinery took over the digging continued for about a day and a half with our Specialists clearing out certain areas with their shovels.
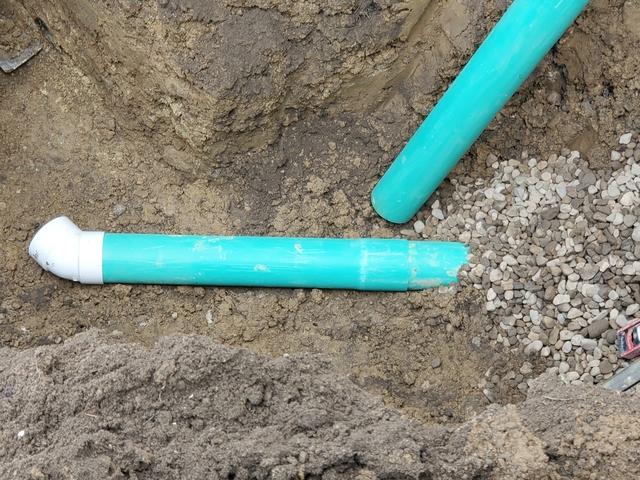
First Gravity Discharge Pipe
After reaching our required depth for our gravity discharge line we started to connect the line to our basin in the basement.
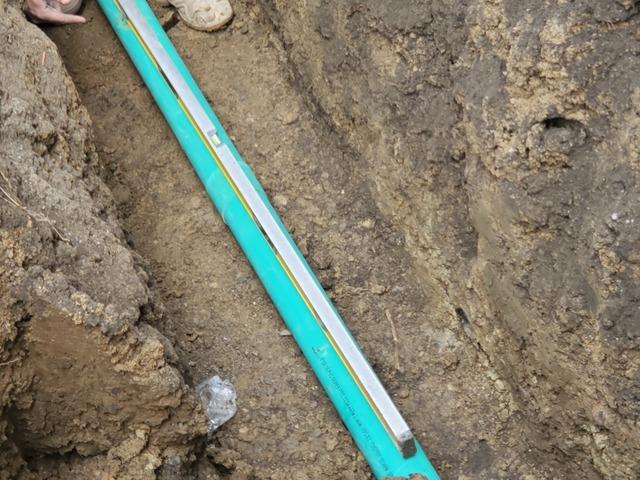
Making Sure Everything Is Level
For every line of gravity discharge that had to be laid we needed to make sure that everything was level and squared off in order to make sure that the system would work flawlessly.
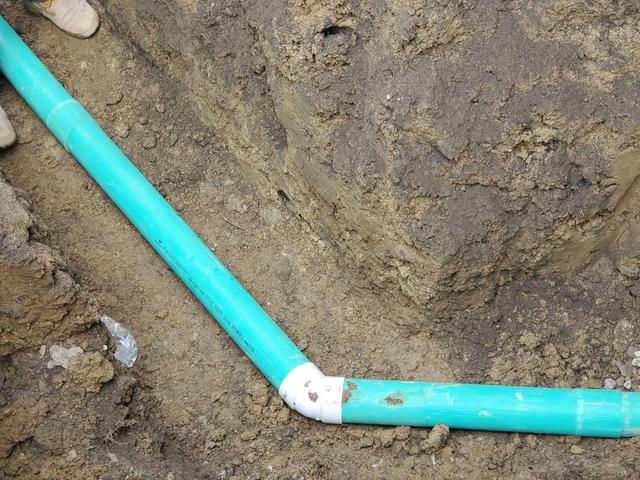
More Discharge Piping
After making sure that it was true we continued to extend our discharge line until it met our required distance and pitch for gravity.
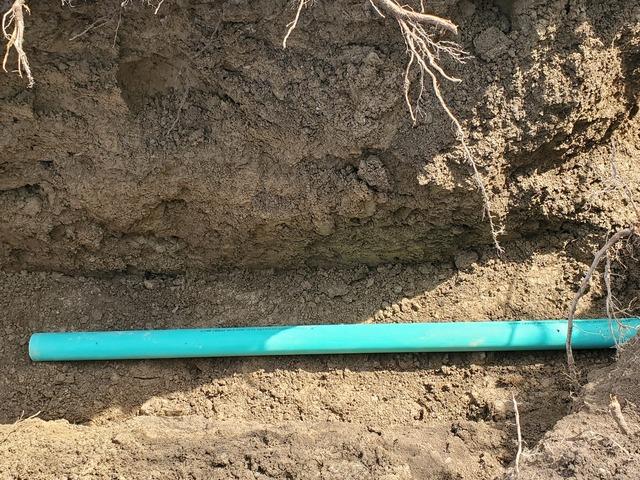
Discharge Line Complete
After a lot of digging and truing we finally finished our discharge line.
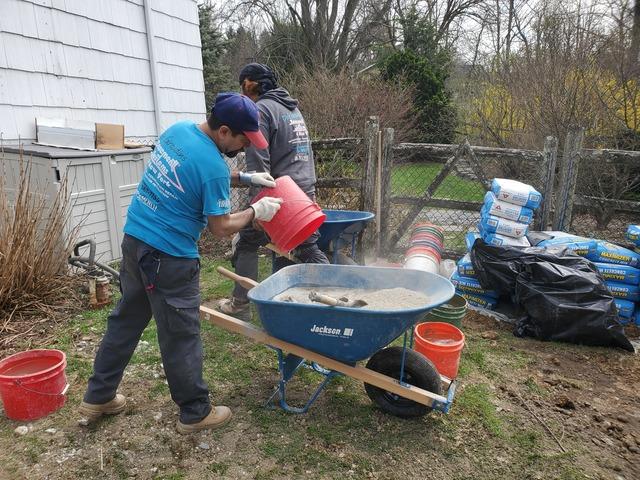
Starting Concrete
We started the home stretch of this project by starting to mix concrete to refinish over our waterproofing as well as the trench that we had created.
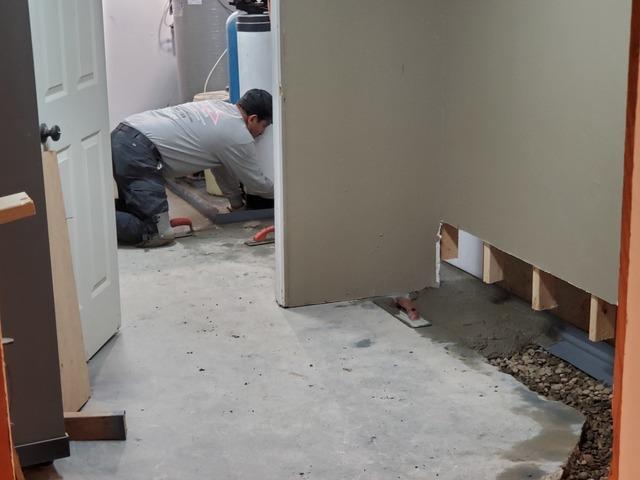
In The Home Stretch
After mixing our first batch of concrete our Specialist were able to start to lay our concrete.
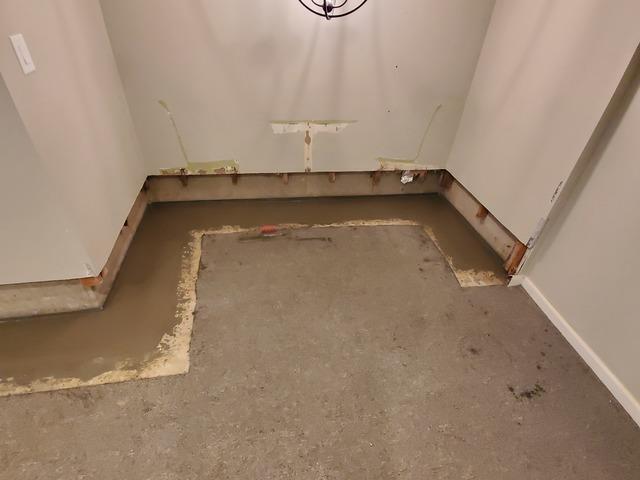
Right Side
After several batches of concrete we were able to refinish over the disturbed areas. Once our concrete hardens the homeowner won't be able to tell that we were there.
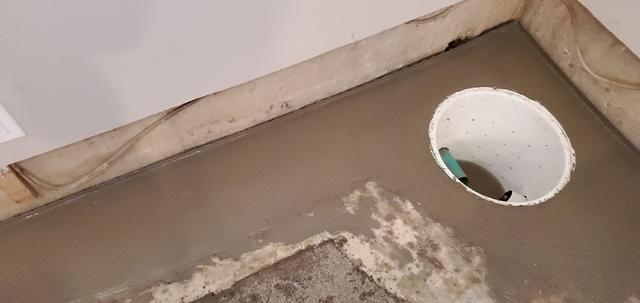
Our Basin
How our basin looked after we had laid our concrete before we installed our airtight lid.
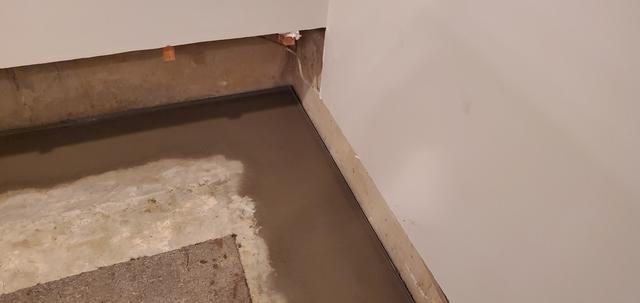
Left Back Corner
After several batches of concrete we were able to refinish over the disturbed areas. Once our concrete hardens the homeowner won't be able to tell that we were there.
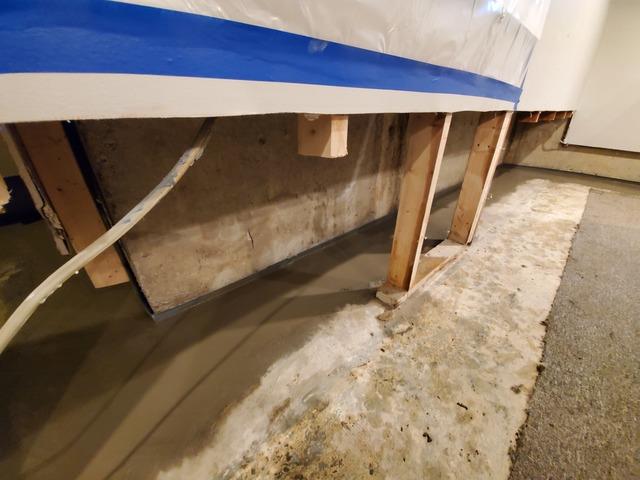
Corner To Center
After several batches of concrete we were able to refinish over the disturbed areas. Once our concrete hardens the homeowner won't be able to tell that we were there.
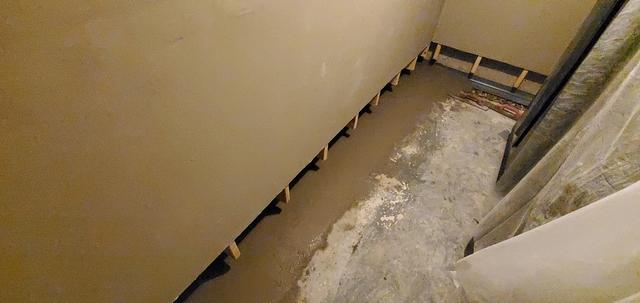
Next Room Over
After several batches of concrete we were able to refinish over the disturbed areas. Once our concrete hardens the homeowner won't be able to tell that we were there.
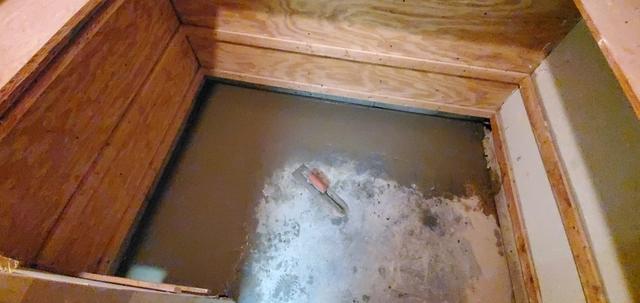
A Small Area
After several batches of concrete we were able to refinish over the disturbed areas. Once our concrete hardens the homeowner won't be able to tell that we were there.
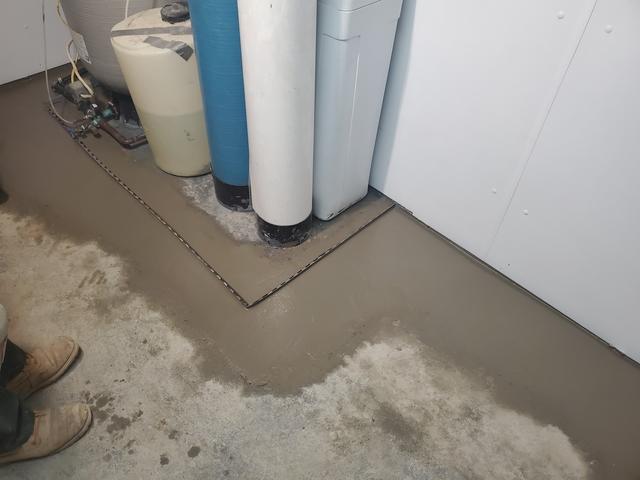
Oil Tank
In order to make sure that any water that could possibly come through would be caught by our FlowGuard system.
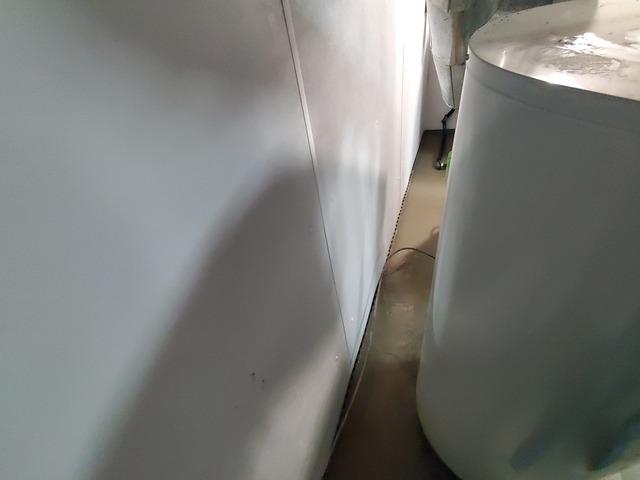
Behind The Boiler
To finish this project off properly we concreted over the entirety of our trench, even the hard to get to areas.
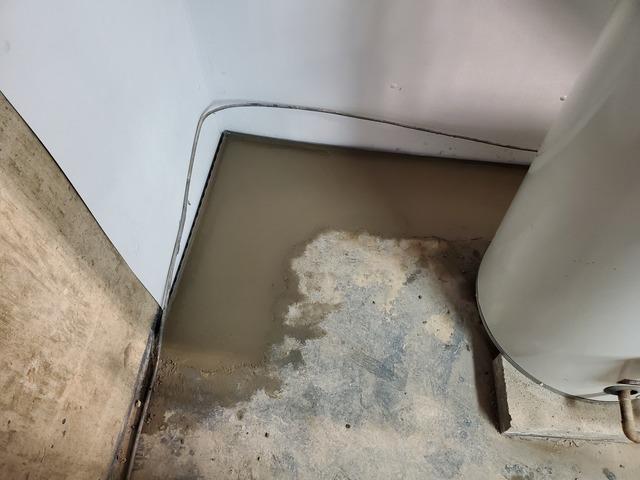
Corner Next To The Boiler
The last bit of concrete laid to finish up the inside part of our waterproofing system.
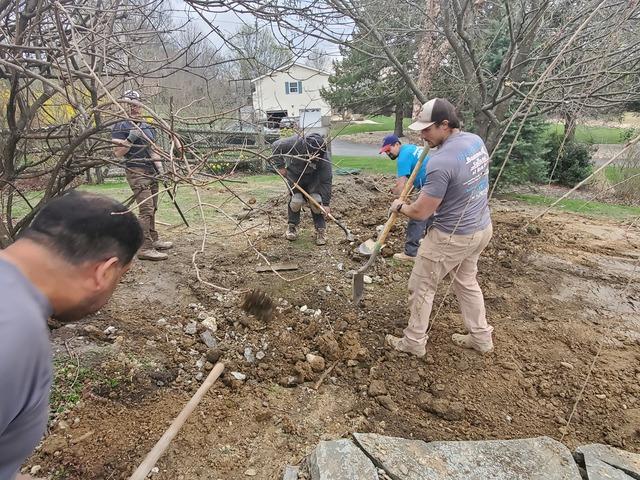
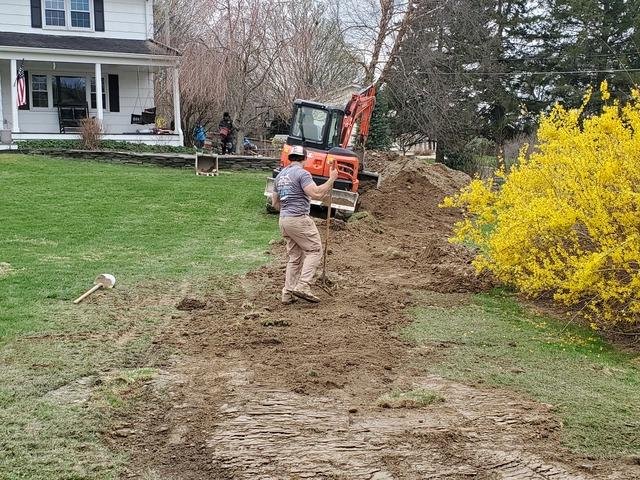
Working On The Grading
Starting to grade our backfill and make it all nice and pretty again.
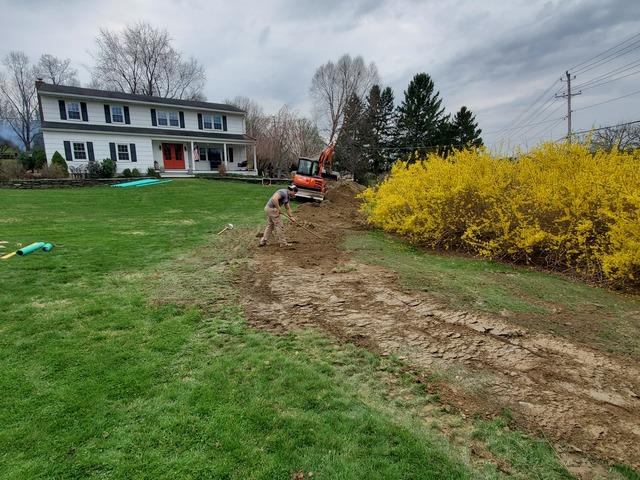
Finishing Up The Grading
Grading our backfill before we call this project a wrap
That's A Wrap
After Finishing up all of our grading we called it a wrap on this project.
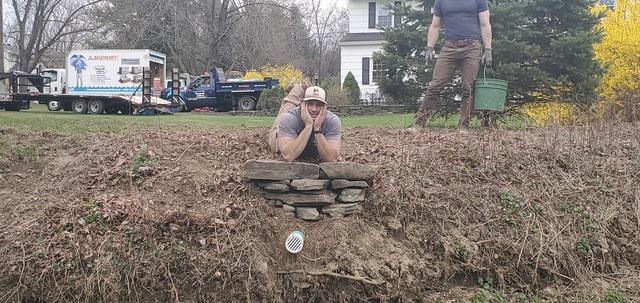
We Love Our Jobs
We love being able to help transform our client's homes.

