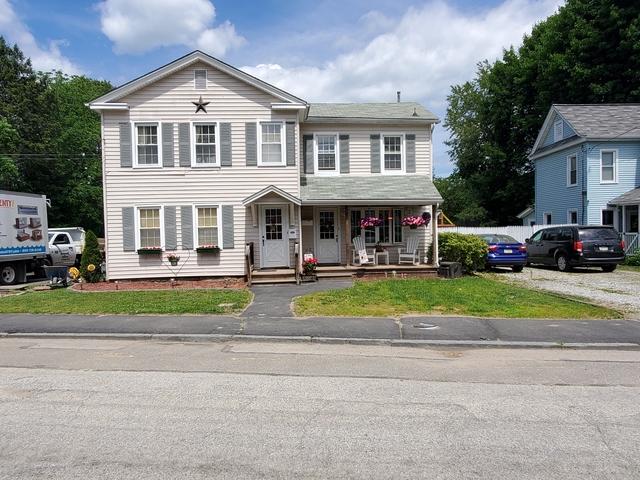
Home Sweet Home
Here we can see how the home we were performing the project on looked from the outside.
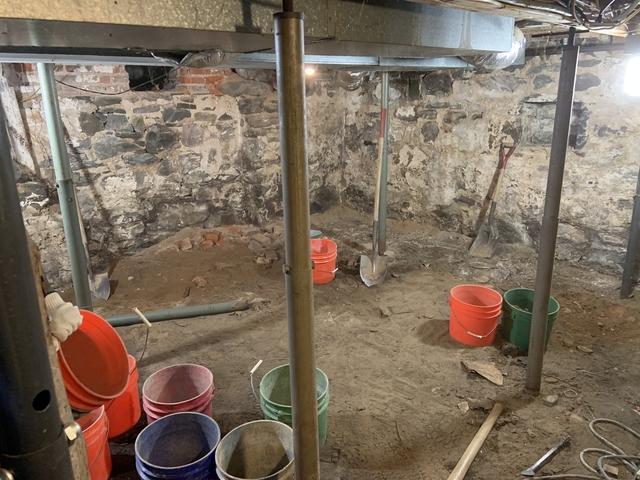
Time To Get Down And Dirty 1/2
How things looked before we started digging their dirt floor down on the left hand side as well as the back center of their basement.
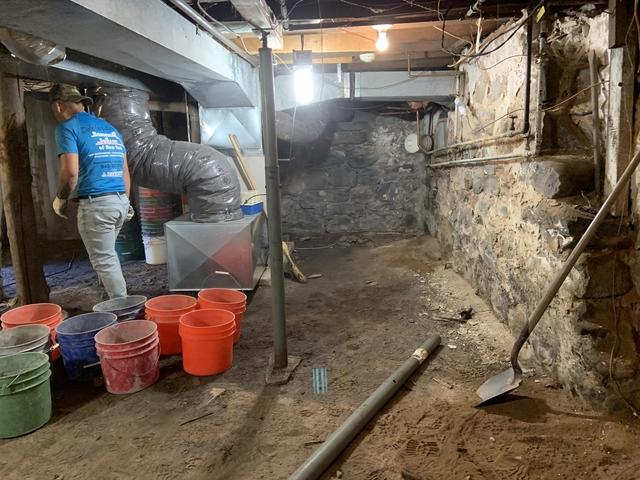
Time To Get Down And Dirty 2/2
How things looked before we started digging their dirt floor down on the right hand side as well as the back center of their basement.
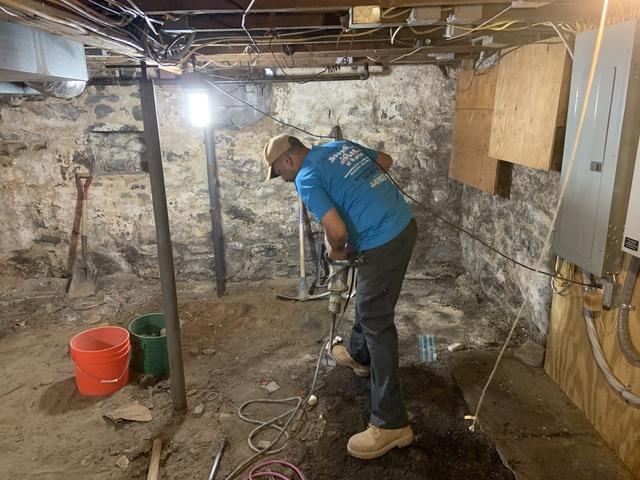
Starting To Dig The Floor Down1/2
Our team started digging the floor down in order to make way for our SmartJack support systems with pre-cast footings, new waterproofing system and new concrete slab.
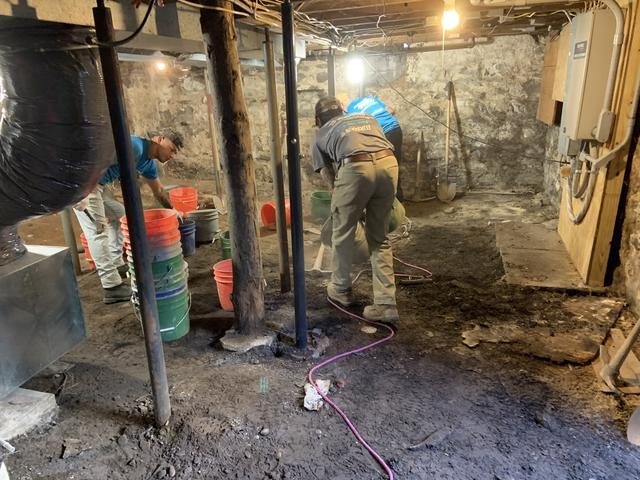
Starting To Dig The Floor Down 2/2
Our team started digging the floor down in order to make way for our SmartJack support systems with pre-cast footings, new waterproofing system and new concrete slab.
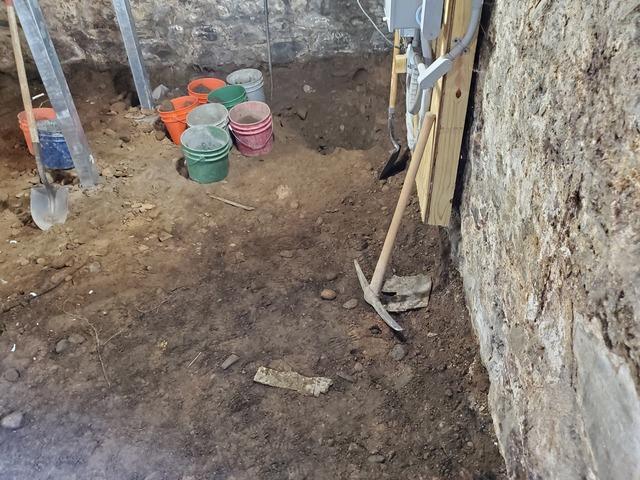
Floor Digging Left Side
We continued to dig the the basement down to the proper height for our new concrete slab with waterproofing system on the left side of the basement.
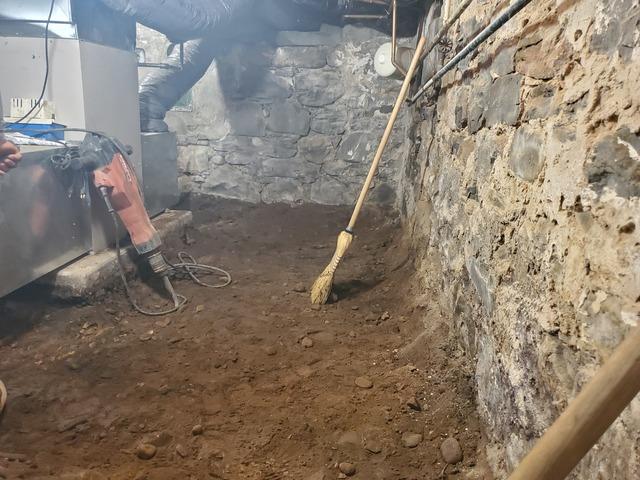
Floor Digging Right Side
We continued to dig the the basement down to the proper height for our new concrete slab with waterproofing system on the left side of the basement
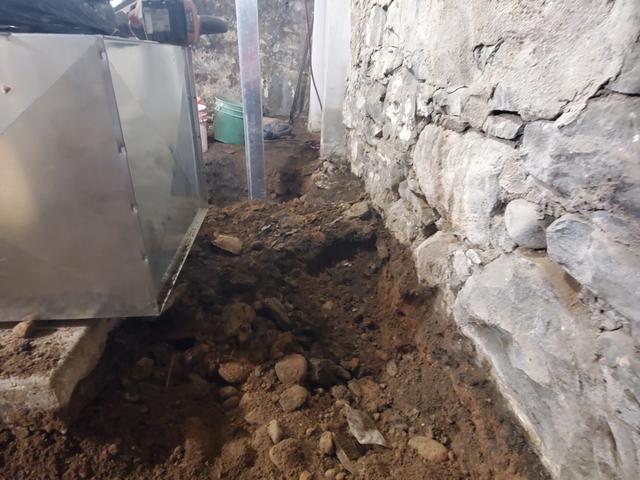
Behind The Mechanicals
Once the remainder of the basement was dug out we finished by digging the floor behind the mechanicals down to the proper height
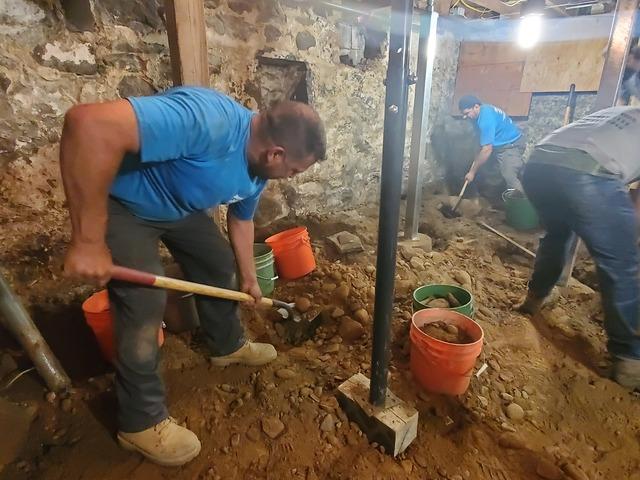
Removing The Lally Columns
Once the floor was dug down to the proper height we turned our attention to digging out the old lally columns to make way for our SmartJack support systems with pre-cast footings.
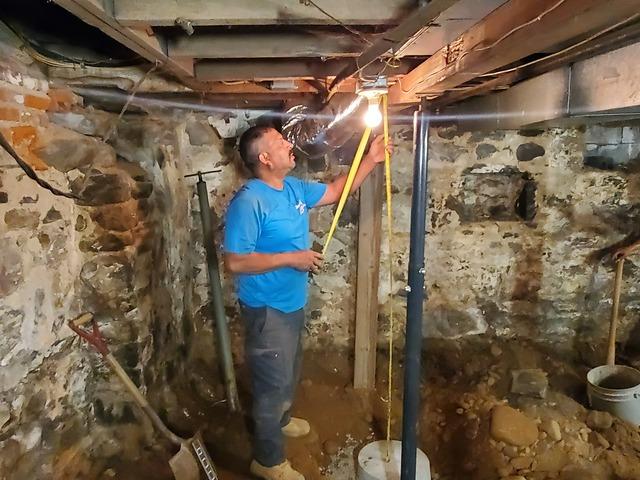
Measure Twice, Cut Once
Before cutting our SmartJaco to the proper height we double checked to make sure that we had the proper height from the floor to the main girder. Once we were sure of this we measured and cut our SmartJack to the proper height.
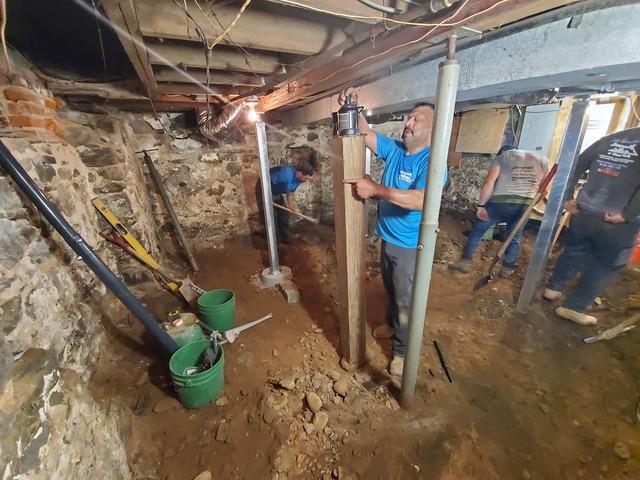
Temporary Support
In order to remove the old lally column we had to temporarily support the home in order to remove the lally column and then install our SmartJack support system.
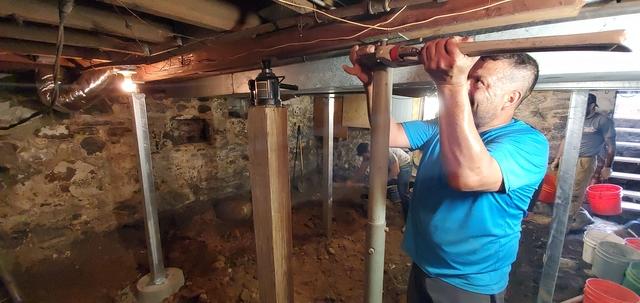
Bye-Bye
Removing the old lally column for our SmartJack support system
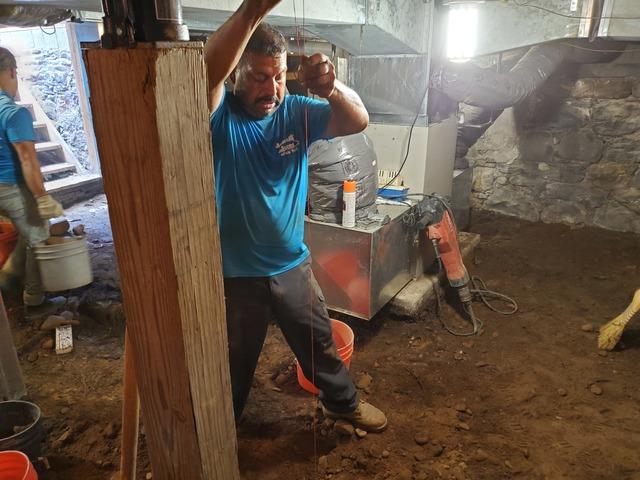
Making Sure Everything Is Centered
Before putting our SmartJack on the pre-cast footing that had been laid we made sure that everything was concentric and the SmartJack would sit center on it.
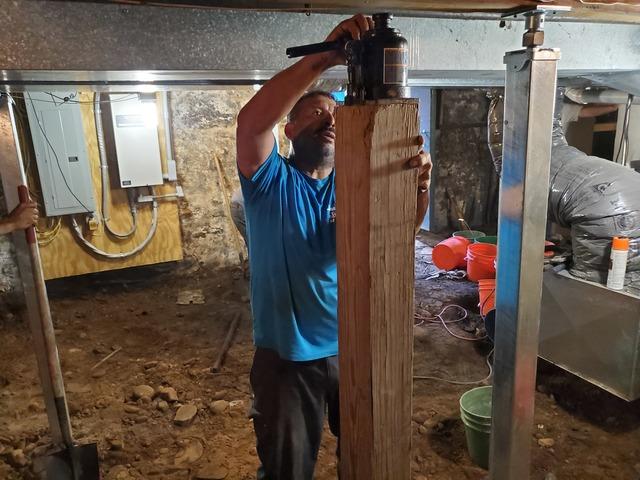
The Last SmartJack
After putting in our last SmartJack we removed the temporary support that we had put in place.
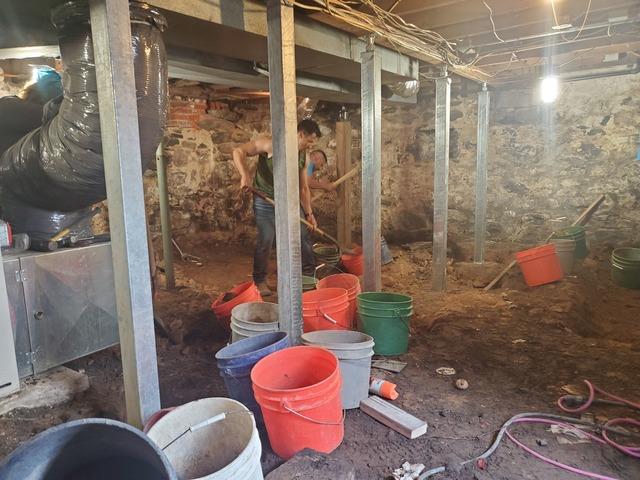
Left Side Smartjacks
Fully installed SmartJacks on pre-cast footings on the left side of the basement.
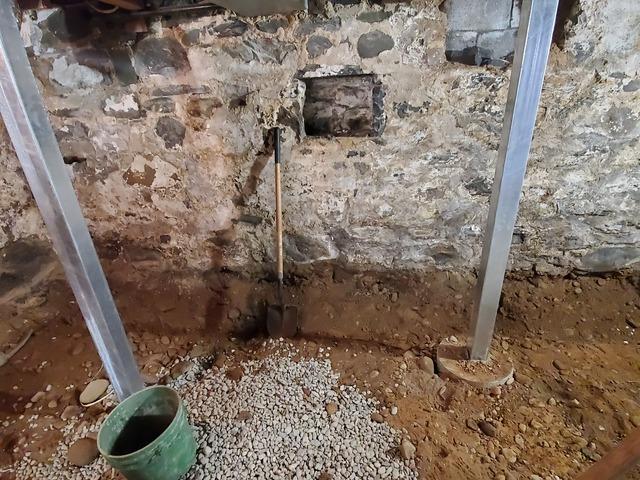
Right Side SmartJacks
Fully installed SmartJacks on pre-cast footings on the right side of the basement.
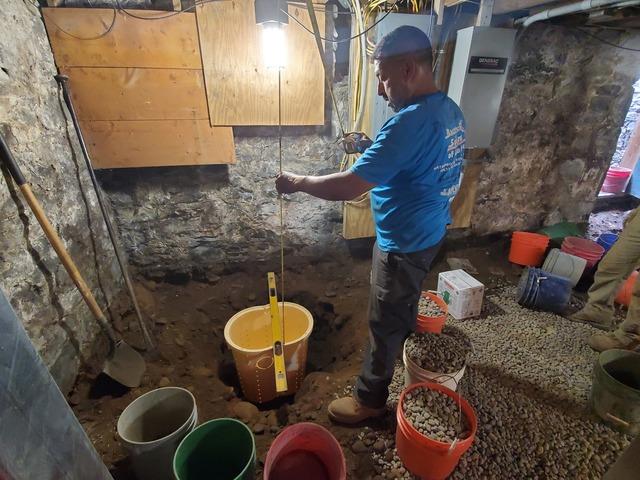
Creating A Rough Hole
Once we had left back corner dug down to where it needed to be we then dug out a rough hole for where our sump pump basin would sit.
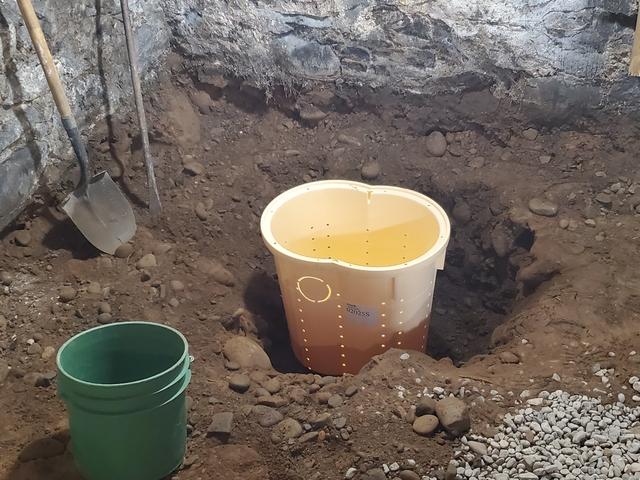
Checking The Depth
After digging our rough hole four our basin we then shaped it to the proper size and shape before making sure that it sat at the proper depth.
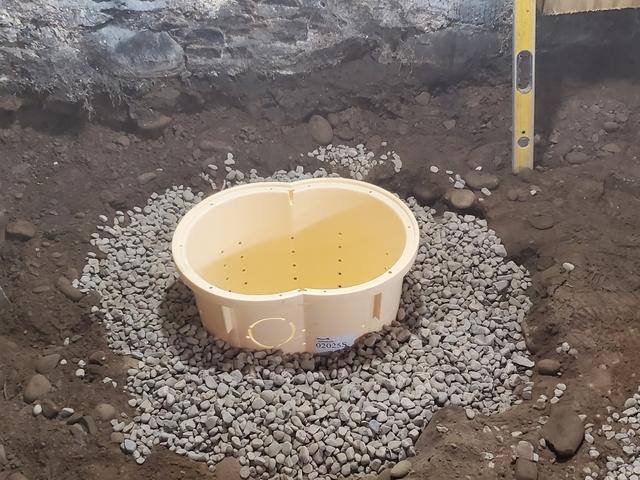
Setting The Basin
After achieving the proper depth for the basin we permanently set it.
Starting To Lay Our Gravel
Before laying our new concrete slab we placed gravel with drain mat on the floor in order to create a path of least resistance in order to pitch any and all water towards our waterproofing system
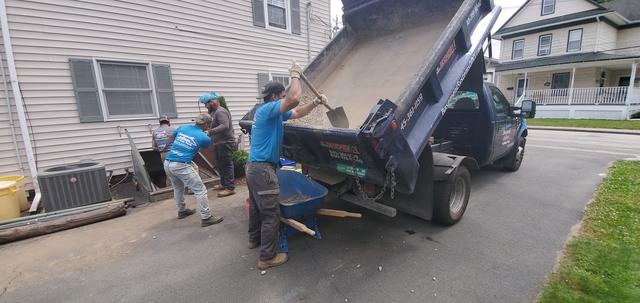
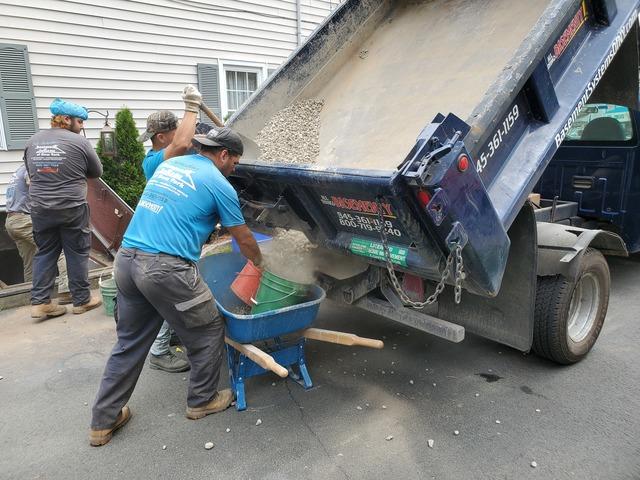
Time for Gravel
Getting the last of the gravel out of the dump truck
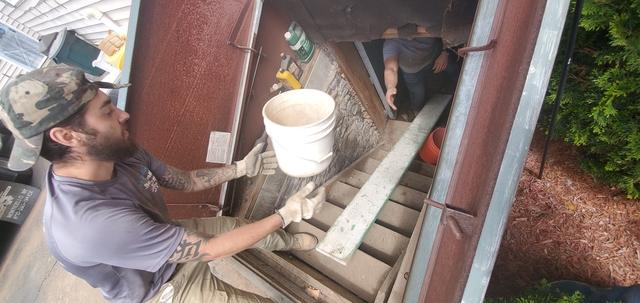
Efficient Buckets
To make the lowering clearing of buckets quicker and more efficient we established an assembly line to bring them down and up from the basement.
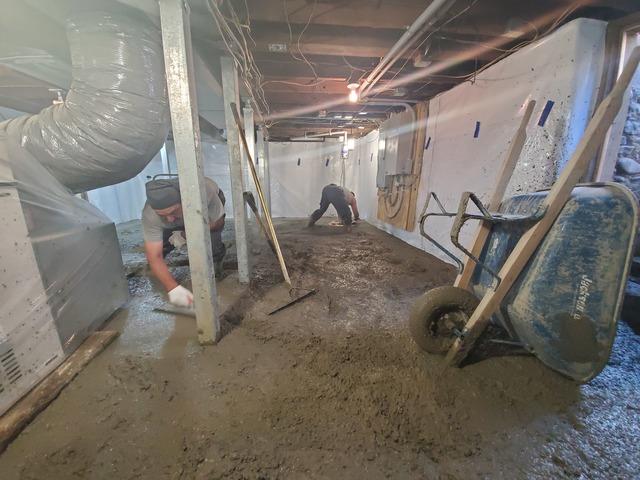
Look At All That Concrete
After laying our concrete in this basement we started to distribute it evenly throughout the entirety of the basement.
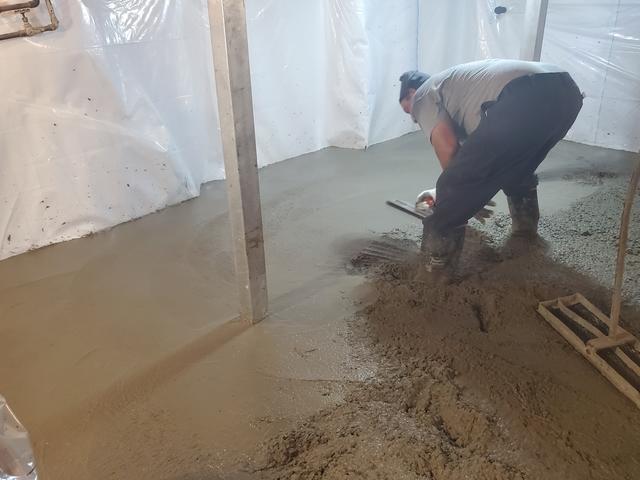
Starting To Finish The Edges
Once all the concrete was distributed evenly we started to apply a semi-finish to the edges.
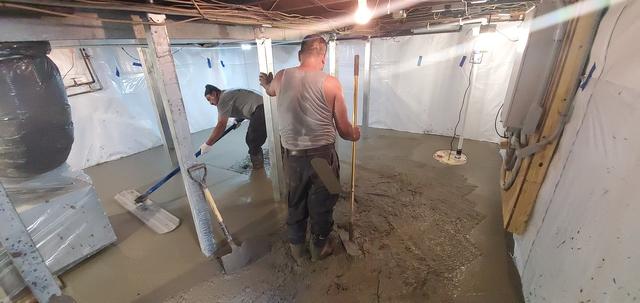
Starting To Finish The Basement
Once all the concrete was distributed evenly we started to apply a semi-finish.
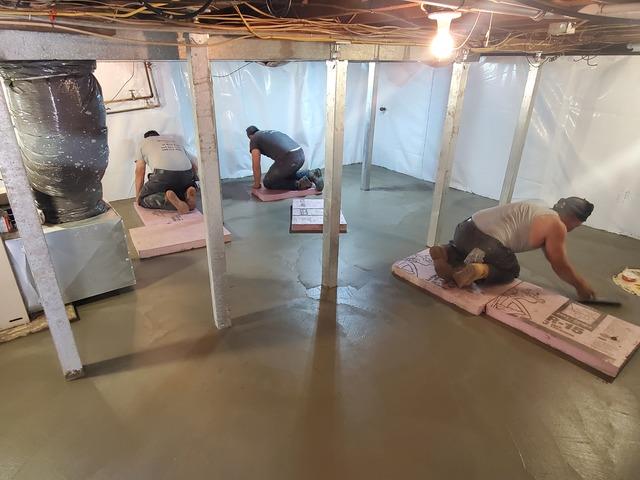
First step in Applying Our Finish
After laying our concrete down and allowing it to harden a bit we then applied our finish to it by hand.
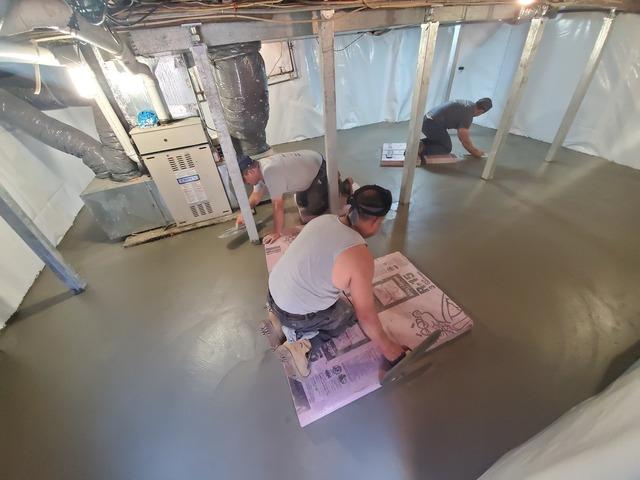
Concrete Hardened
Here you can see our crews getting to work on applying the finish
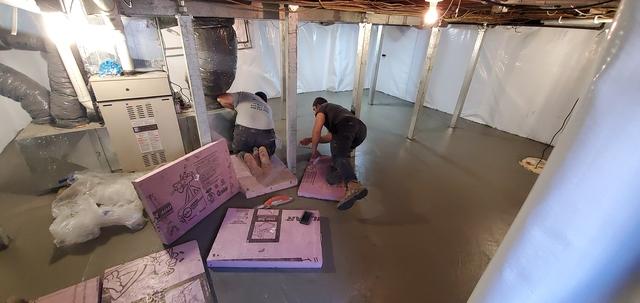
More Work on the hardened concrete
Our crews take multiple steps to ensure the highest quality work when applying the finish
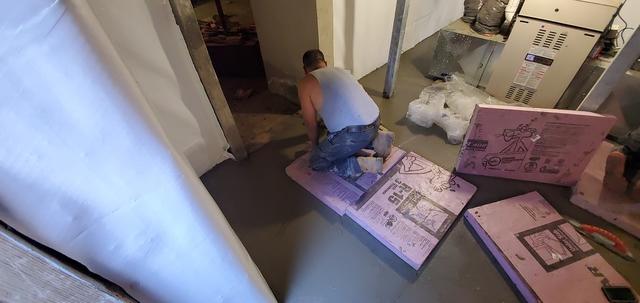
Getting in the corners
After laying our concrete down and allowing it to harden a bit we then applied our finish to it by hand.
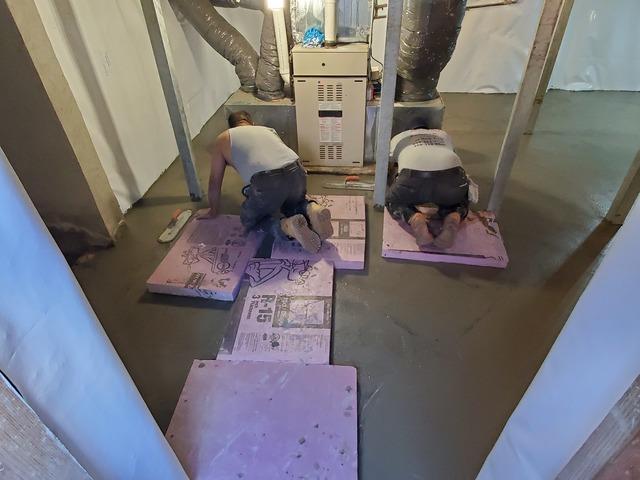
Applying Our Finish 5/5
After laying our concrete down and allowing it to harden a bit we then applied our finish to it by hand.
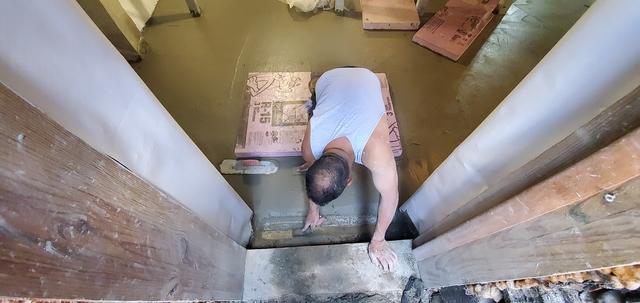
Edging
Putting the final finish on the edge of our new slab before letting it dry.
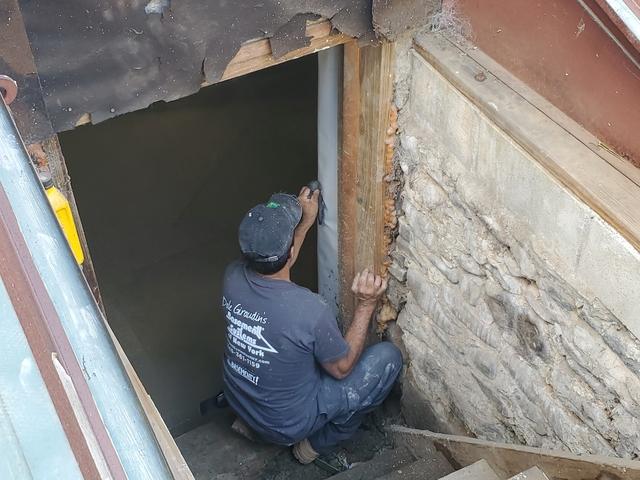
Cleaning Time
During the process of laying our concrete some of it sprayed onto our CleanSpace. Before leaving the basement we made sure that any all concrete was cleaned off our CleanSpace.
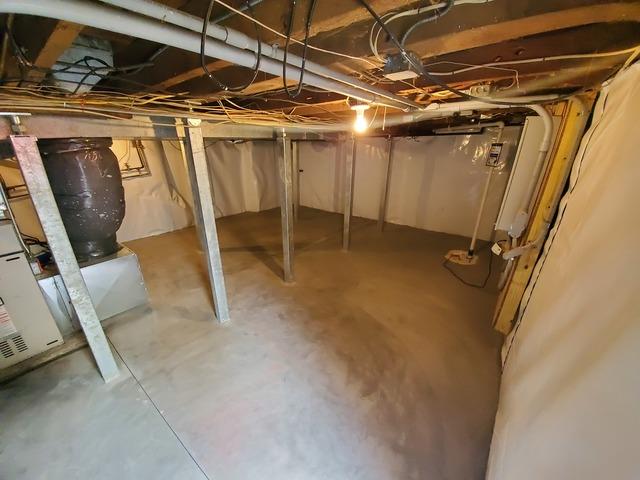
Finished Left Side
How everything looked once our project was completed from the front left corner to the back left corner of the basement.
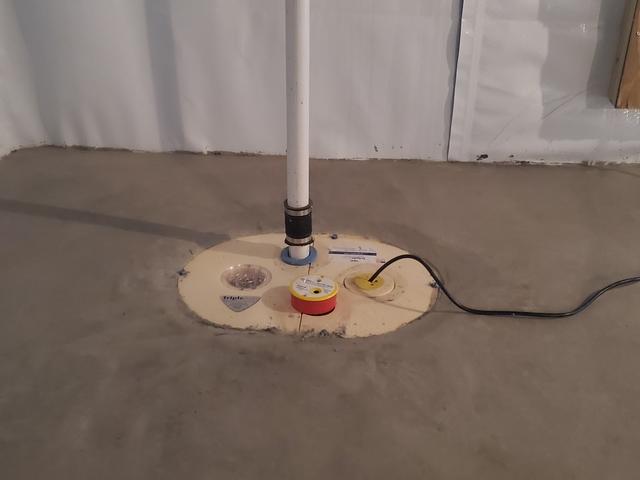
Fully Encapsulated
After installing our sump pump we fully encapsulated it with our new slab. In doing this we are able to make the system look clean and flawless, but more importantly make it air tight.
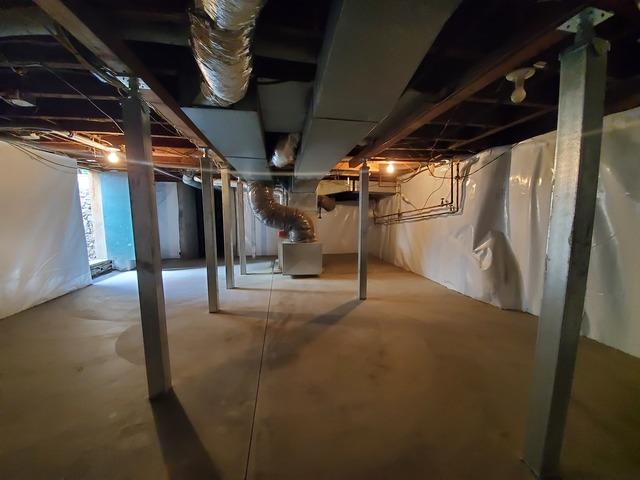
Finished Center
How everything looked once our project was completed from the center of the basement.
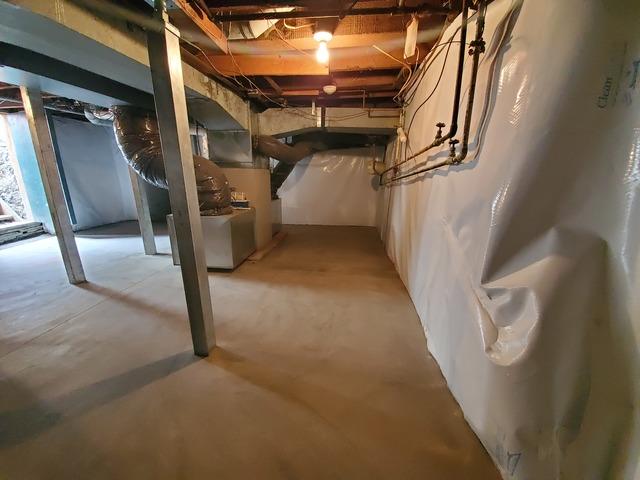
Finished Right Side
How everything looked once our project looked from back right corner to the front right corner of the basement.
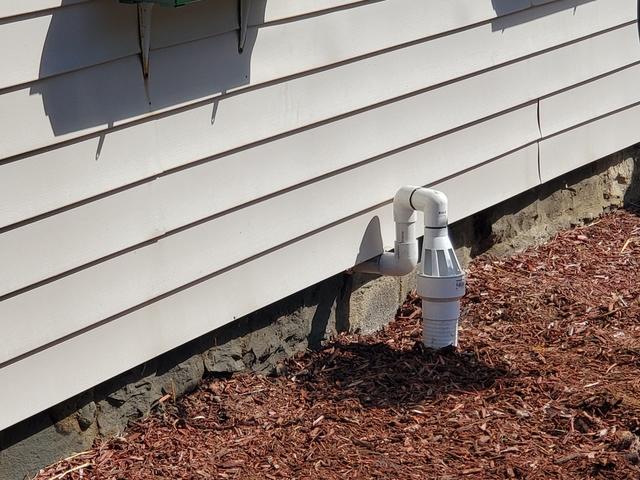
Discharge Line With IceGuard
Once we established our discharge line inside the home from the sump pump we attached our IceGuard system and continued to run the discharge line to its final destination.
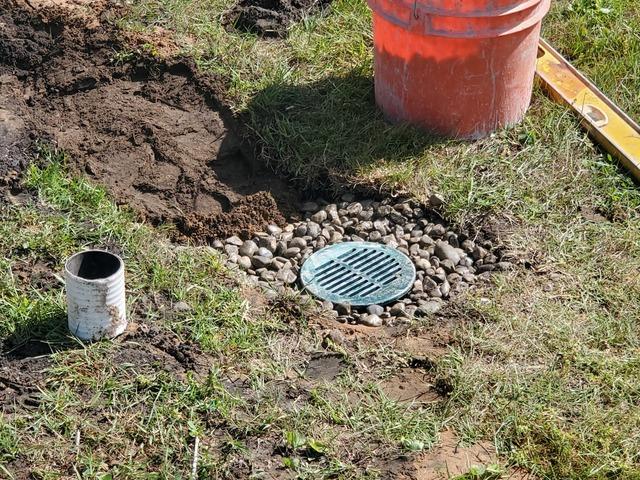
Finishing Touches
After completing our project we put the finishing touches on the discharge line in their yard.

