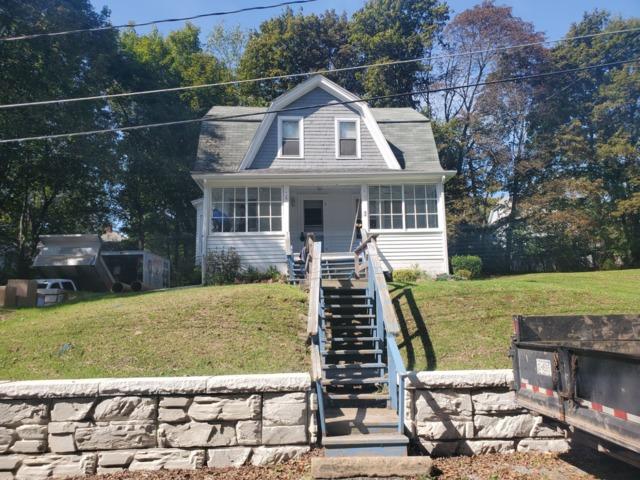
Front View
How the front of the home we were performing the project looked.
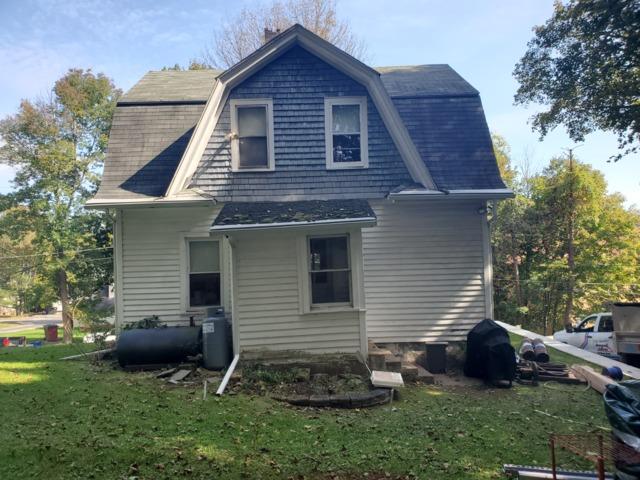
Back View
How the back of the home we were performing the project looked.
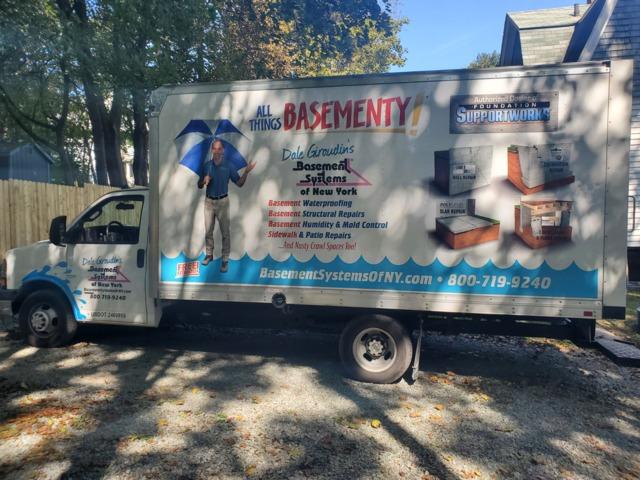
Starting The Project
Unloading the equipment we needed to start demolition in the basement
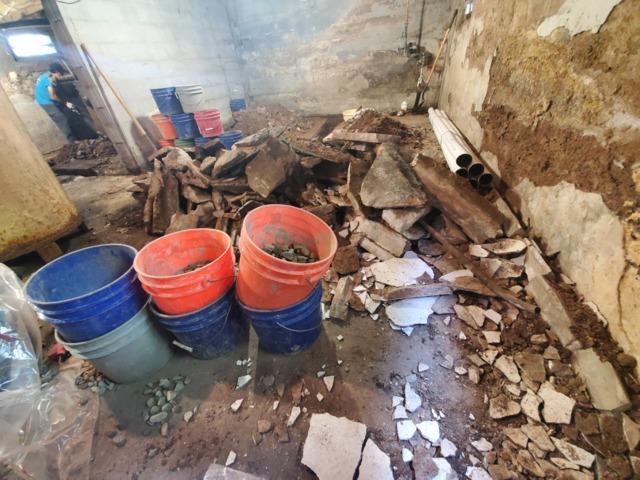
Look At All That Debris
In order to start any project our Specialists have to create a mess in order to disturb the concrete. The byproduct of this is tons of concrete debris.
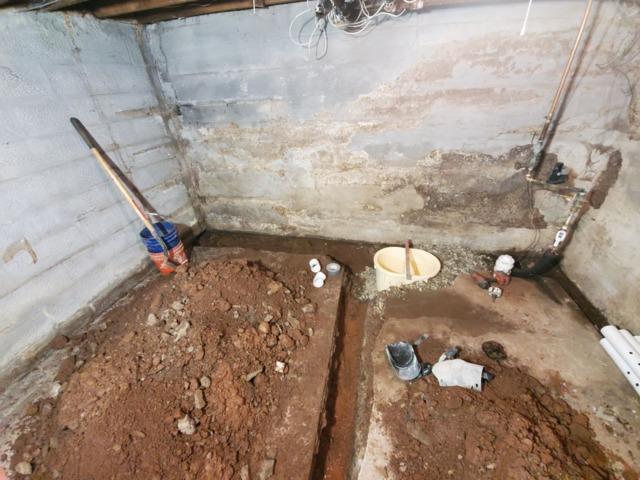
Front Right Wall
How things looked on the front right wall after creating our trench, and lateral and installing our basin for our sump pump.
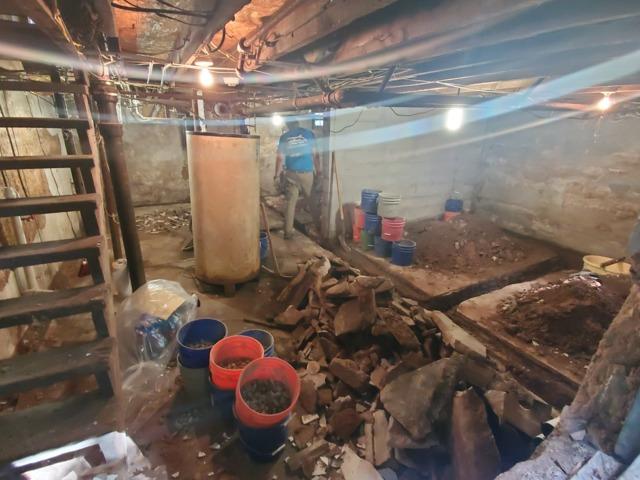
Large And In Charge
A wide shot of how the front room of the basement looked after all our jackhammering.
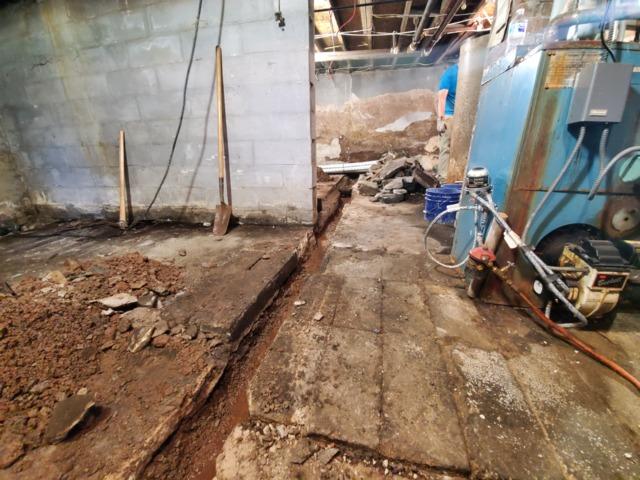
Look At That Run
How our lateral looked from one side to the other after its creation before we started applying our waterproofing system to it.
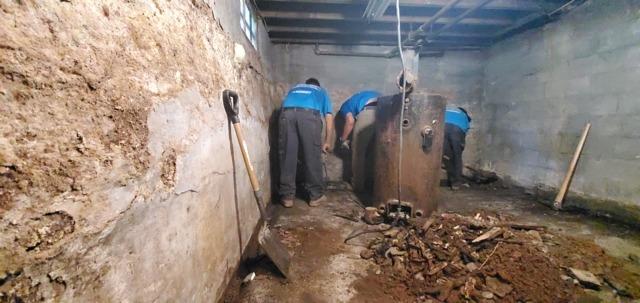
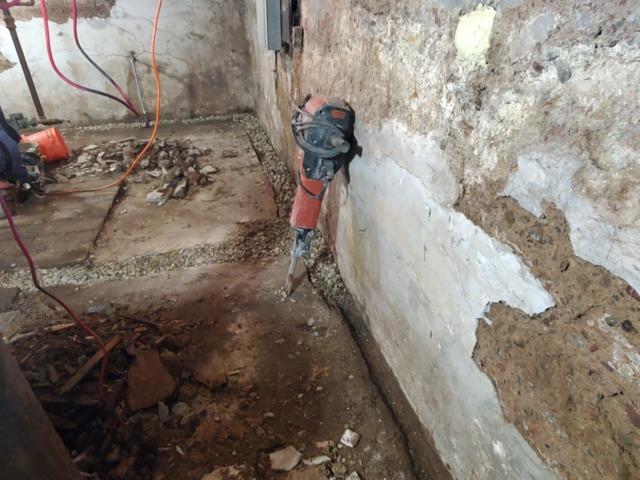
Back Right Wall
Our Installation Specialists hard at work creating our trench.
Back Center Wall
How things on the back center wall before creating our trench.
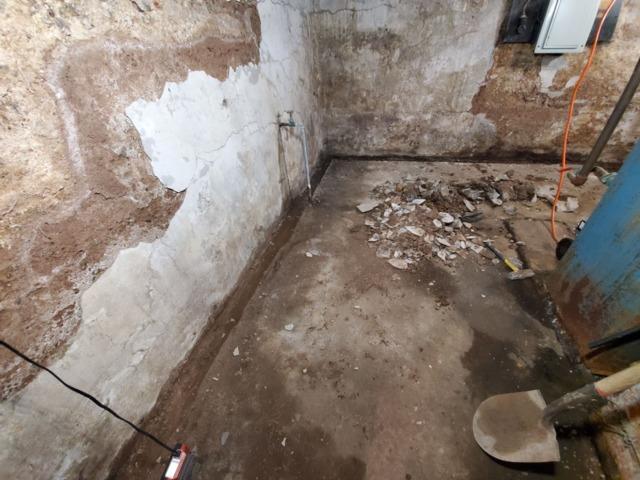
Back Left Wall
How things looked on the back left wall before creating our trench.
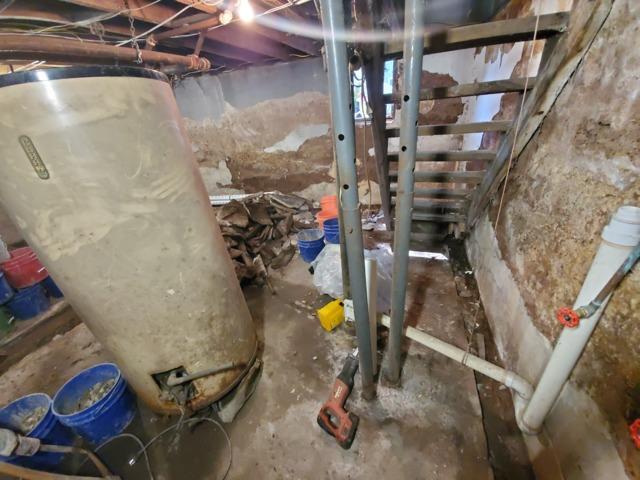
Under The Stairs
How things looked under the stairs before creating our trench.
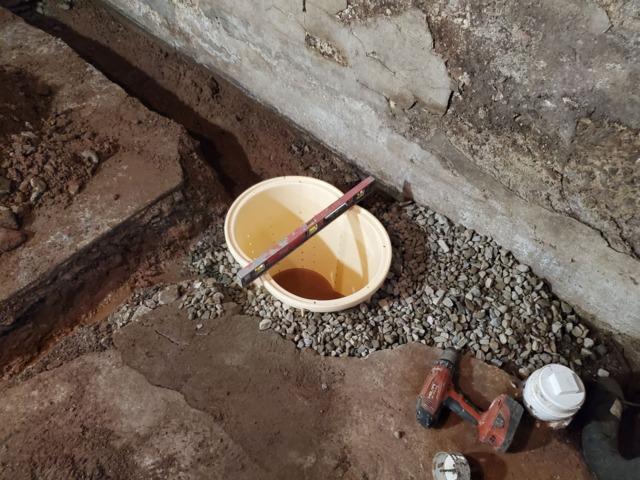
Square And Level
During the installation process of our patented systems and products we are constantly making sure that everything is level and square before starting the next step of the installation process.
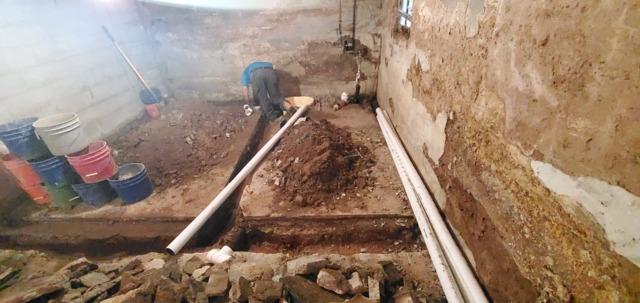
Starting To Lay Our Perforated Pipe.
Once we finished all of demo work we started to measure all of our perforated piping and cut it to the proper length.
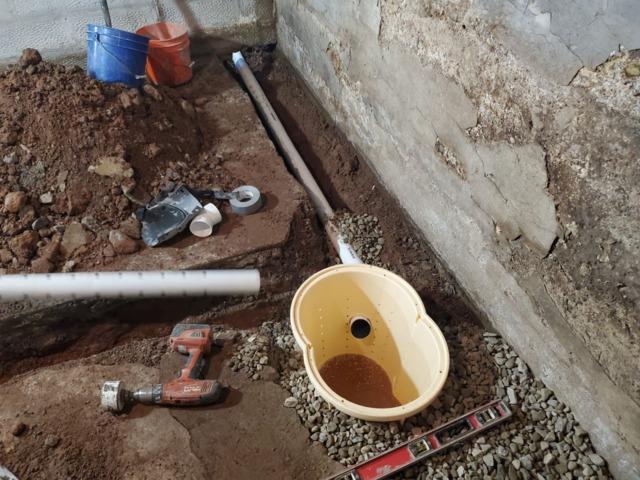
Tying Everything Into The Sump Pump
Finishing up the connection of our sump pump to the rest of our waterproofing system.
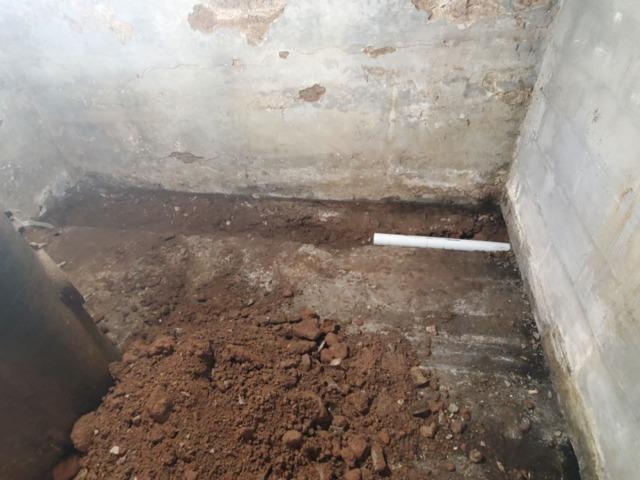
Running Our Perforated Pipe Underneath The Wall
To connect our waterproofing system around the perimeter of the basement while connecting it to our sump pump we had to create a space at the bottom of the wall in order to run our perforated pipe into the other room.
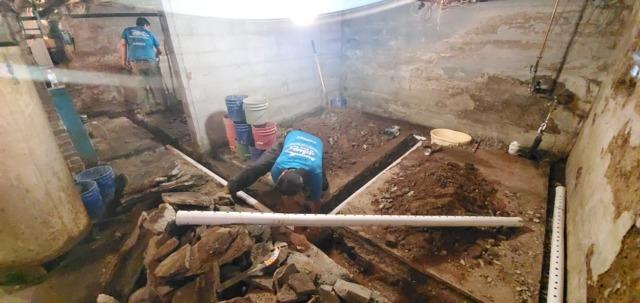
Starting Our Connection
Starting the connection the lateral from the front of the basement to the back of the basement.
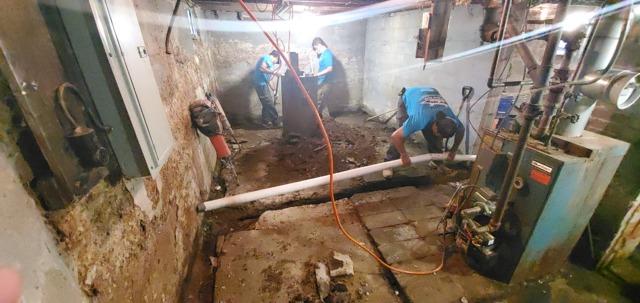
Finishing Our Connection
Finishing the connection the lateral from the front of the basement to the back of the basement.
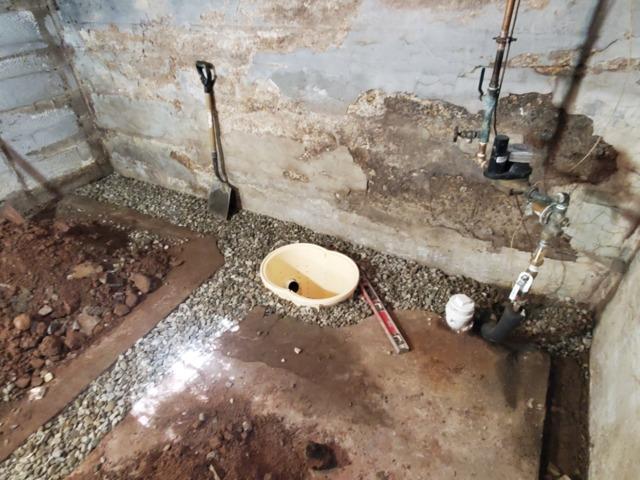
Back Right Wall
How the back right wall looked after we applied our gravel to our trench.
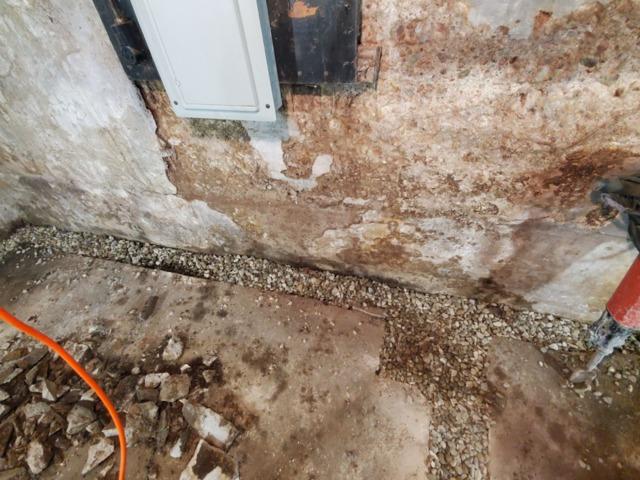
Back Center Wall
How the back center wall looked after we applied our gravel to our trench.
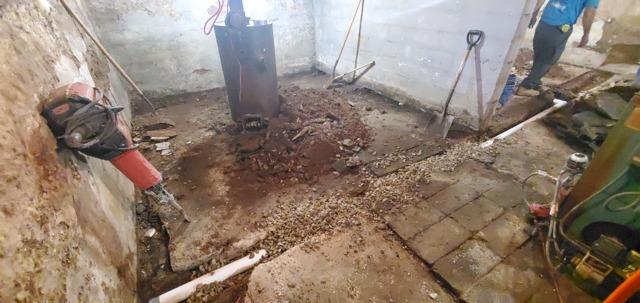
Starting To Fill Our Lateral In
Laying several strategic points in order to make sure that nothing would move while laying the rest of our gravel in our lateral.
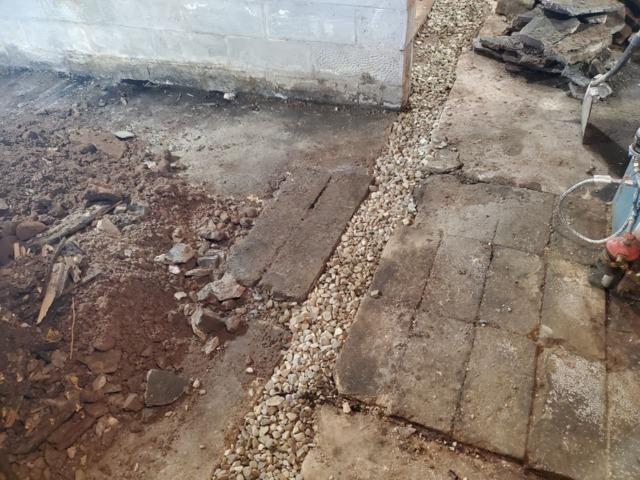
Fully Covered Lateral
How our lateral looked once it was fully covered with gravel.
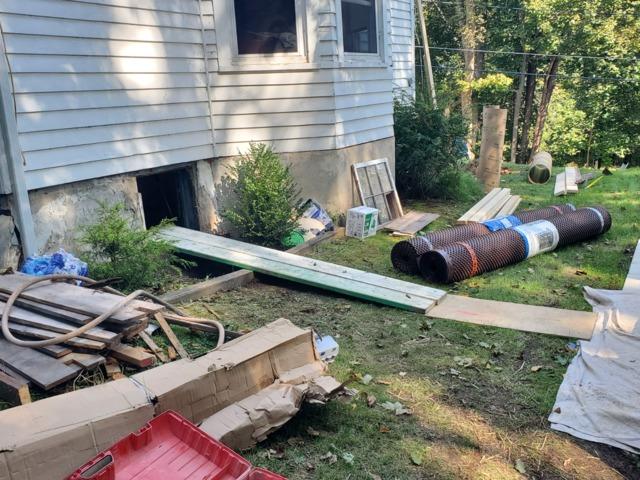
Engineering A System
Before starting to remove all the debris we devised a ramp system that would make it easier for both the team inside and outside.
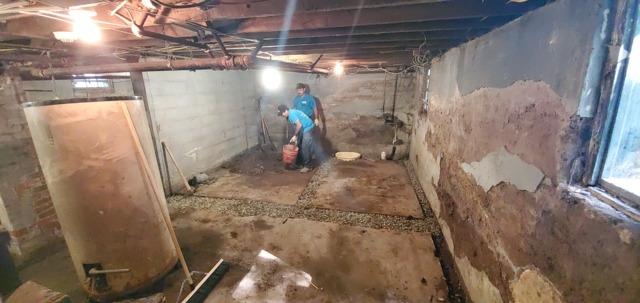
Arm Day 1/2
Cleaning up and putting the debris that we created from jackhammering into our buckets in order to get everything out of the basement before laying our drain mat.
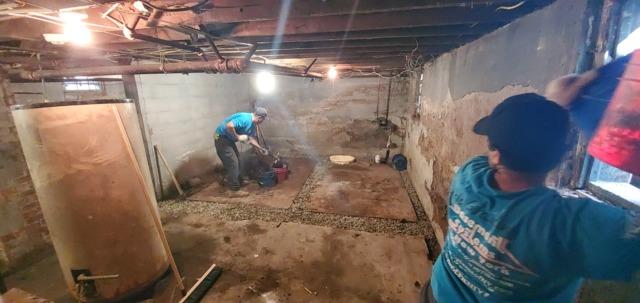
Arm Day 2/2
After installing our waterproofing system our team started to remove the concrete that they had to jackhammer in order to create our trenches. In order to get it out of the basement they had to pass it through a small window in the basement to a team of two one the outside.
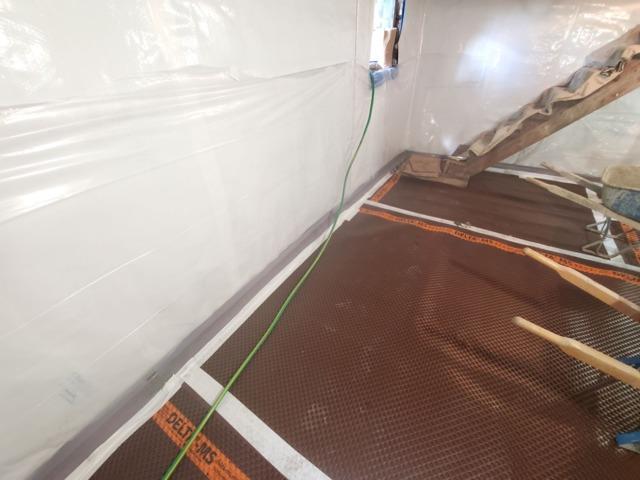
In Front Of The Stairs
How our drain mat looked in front of the stairs before we poured our new concrete slab.
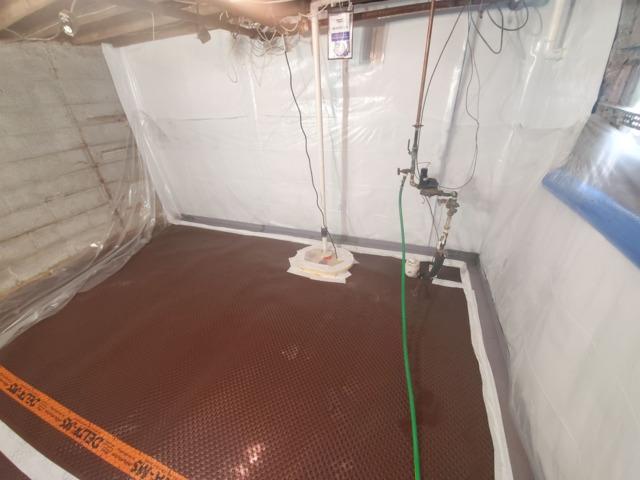
Front Room
How our drain mat looked in the front room of the basement with our sump pump system installed before we poured our new concrete slab.
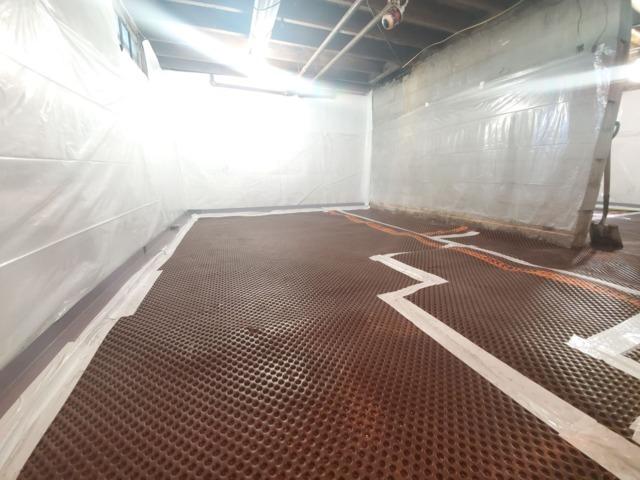
Back Room 1/2
How our drain mat looked in the back room of the basement before we poured our new concrete slab.
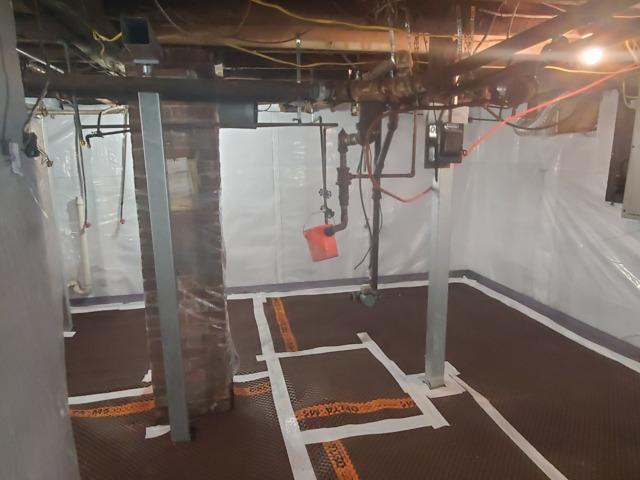
Back Room 2/2
How our drain mat looked in the back room of the basement before we poured our new concrete slab.
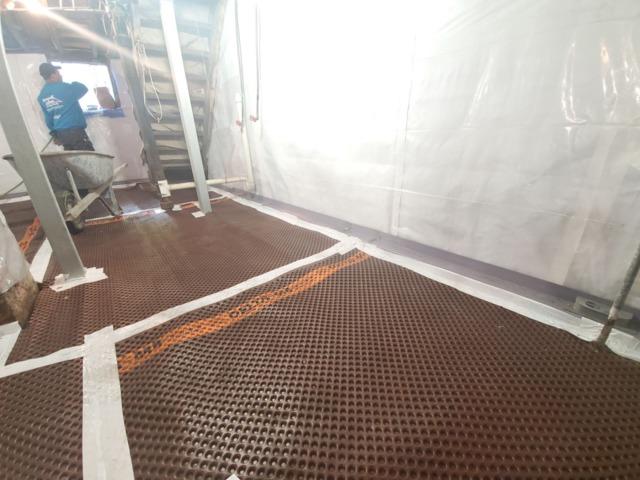
Drain Mat Applied Under The Stairs
How our drain mat looked underneath the stairs before we poured our new concrete slab.
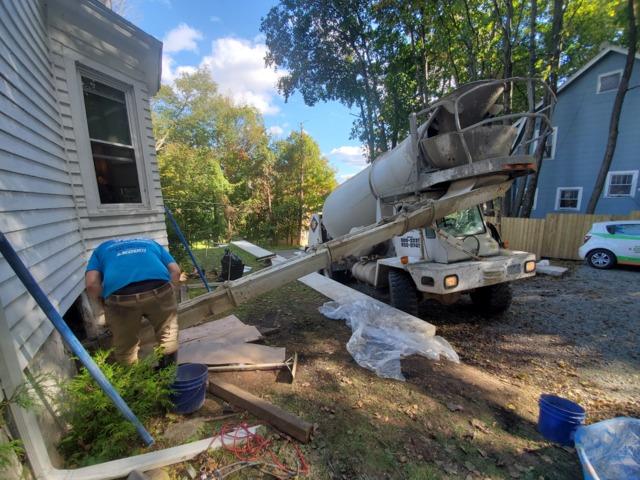
Concrete Has Arrived
After waiting a bit our concrete truck finally arrived with our order of concrete.
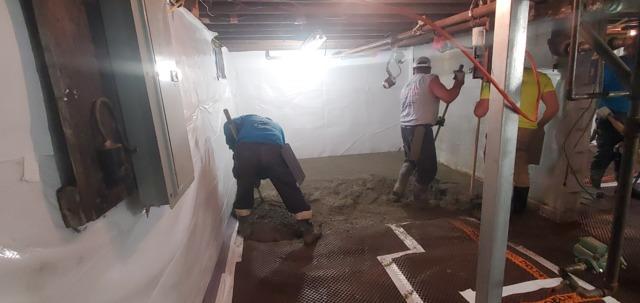
Front To Back
When applying our concrete to the basement floor our Specialists started from the back room in the basement and worked their way to the front in order to make sure that everything was properly finished and even.
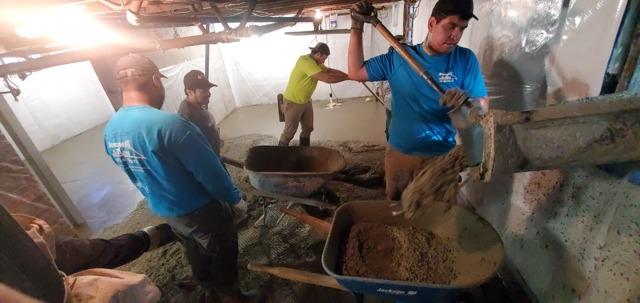
Dividing Up The Concrete
After laying our concrete in the back area of the basement our Specialists turned their attention to the front area of the basement.
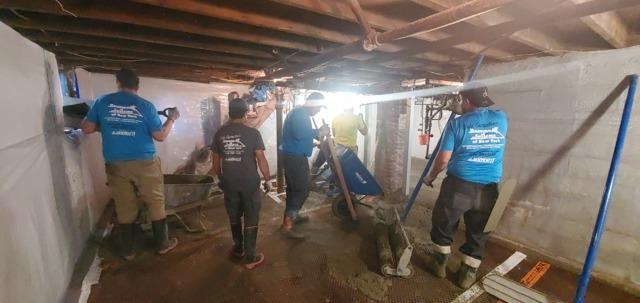
Starting A New Area
After laying our concrete in the back room of the basement our Specialist turned their attention to applying our concrete to the front area of the basement.
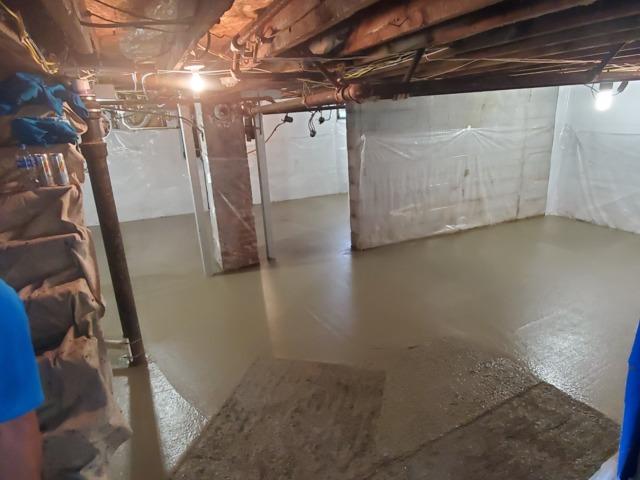
Almost There
Our Specialists only had a little area left to apply our finish to before being able to call it a job well done.
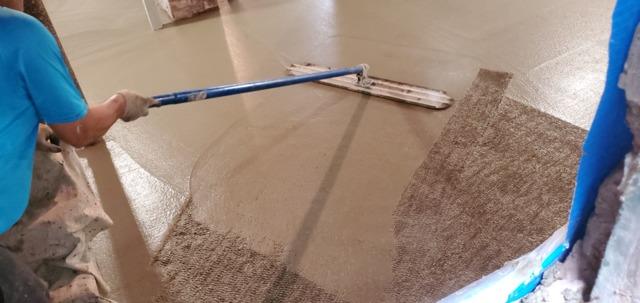
Using Our Float
Our Specialist meticulously using our float tool in order to finish applying our finish to our concrete slab.
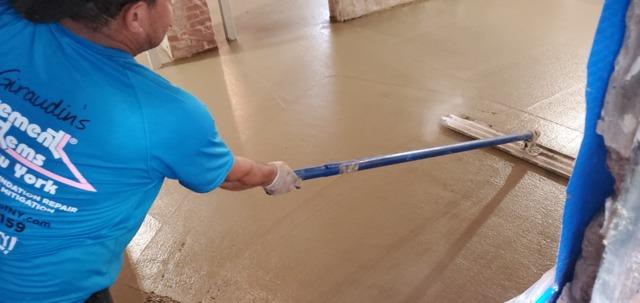
Making Sure Everything Is Even
After applying our finish to the concrete we went back over the area that we smoothed out in order to make sure that everything was even.
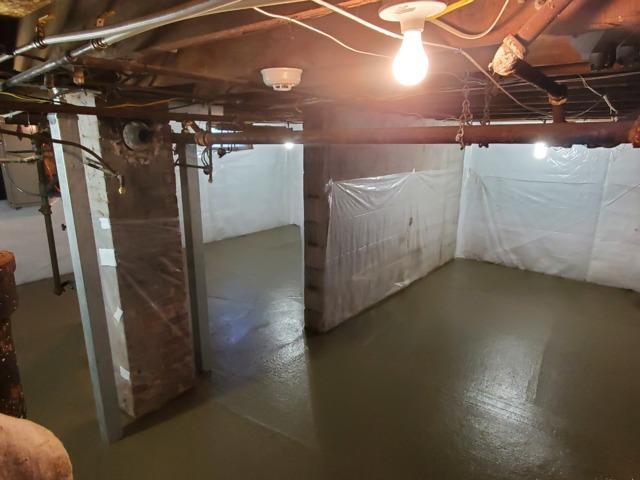
Concrete For Days
How our new concrete slab looked after applying our finish to it in both the farthest and closet area of the basement.
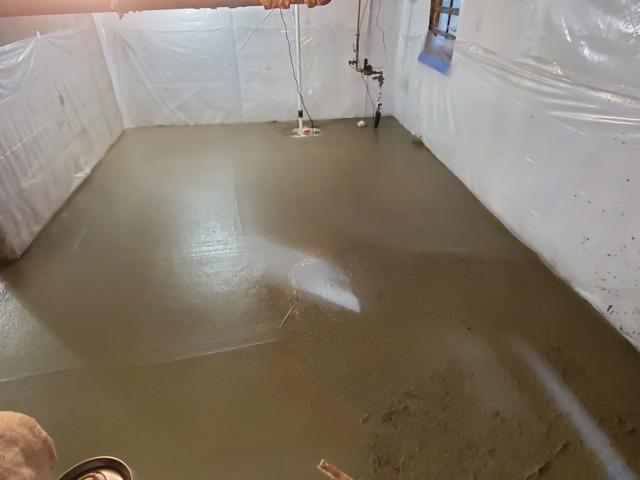
Look At That Enclosed Sump Pump System
How our sump pump system looked fully encapsulated in our new concrete slab.
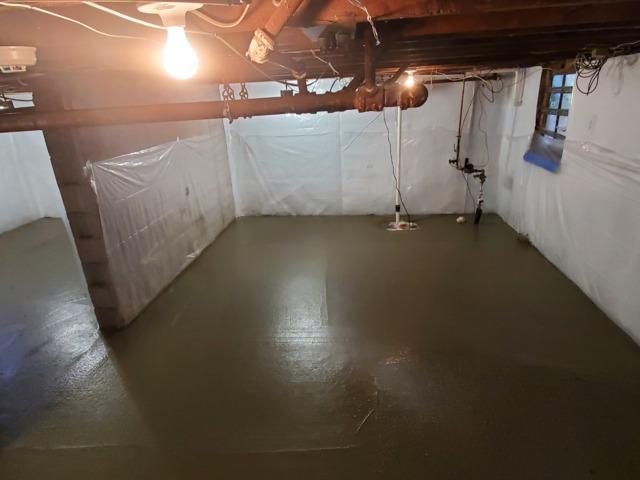
Look At All That Concrete
How our new concrete slab looked after our Specialists finished applying their finish to it.
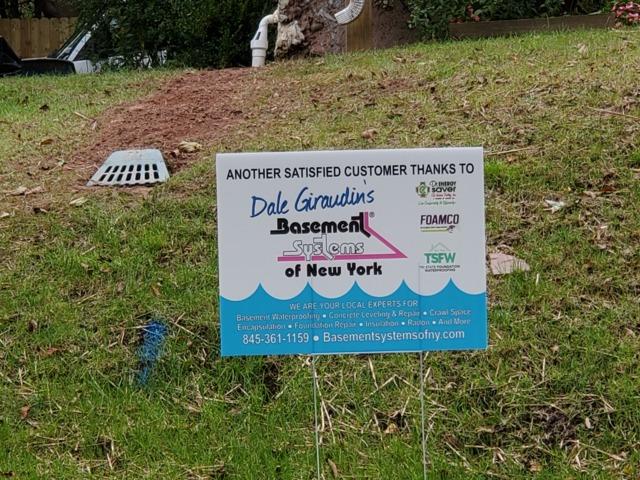
Another Happy Client
These homeowners were astounded by the quality of workmanship and could not believe that this was the same basement.

