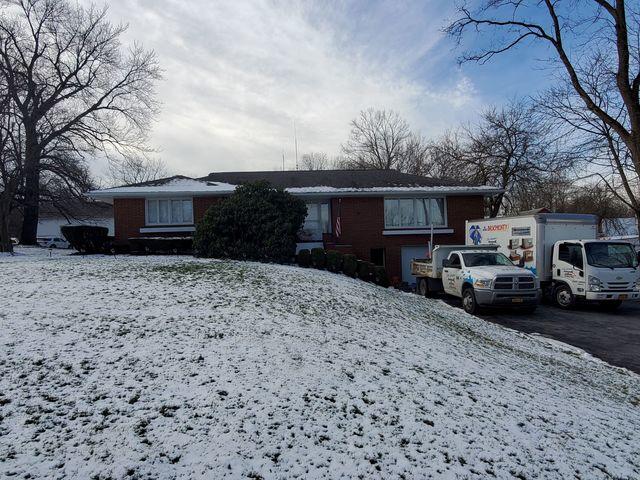
Home Is Where The Heart Is
The home we were performing our project on looked from the outside.
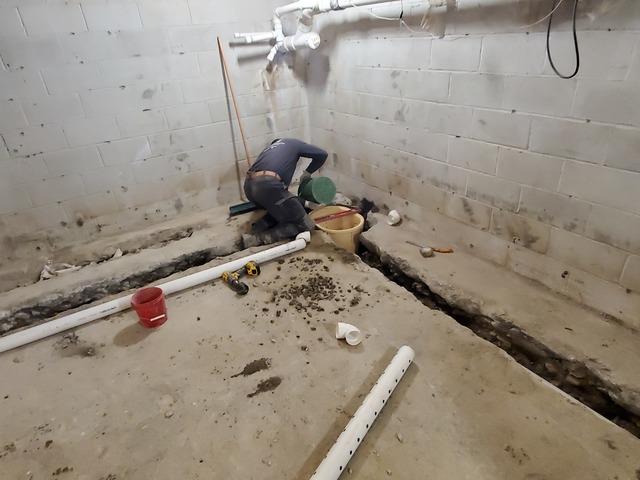
One Down More To Go
After fitting one side of our piping our team moved to the other side.
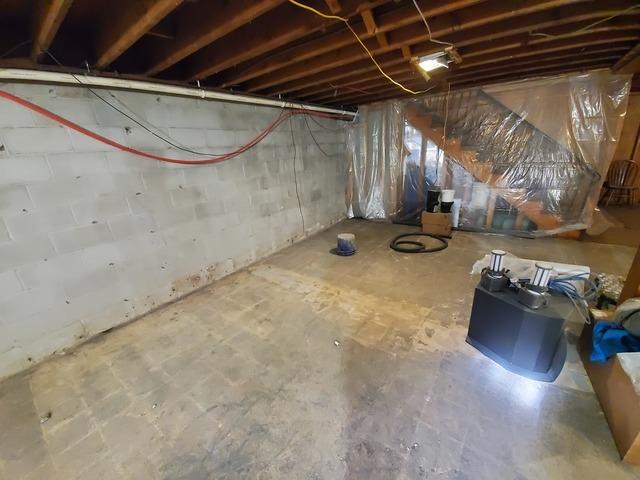
Right Hand Wall
How the right-hand wall looked before we started our project.
f
f
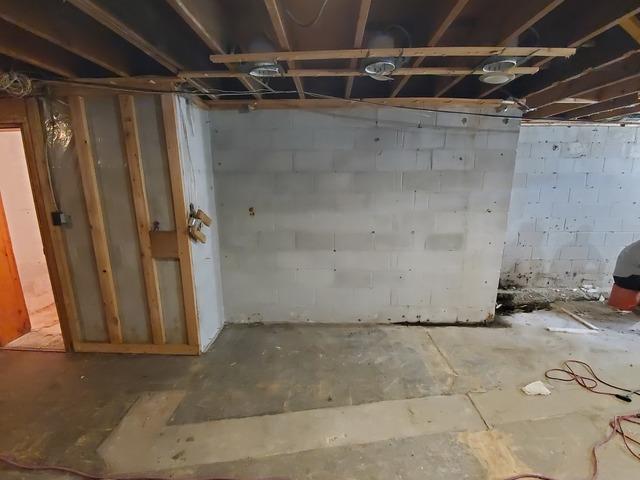
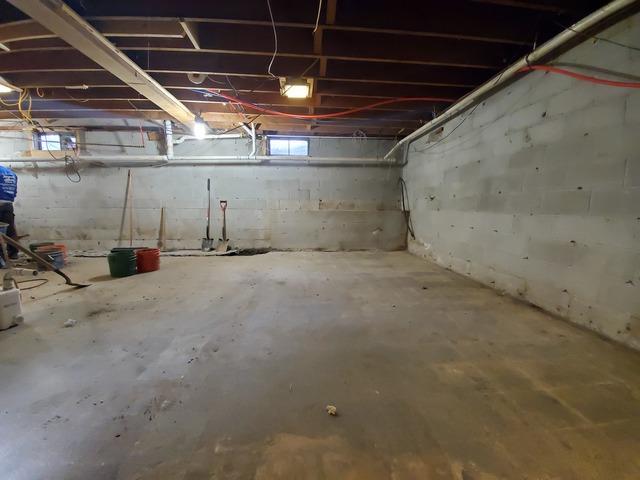
Left Hand Wall
How the left-hand wall looked before we started our project.
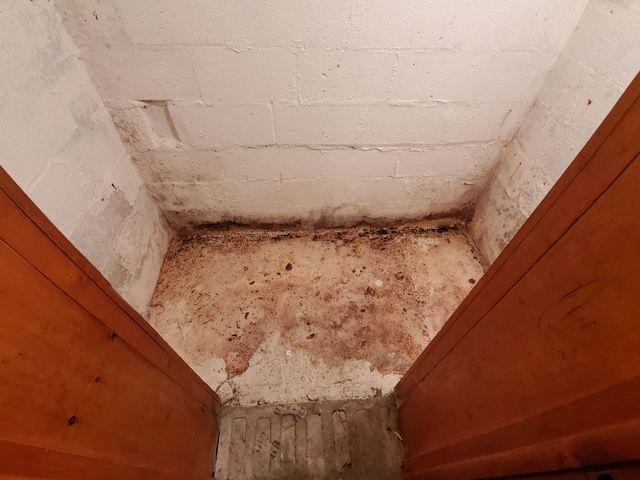
Storage Closet
How the storage closet looked before we started our project.
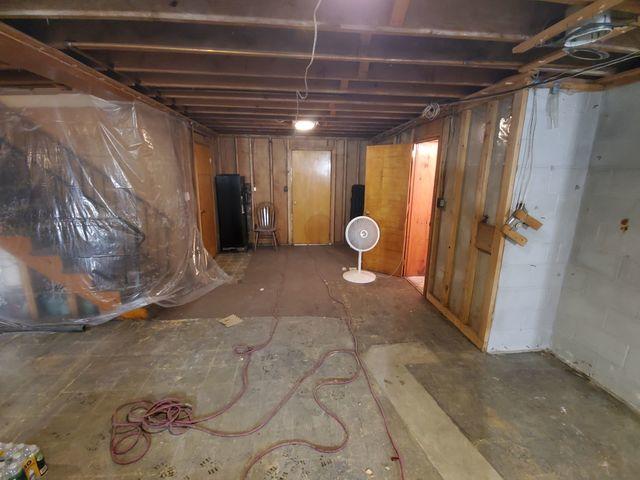
Entrance To The Basement
In order to get our tools and materials into the basement, we had to go through their garage.
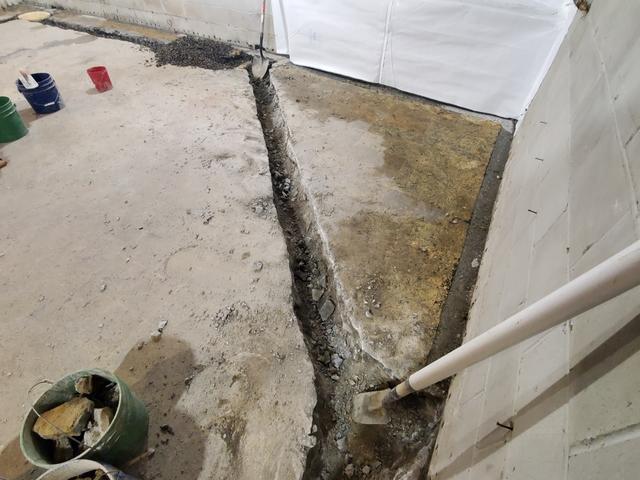
Starting Our Trench
We started our trench along the right-hand side wall to the front wall and worked our way around until we created a trench around the entire perimeter of the basement.
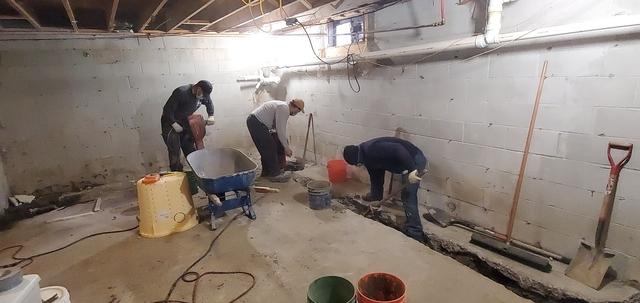
Continuing Our Trench To Our Sump Pump
After creating our starting point we continued around the perimeter of the basement. After creating our trench on the front wall we began to create the hole for our sump pump basin.
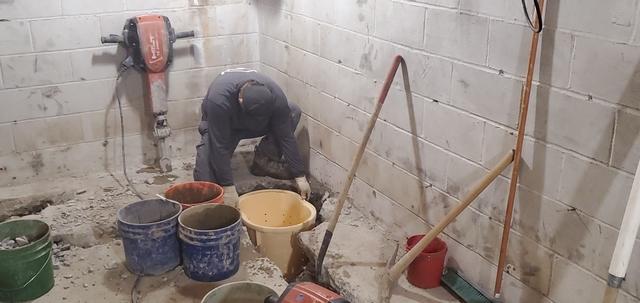
Fitting Out Sump Pump
Once the hole for our sump pump basin was adequately created measured to make sure our dimensions were correct.
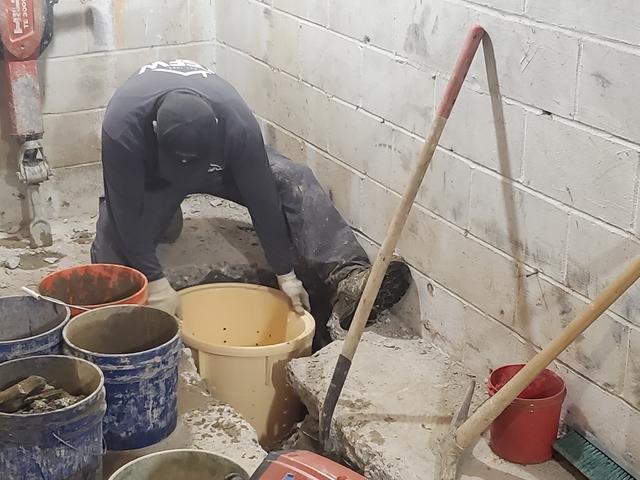
Making Sure The Basin Is Level
After fitting our basin for our sump pump we made sure that everything was level and trued before continuing on with creating our trench.
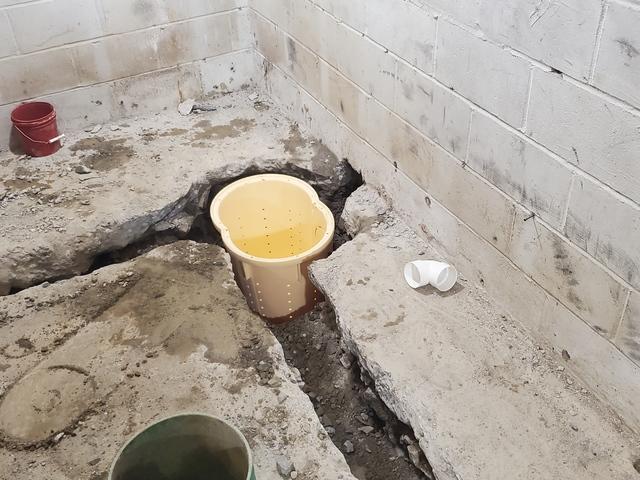
Basin In Place
Our basin is in its final position after squaring everything.
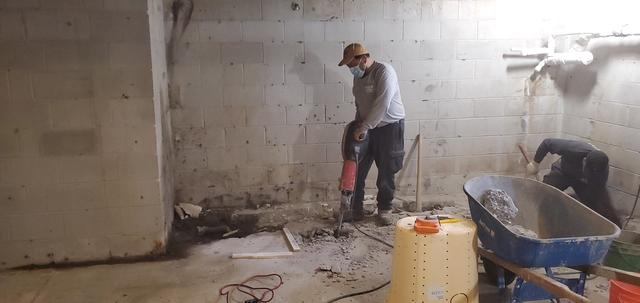
Continuing Our Trench
Starting to jackhammer for our trench along the left-hand wall.
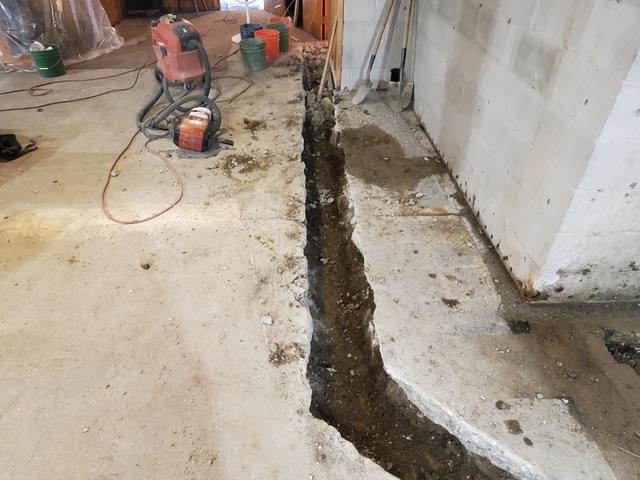
Trench Completed
How our fully completed trench looked against the left-hand wall.
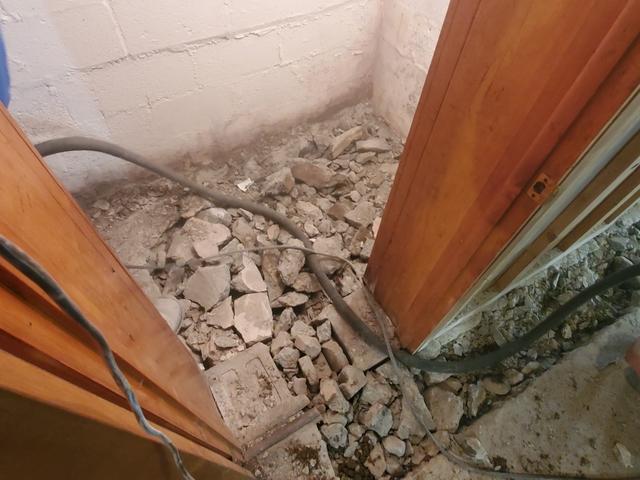
Making A Mess Before Making It Better
How the concrete in the storage closet looked before we cleaned all of it out.
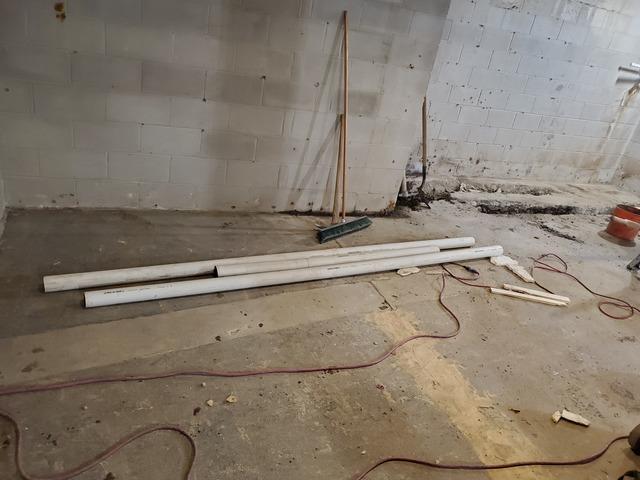
Pipe Time
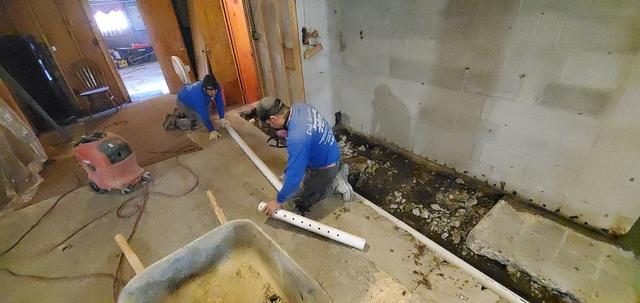
Once our trench was fully formed around the perimeter we began to cut and run our perforated pipe to our sump pump.
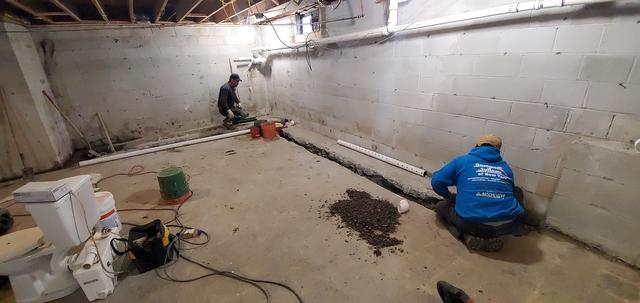
Starting To Fit Our Piping
After cutting our piping we started to lay it into our trench and fit it accordingly.
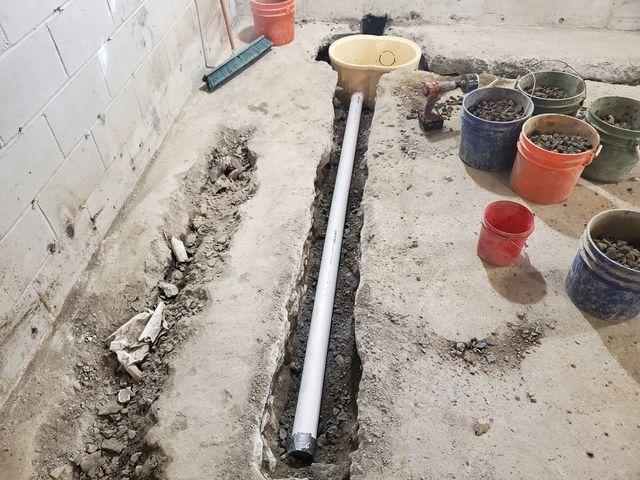
Installed Piping
How our perforated pipe looked installed on one side of our basin.
f
f
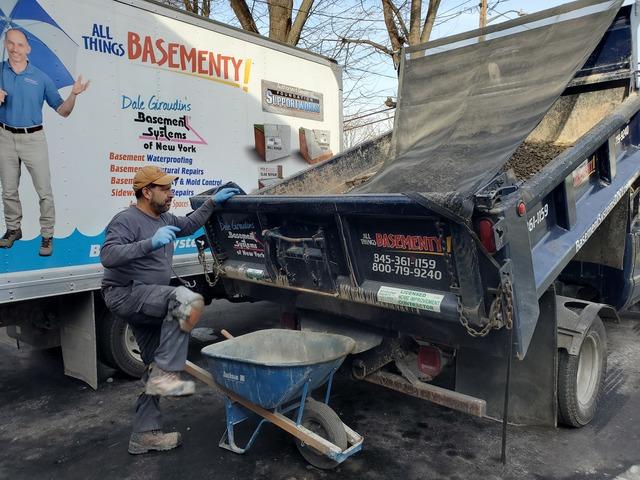
Look At All That Gravel
Starting to drop our gravel into our wheel barrel in order to bring it in and fill in our trench.
Pinned And Welded
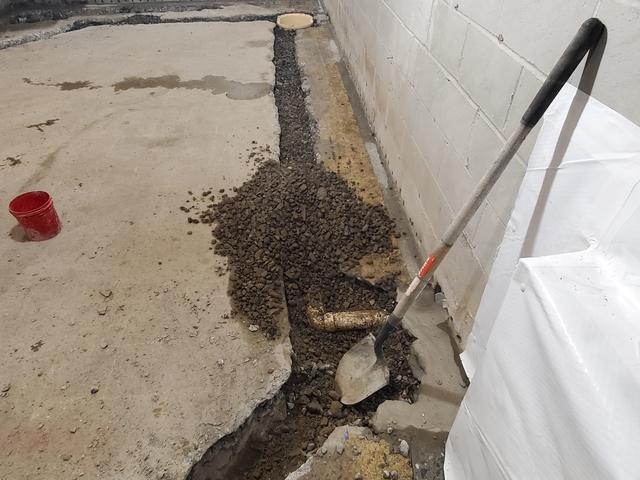
Before starting to evenly distribute our gravel we poured a small amount strategically over our perforated piping in order to "pin and weld" it.
Behind The Storage Closet
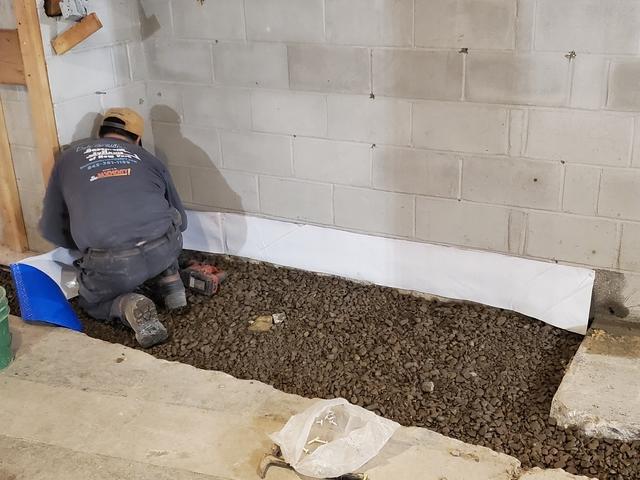
How our gravel looked in our trench behind the storage closet as our team applied a small strip of CleanSpace.
All Filled In
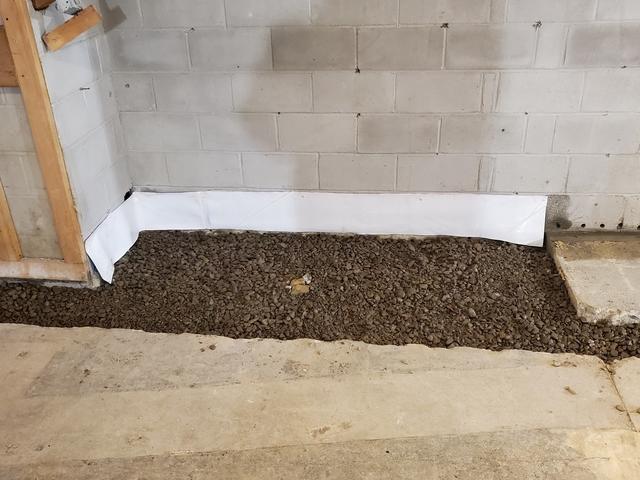
How our gravel looked in our trench behind the storage closet after our team applied a small strip of CleanSpace.
DryTrak Against The Right Hand Wall
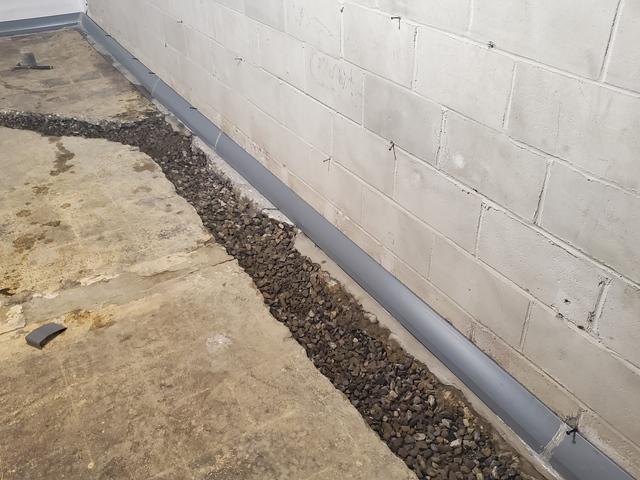
After laying gravel in our trench we applied epoxy to the wall and our DryTrak waterproofing system in order to install the system and allow for water to find the path of least resistance to our sump pump against the right-hand wall.
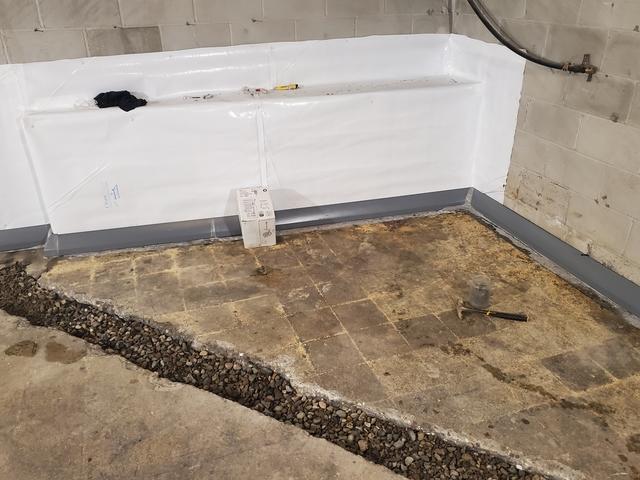
DryTrak Against The Right Hand Wall To The Front Wall
After laying gravel in our trench we applied epoxy to the wall and our DryTrak waterproofing system in order to install the system and allow for water to find the path of least resistance to our sump pump against the right-hand wall to the front wall.
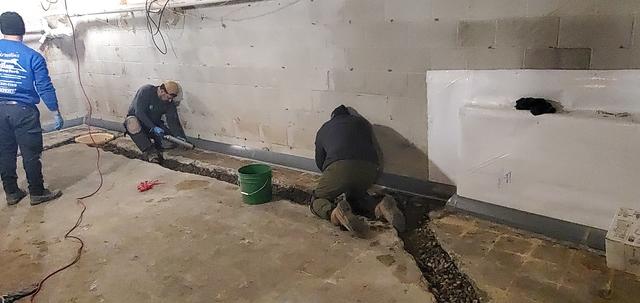
DryTrak Against The Front Hand Wall
After laying gravel in our trench we applied epoxy to the wall and our DryTrak waterproofing system in order to install the system and allow for water to find the path of least resistance to our sump pump against the front hand wall.
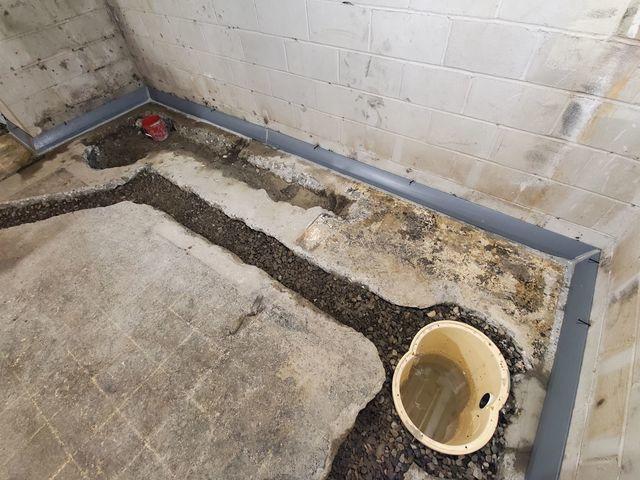
DryTrak Against The Left Hand Wall By Our Sump Pump
After laying gravel in our trench we applied epoxy to the wall and our DryTrak waterproofing system in order to install the system and allow for water to find the path of least resistance to our sump pump against the left-hand wall near our sump pump.
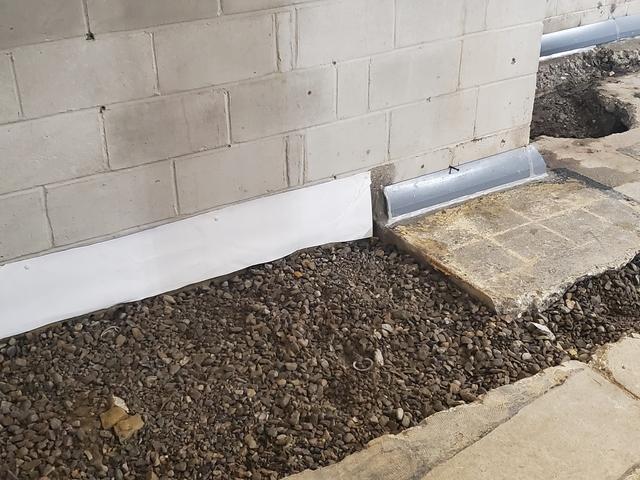
DryTrak Behind The Closet Wall
After laying gravel in our trench we applied epoxy to the wall and our DryTrak waterproofing system in order to install the system and allow for water to find the path of least resistance to our sump pump behind the storage closet.
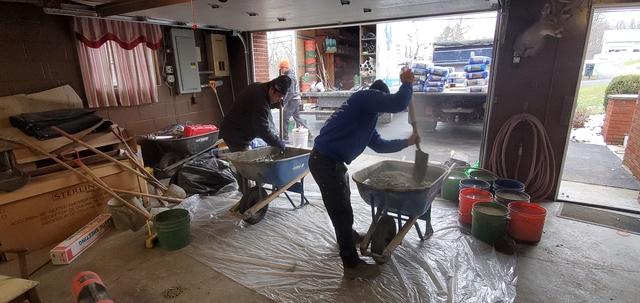
Making Things Look Pretty
Starting to mix concrete to make it look as if we were never in this basement.
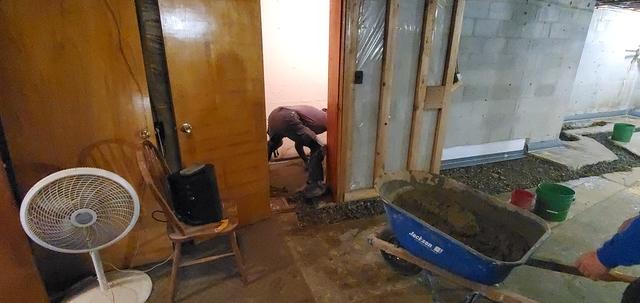
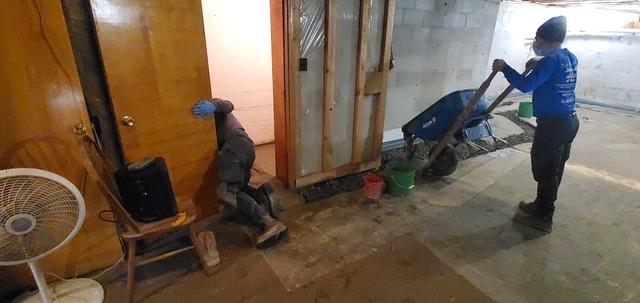
Dispersing Evenly
Dispersing our concrete evenly in the storage closet while applying our finish to it before moving onto our trench
f
f
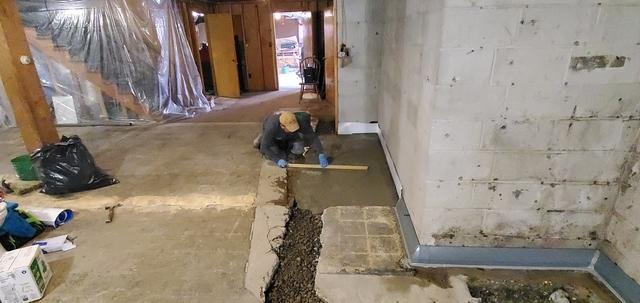
Concrete Against The Left Wall
Applying concrete to our trench against the left-hand wall and applying our finish to it.
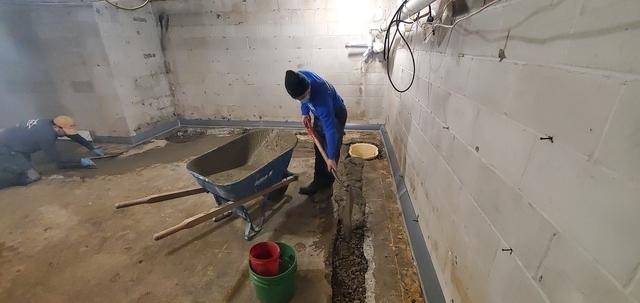
Concrete Against The Front Hand Wall
Applying concrete to our trench against the front hand wall and applying our finish to it.
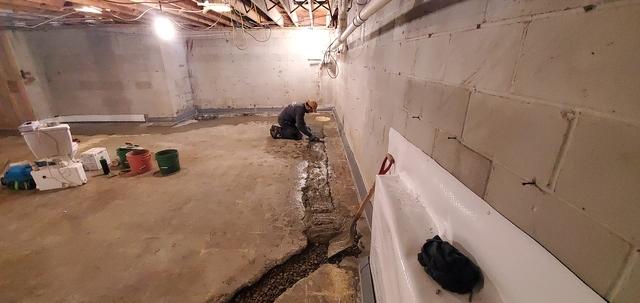
Finishing Our Concete
After applying our concrete to our trench it received our hand finish to make it look as if we never disturbed their concrete.
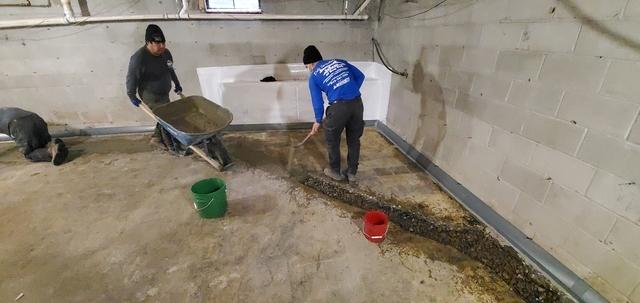
Filling In Our Lateral With Concete
Applying concrete to our lateral.
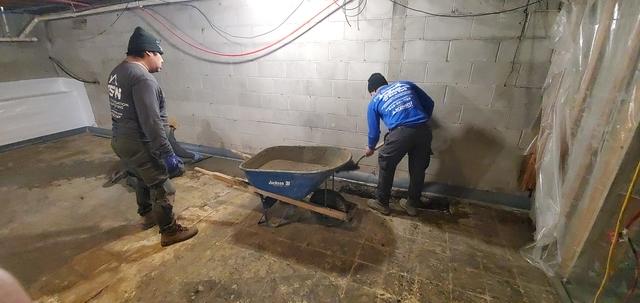
Concrete Against The Right Hand Wall
Applying concrete to our trench against the right-hand wall and applying our finish to it.
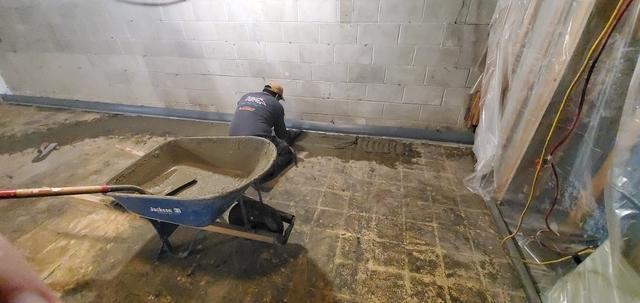
Applying Our Finish To Our Concrete Against The Right Hand Wall
Applying our finish to our freshly laid concrete against the right-hand wall
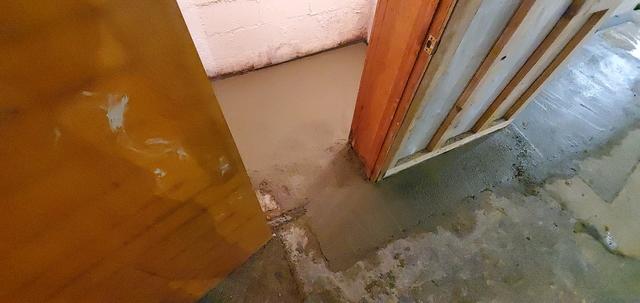
Storage Closet
How our waterproofing system looked after concreting back over everything in their storage closet.
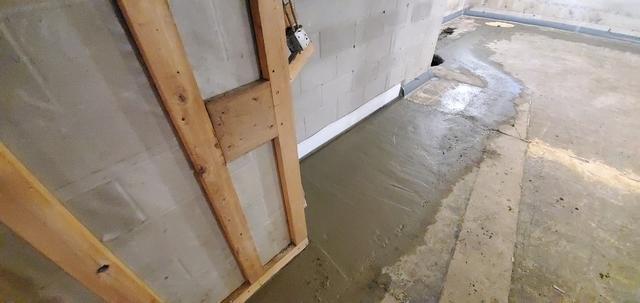
Left Wall
How our waterproofing system looked after concreting back over everything across the left-hand wall.
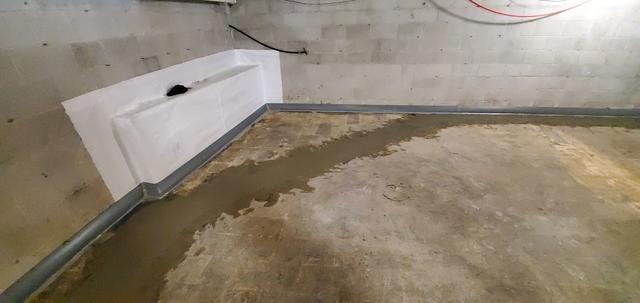
Right Hand Wall To The Front Wall
How our waterproofing system looked after concreting back over everything across the right-hand wall to the front wall with our lateral.
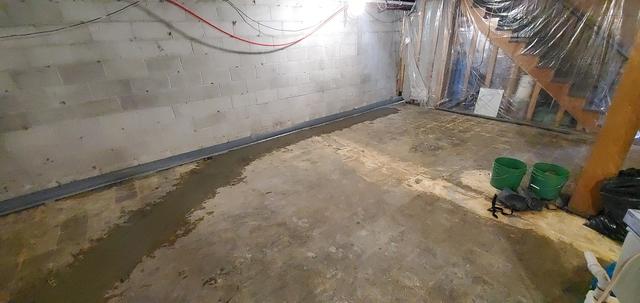
Fully Installed System Right Hand Side
How our waterproofing system looked after concreting back over everything across the right-hand wall.
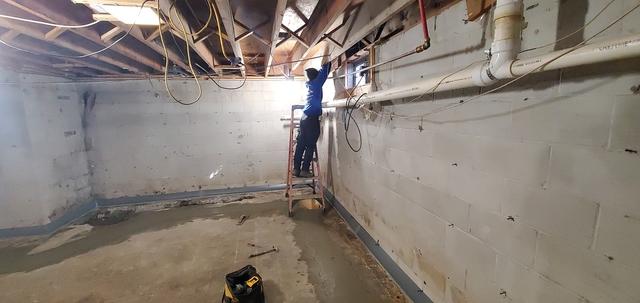
Gotta Get That Water Out
Drilling through the sill plate in order to establish our discharge line from the inside to the outside.
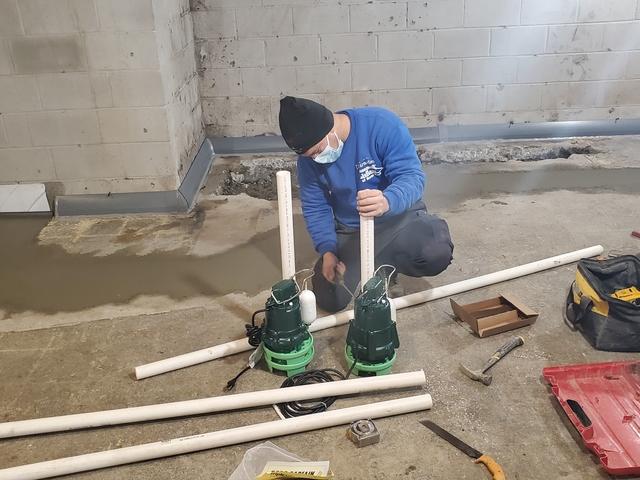
Cutting For Our Pumps
Cutting piping to the proper length to sit level once in our basin
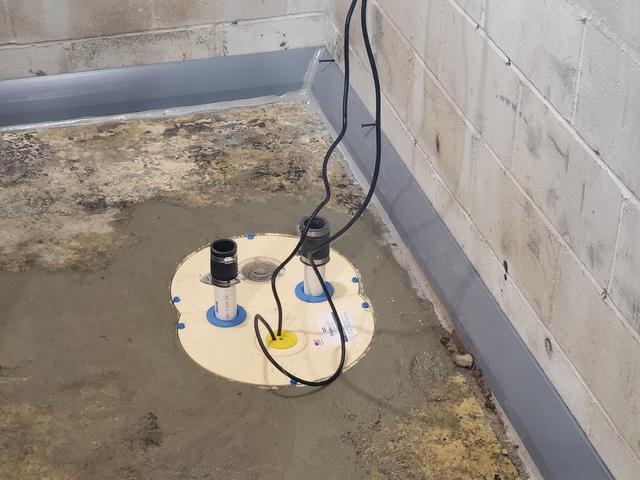
Almost Done
Our pumps are fully installed in our basin before attaching the system to our discharge line.
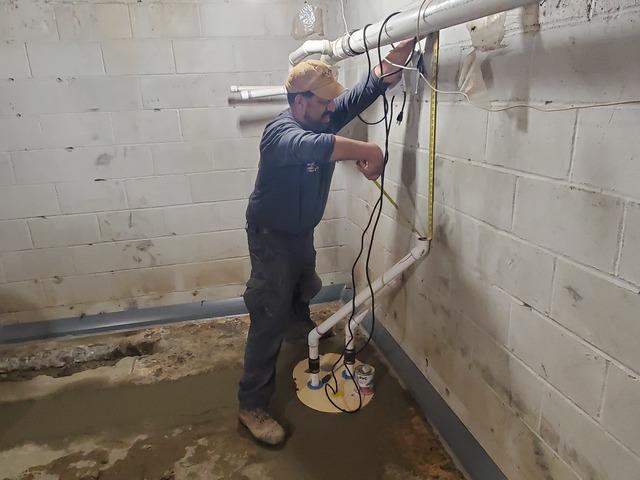
Measuring For The Right Angle
Make sure that our piping has the right angle to discharge water out of the home.
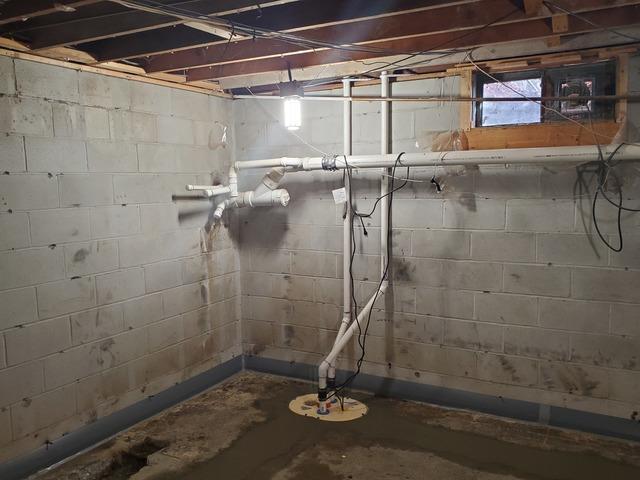
Double Pump Sump Pump
Fully installed double sump pump system with proper discharge lines.
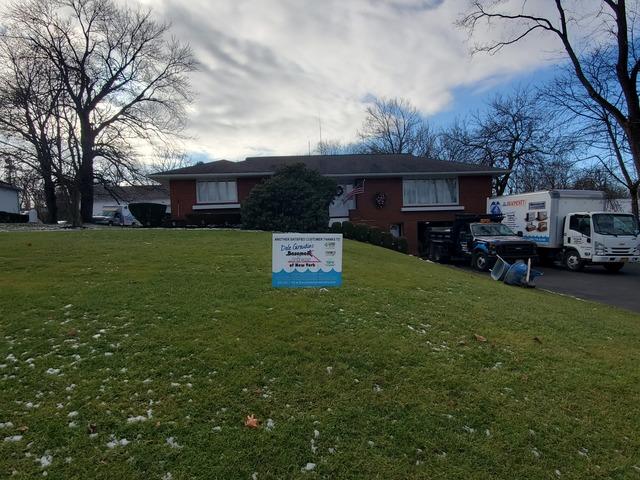
And That's A Wrap
Another happy and dry client!
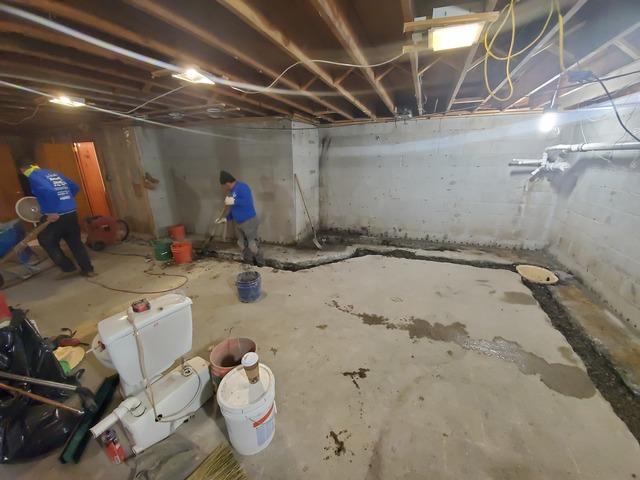
Front Wall To Left Wall With Gravel Installed 2/2
How our trench looked once filled in with gravel from a wide angle on the front wall to the left wall.
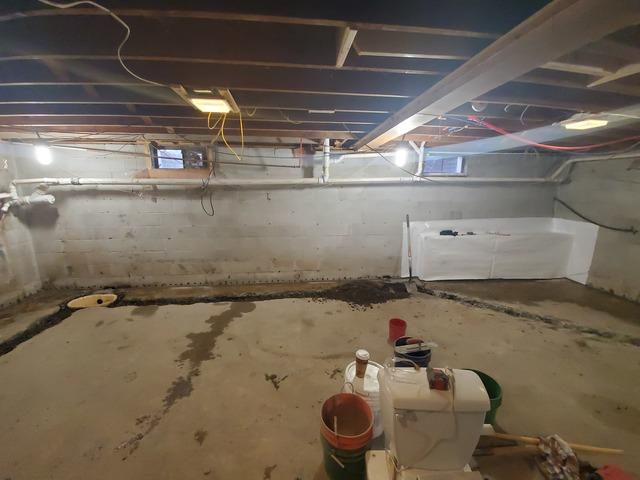
Front Wall To Left Wall With Gravel Installed 1/2
How our trench looked once filled in with gravel from a wide angle on the front wall to the left wall.
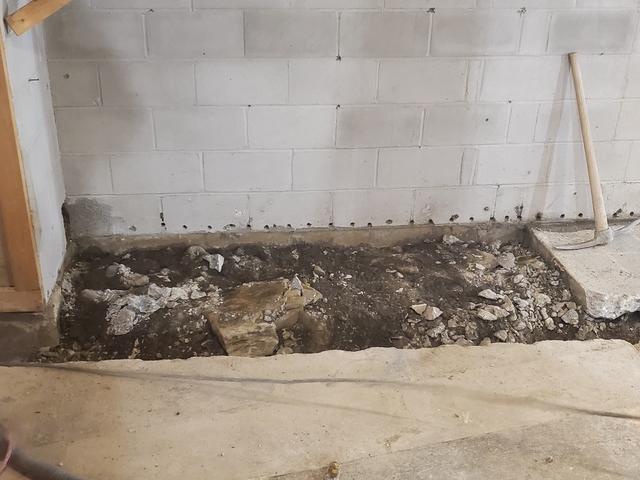
Taking A Big Bite
Because of how water entered this home we had to remove a big portion of the concrete behind the wall of their storage closet.
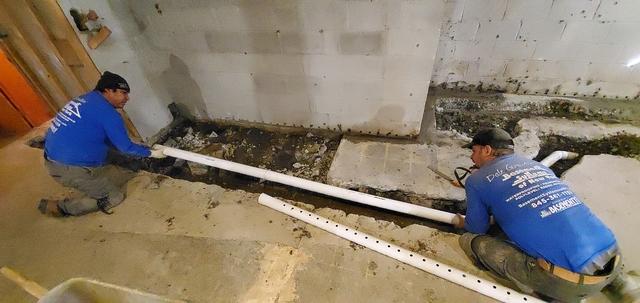
Continuing Our Piping
Once the section of pipe before this one was installed our team moved on to running piping from the center of the left side all the way to the storage closet.
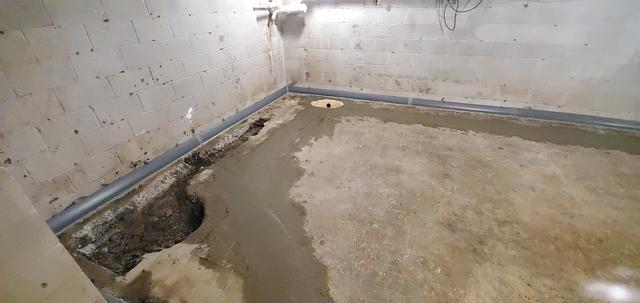
Front Wall To The Left Wall
How our waterproofing system looked after concreting back over everything across the front wall to the left wall.

