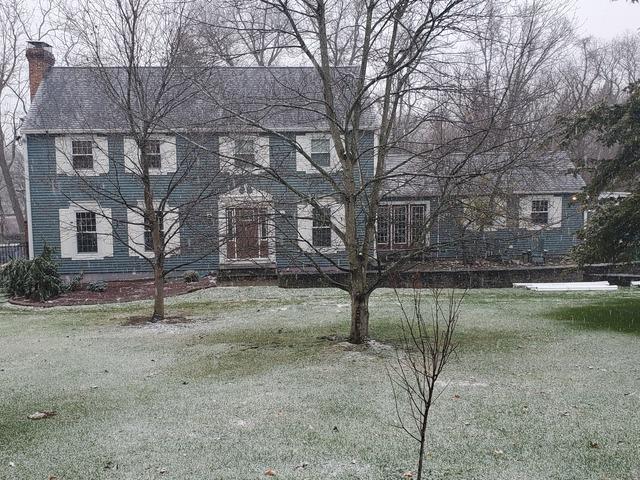
Front View
Here you can see the front view of the home that we performing the project on.
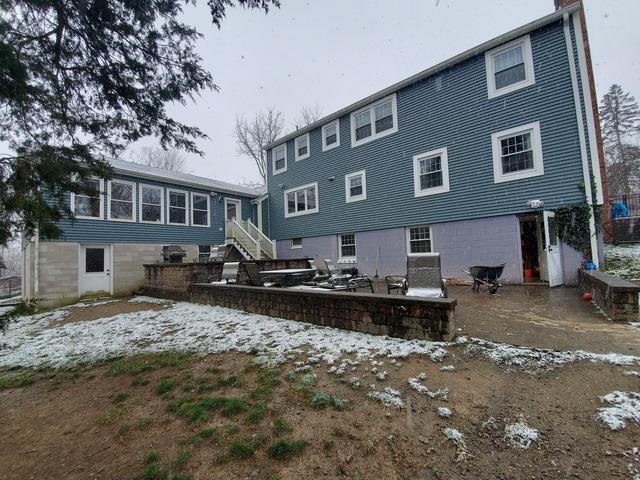
Rear View
Here you can see the rear view of the home that we performing the project on.
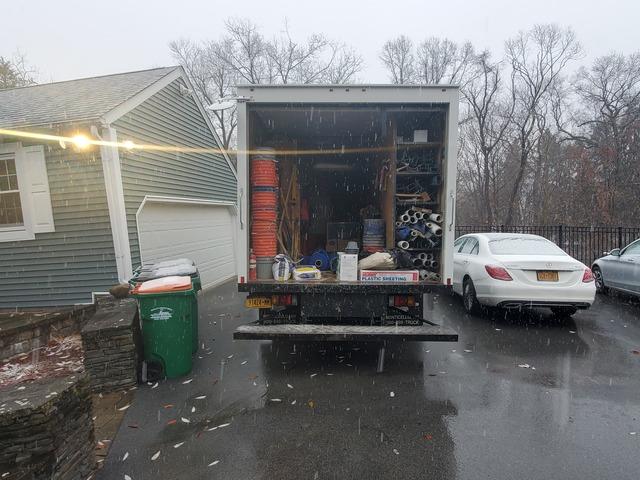
Unloading To Start
After our foreman walked through the home with the homeowner to review the project before starting our Installation Specialists started unloading their truck to start the project.
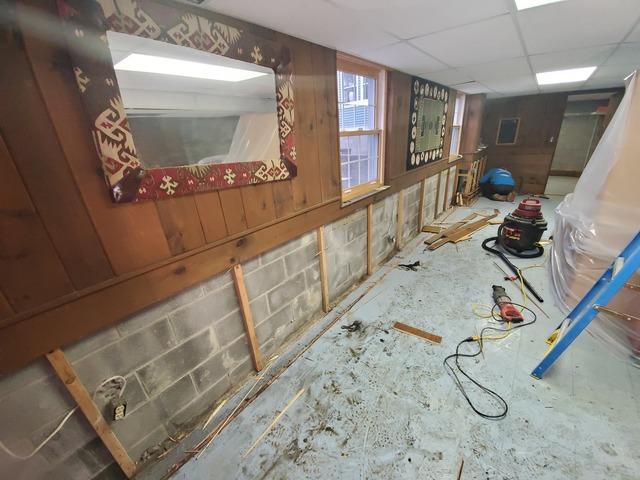
Removing Wood Structure
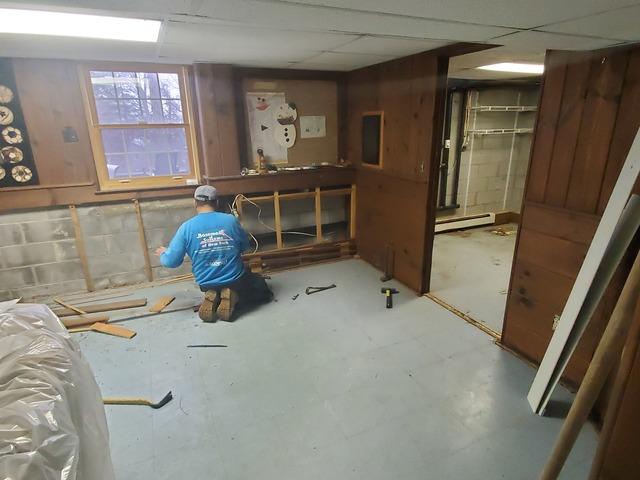
Before we could start to jackhammer our trench we needed to remove a wooden structure for their wall.
Finishing Up
Before we could start to jackhammer our trench we needed to remove a wooden structure for their wall. Our foreman finished as everyone else prepared other areas of the basement.
Work Area
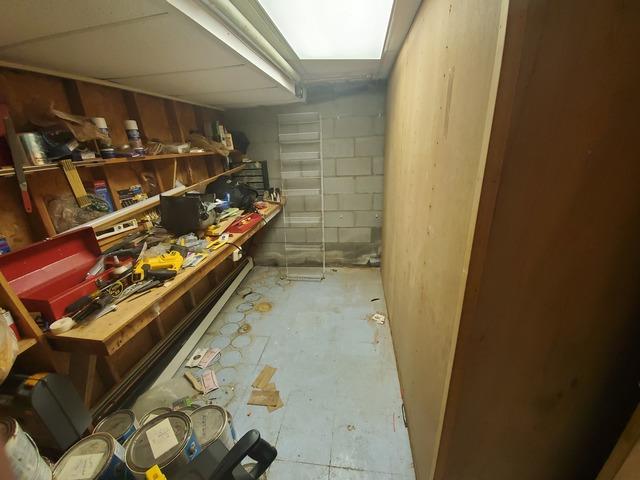
How this homeowners work bench looked before we installed our waterproofing system.
Leading To Their Storage Room
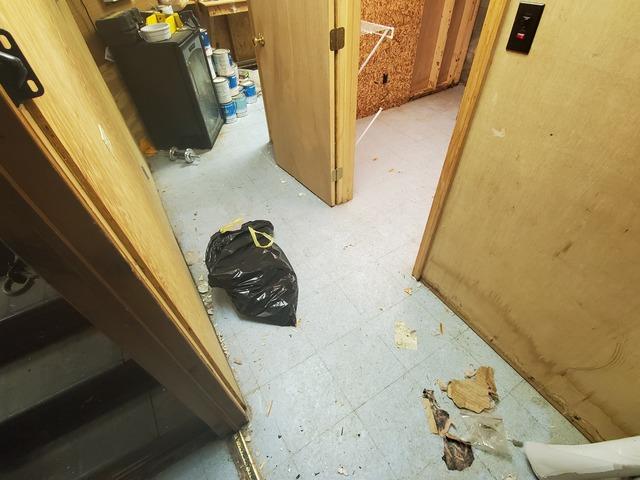
This home had multiple storage rooms. Here we can see the hallway between the work area and one of the storage areas.
Storage Area
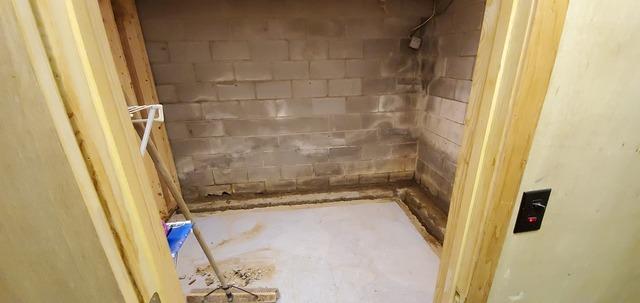
How this homeowners storage area looked before we installed our waterproofing system.
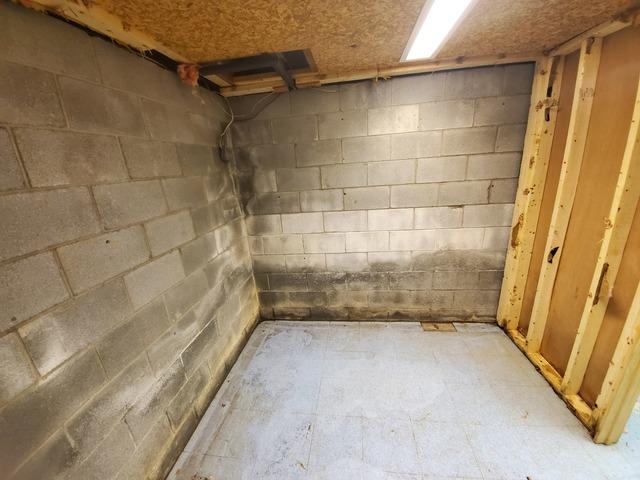
Storage Area From A Different Angle
How this homeowners storage area looked before we installed our waterproofing system.
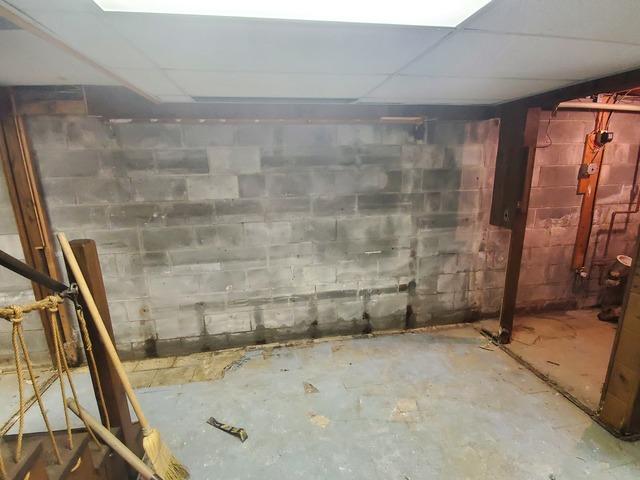
Left Wall
How this homeowners left side of the basement looked before we installed our waterproofing system.
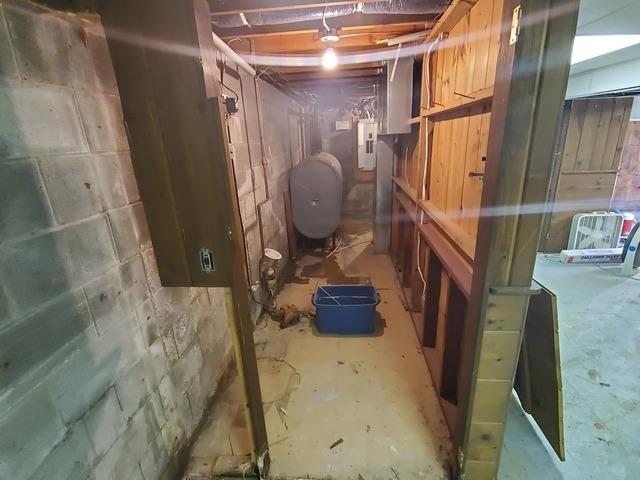
Left Wall To The Oil Tank
How this homeowners left side of the basement to their oil tank looked before we installed our waterproofing system.
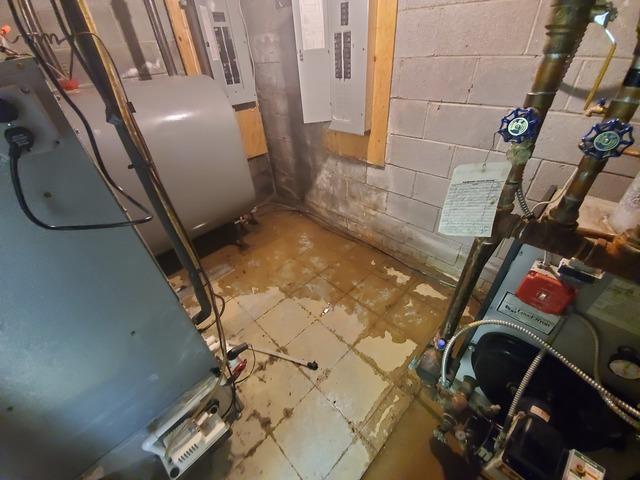
Oil Tank To the Boiler
How this homeowners left side and front wall of their basement looked from the oil tank to the boiler looked before we installed our waterproofing system.
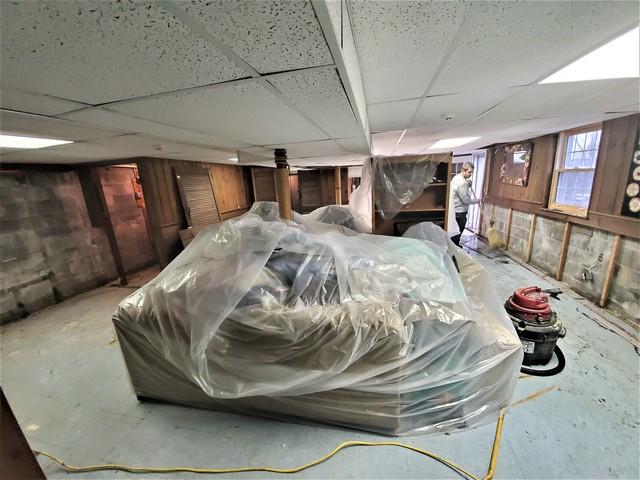
Wide Shot Of The Basement
Here we can see a wide shot of the main part of the basement being prepared for our patented waterproofing sytem.
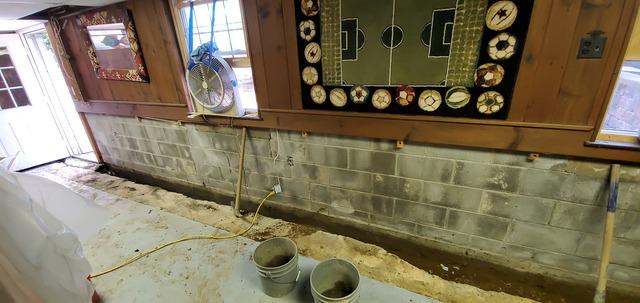
Right Wall Trench Dug
In order for us to install our waterproofing system we needed to dig a trench around the perimeter of their basement before we could start laying our system.
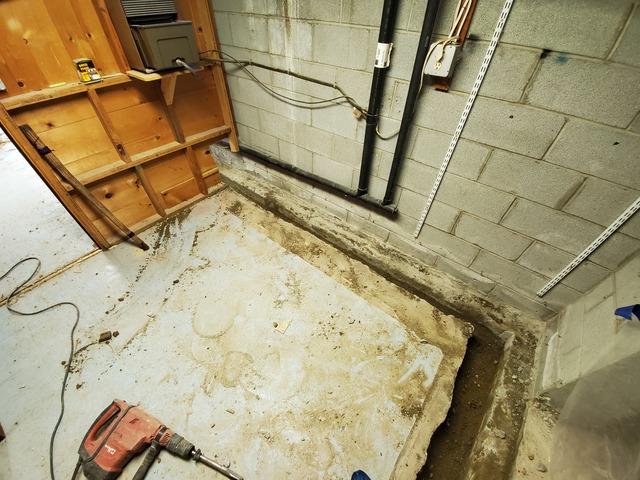
Storage Room
In order for us to install our waterproofing system we needed to dig a trench around the perimeter of their basement before we could start laying our system.
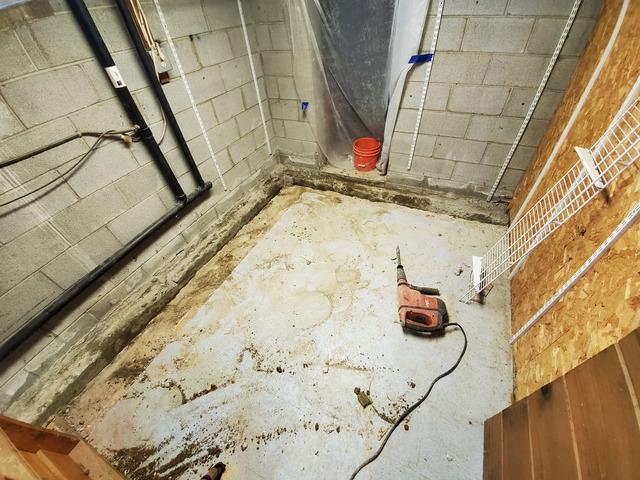
Wide Angle Of The Storage Room
In order for us to install our waterproofing system we needed to dig a trench around the perimeter of their basement before we could start laying our system.
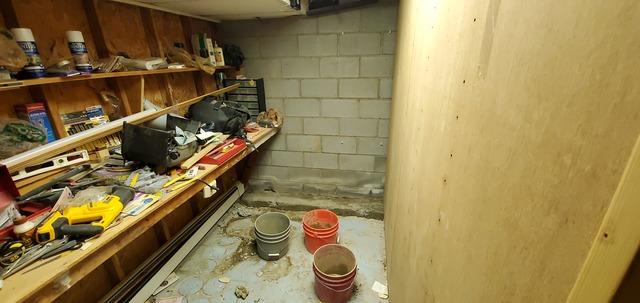
Work Area
In order for us to install our waterproofing system we needed to dig a trench around the perimeter of their basement before we could start laying our system.
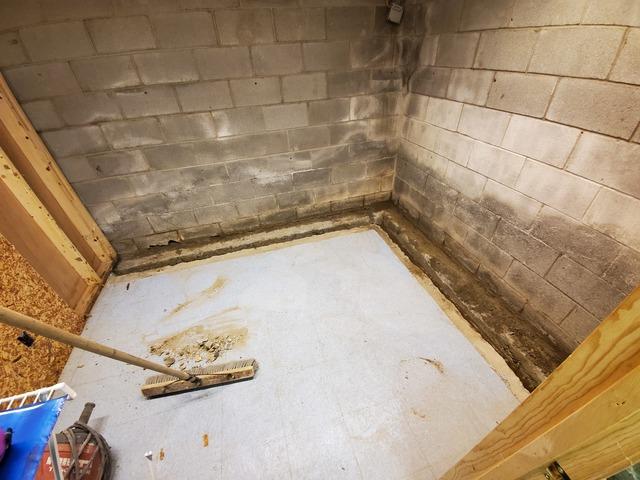
Storage Area #2
In order for us to install our waterproofing system we needed to dig a trench around the perimeter of their basement before we could start laying our system.
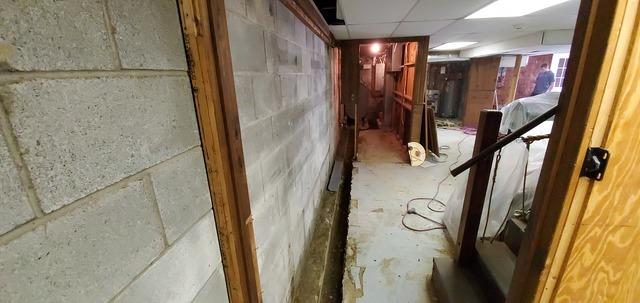
Left Wall To The Oil Tank
In order for us to install our waterproofing system we needed to dig a trench around the perimeter of their basement before we could start laying our system.
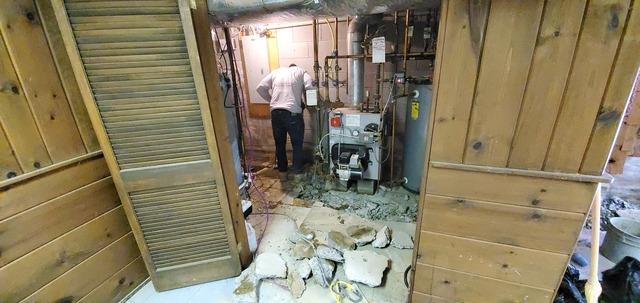
Oil Tank To The Boiler
In order for us to install our waterproofing system we needed to dig a trench around the perimeter of their basement before we could start laying our system.
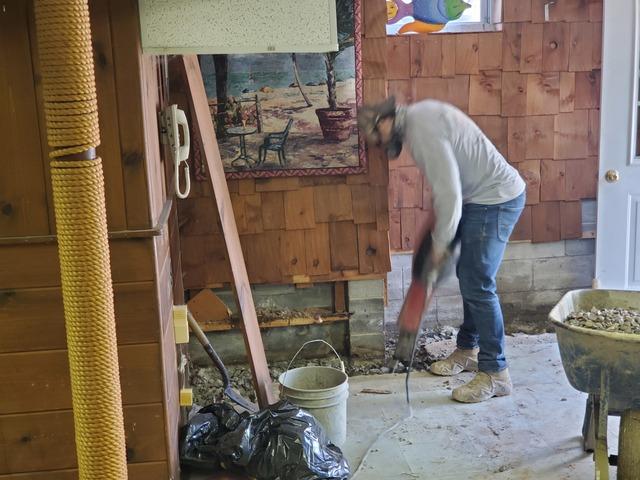
Front Wall
In order for us to install our waterproofing system we needed to dig a trench around the perimeter of their basement before we could start laying our system.
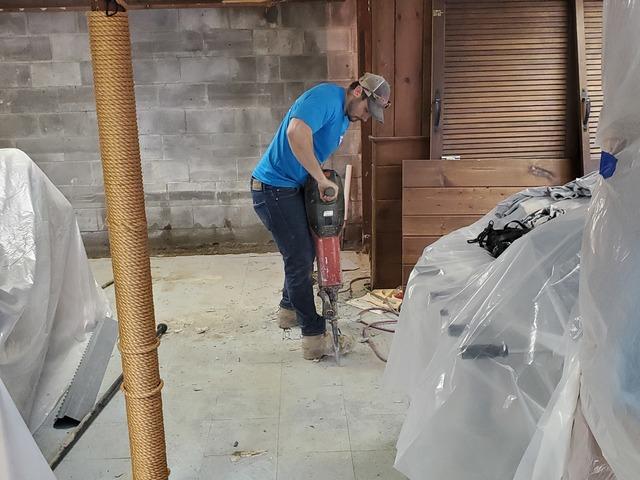
Starting On Our Lateral
Because this homeowner had water coming up through the center of their floor, as well as along the perimeter of their basement we needed to install a lateral that would connect the two sides of the basement.
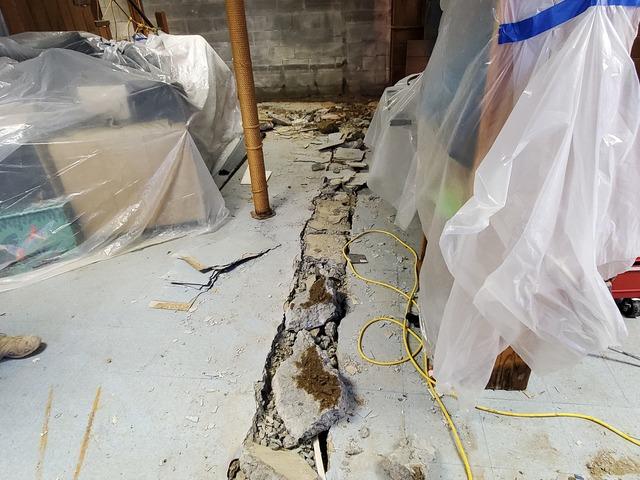
Cleaning the Lateral
Once we had formed our lateral and all the concrete was loosened we started to clean it out so we could lay our system.
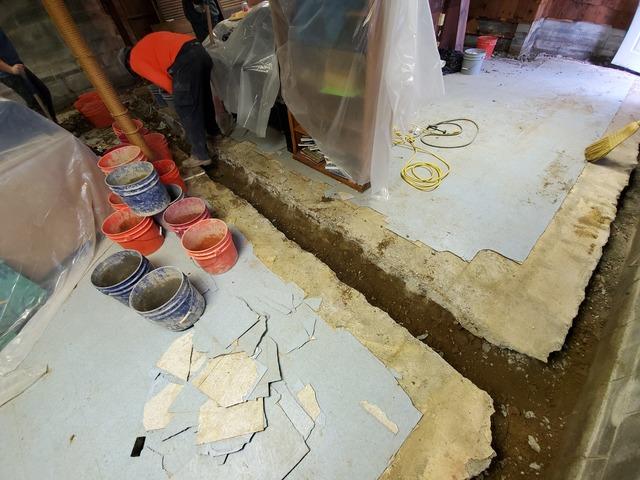
Cleaned Lateral
How our lateral looked after we cleaned all the broken up concrete out of it. As well we can see how it looks connected from one side of the basement to the other before we installed our system and concreted over it.
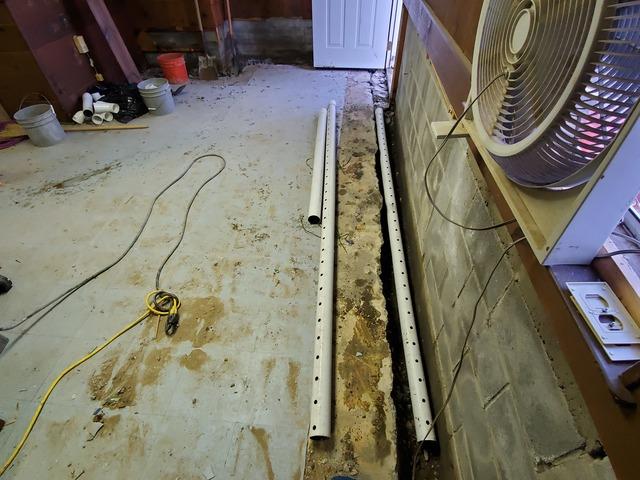
Starting To Lay Piping and Gravel Along The Right Wall
Starting to lay our waterproofing system along the perimeter of the basement.
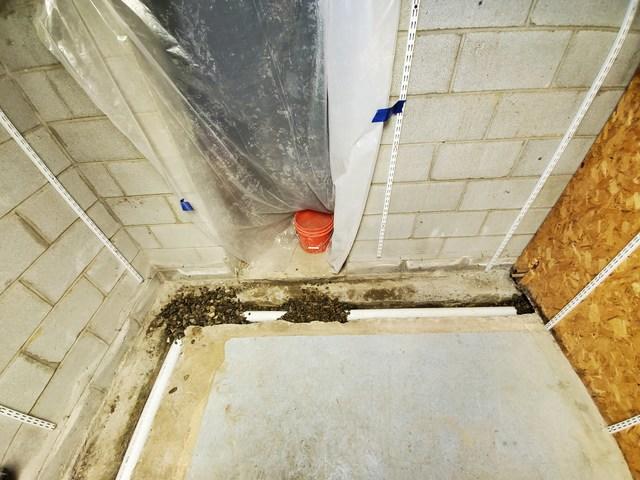
Starting to Lay Piping and Gravel Along The Right Wall and Storage Area
Starting to lay our waterproofing system along the perimeter of the basement.
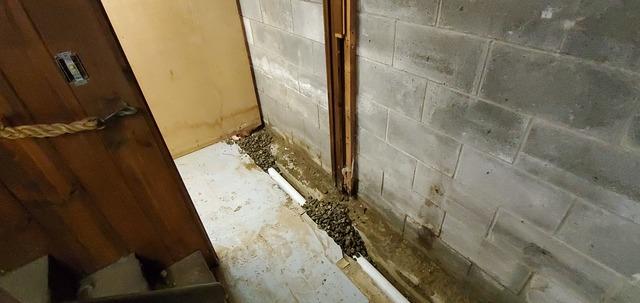
Starting to Lay Piping and Gravel Along The Left Wall and Storage Area
Starting to lay our waterproofing system along the perimeter of the basement.
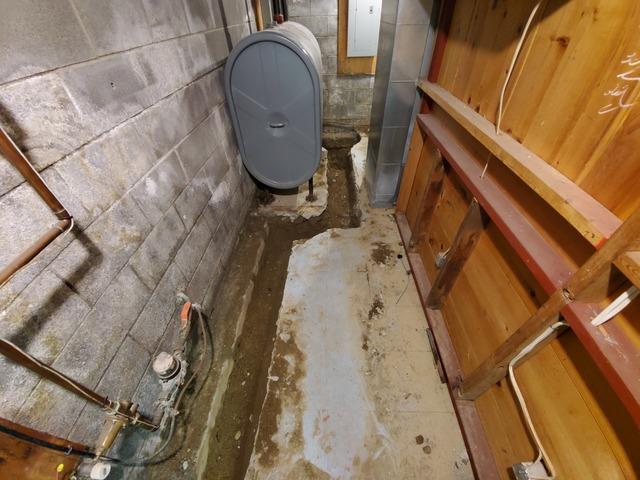
Piping and Gravel Laid Near The Oil Tank
A portion of our waterproofing system installed along the perimeter of the basement.
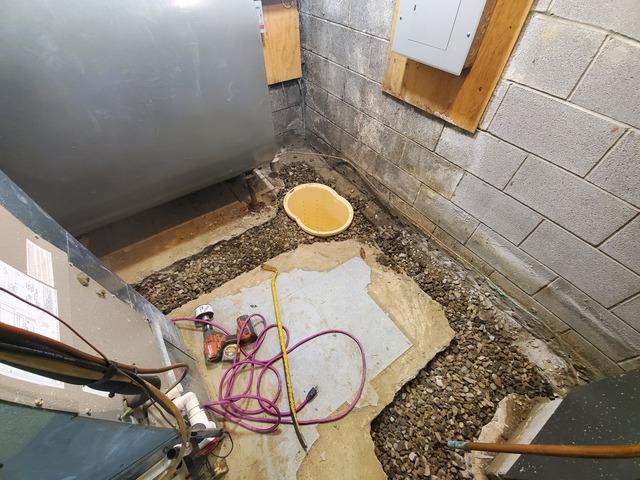
Piping and Gravel Laid From Newly Installed Sump Pump To The Boiler
A portion of our waterproofing system installed along the perimeter of the basement. After we positioned our sump pump where we wanted it we started to drill the hole for our discharge line to run from the sump pump to the outside of the home.
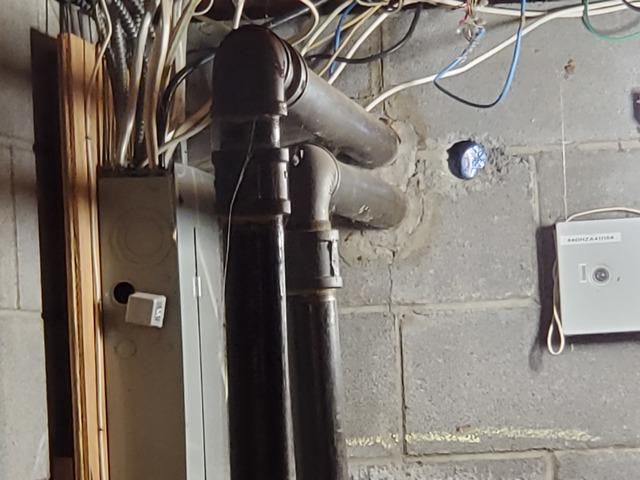
Discharge Line Hole
After we positioned our sump pump where we wanted it we drilled the hole for our discharge line to run from the sump pump to the outside of the home
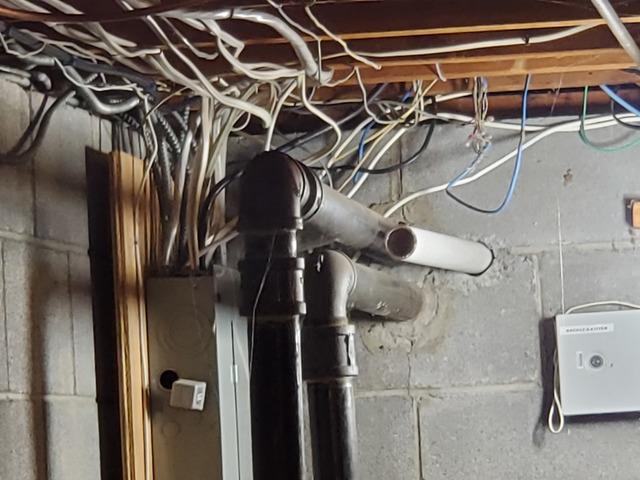
Discharge Line
After we positioned our sump pump and drilled our hole for our discharge line we started positioning the connection between the sump and the where we wanted to discharge the water.
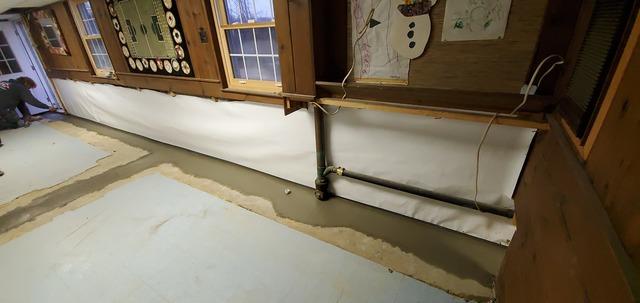
Starting To Lay Concrete
After Installing our system along the perimeter of this home we started to concrete over our system, as well as make the floor uniform again.
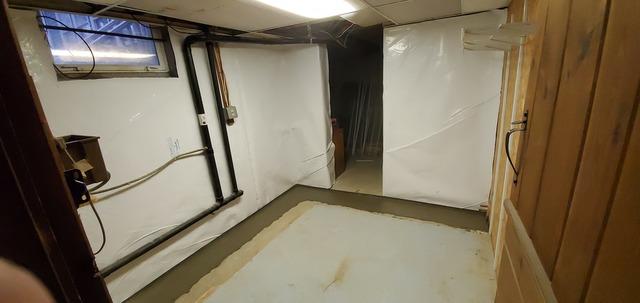
Concreting Over Our Systems Along The Right Wall And Their Storage Area
After installing our system around the perimeter of the basement we concreted over everything.
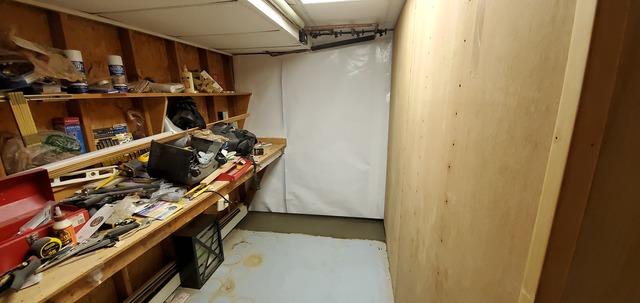
Concreting Over Our System In Their Work Station
After installing our system around the perimeter of the basement we concreted over everything.
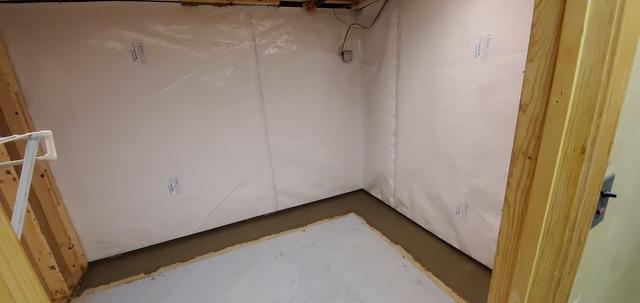
Concreting Over Our System Along The Left Wall And Their Storage Space
After installing our system around the perimeter of the basement we concreted over everything.
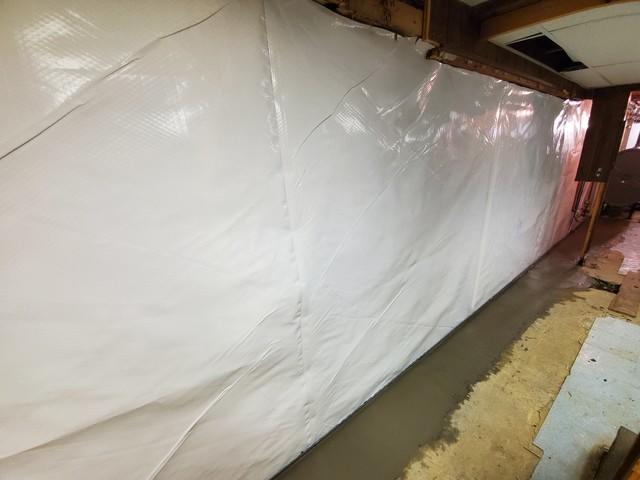
Concreting Over Our System Along The Left Wall
After installing our system around the perimeter of the basement we concreted over everything.
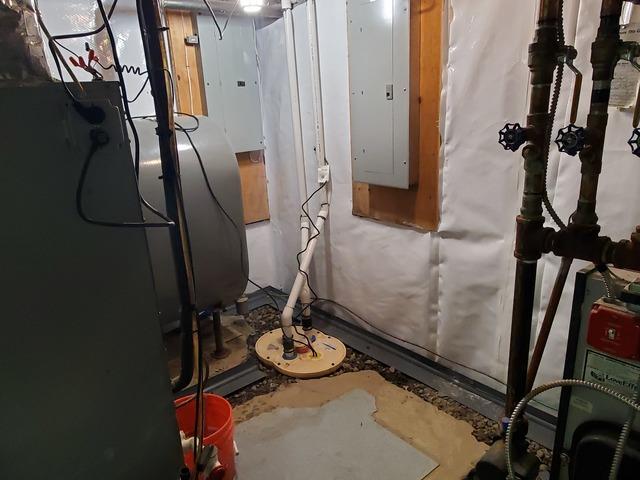
Concreting Over Our System and Sump Pump
After installing our system around the perimeter of the basement we concreted over everything.
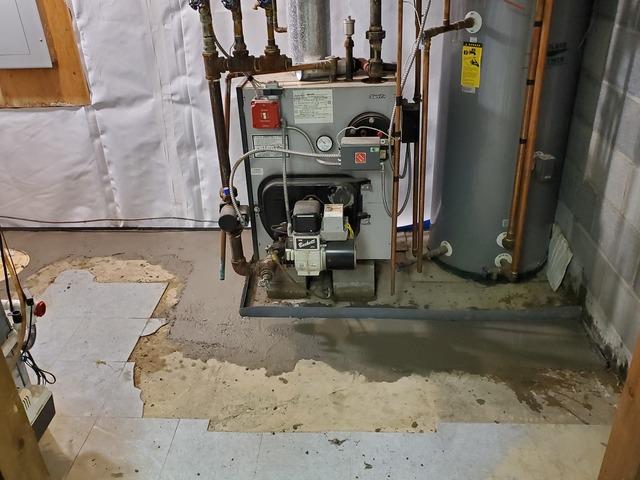
Concreting Over Our System Behind The Boiler
After installing our system around the perimeter of the basement we concreted over everything.
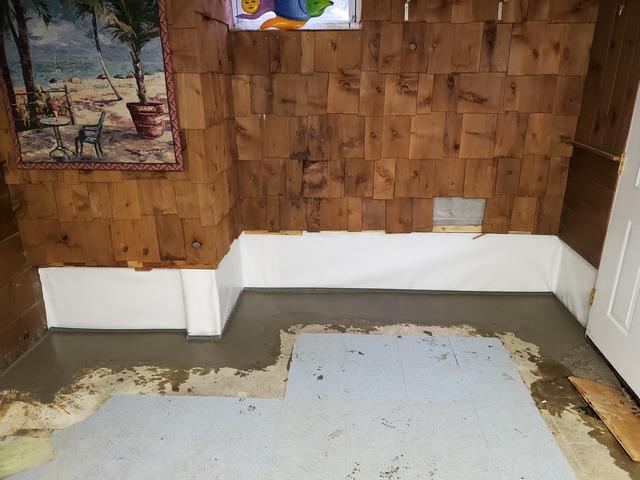
Concreting Over Our System Along The Front Wall
After installing our system around the perimeter of the basement we concreted over everything.
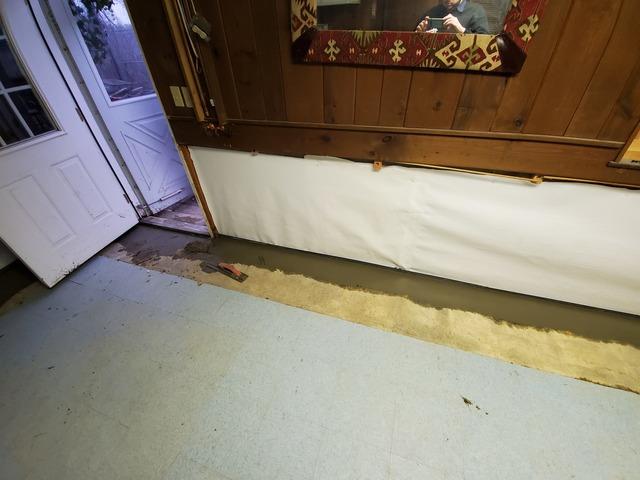
Concreting Over Our System Along the Right Wall
After installing our system around the perimeter of the basement we concreted over everything.
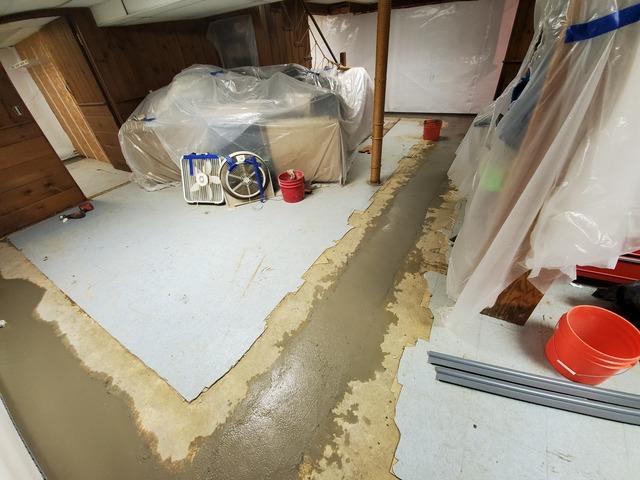
Concreting Over Our Lateral
After installing our system through the lateral that we created and connected it from one side of the basement to the other we concreted over everything.
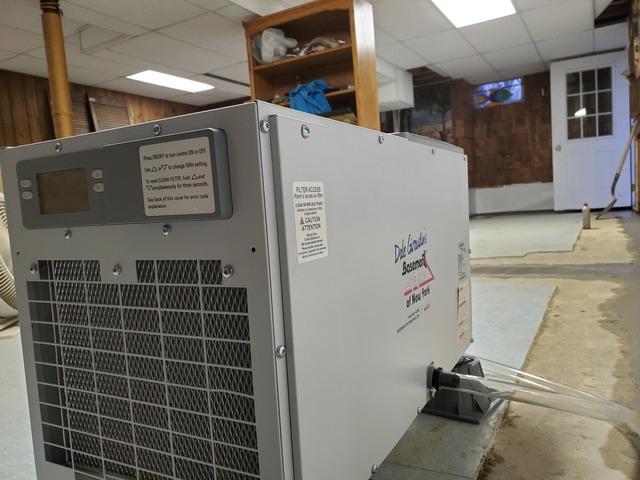
Finishing Touches
Before leaving the home we put the finishing touches on this home by installing our Basementaire dehumidifier.

