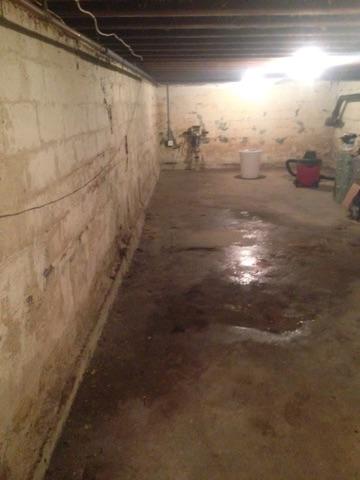
Before 1
Here you can see a before picture of the basement, you can see the footing is above the floor, you can also see the dampness and pooling of water on the floor.
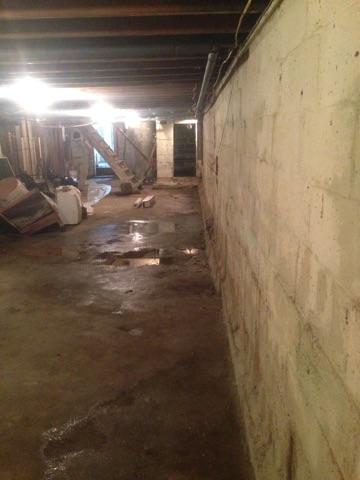
Before 2
Here is another angel in which you are able to also see the dampness and pooling of water on the floor as well as the dampness on the floor.
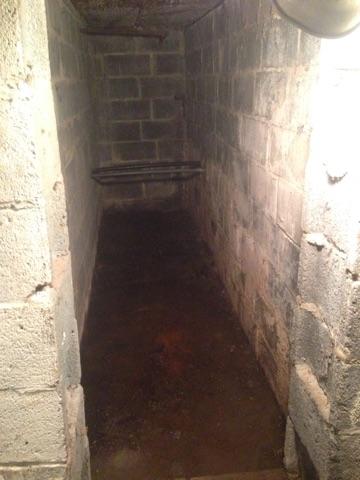
Before 3
This was a closet built in the basement, We were able to tunnel under the wall and incorporate the closet into the waterproofing system.
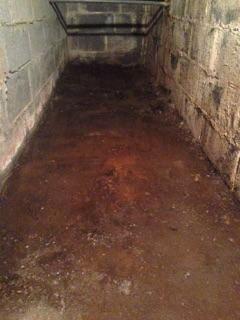
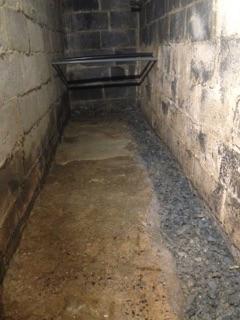
Before 4
This picture shows the standing water on the closet floor.
During 1
We jackhammered out the old concrete removed soil and installed pipe and gravel before we place FlowGuard and concrete to complete the system.
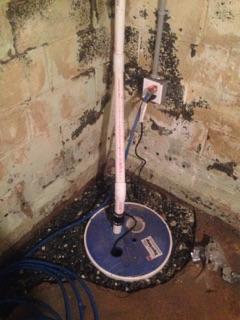
SuperSump
Here you can see the instillation of our patented SuperSump system.
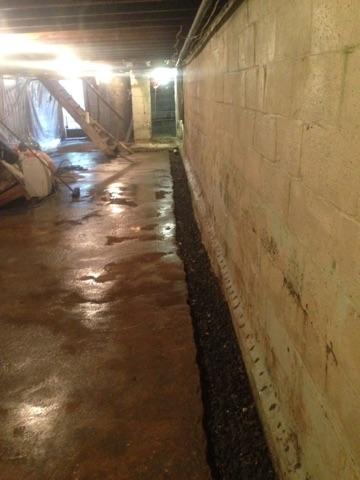
During 2
Here you can see the trench is broken out and grave has been put in place.
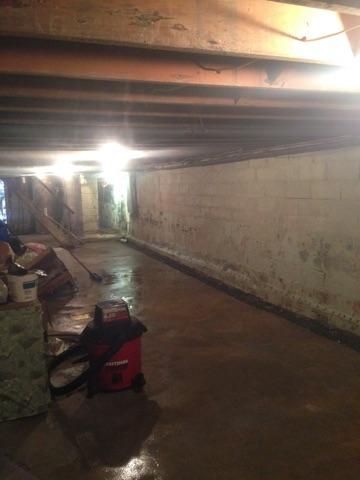
During 3
Here is another angle of the system partially completed
During 4
Here you can see the CleanSpace has been placed on the walls, the FlowGuard has also been installed and the concrete is getting replaced.
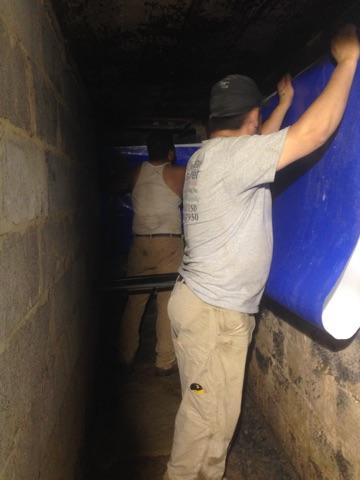
During 5
Here you can see the crew placing CleanSpace on the walls in the previously damp and dirty closet.
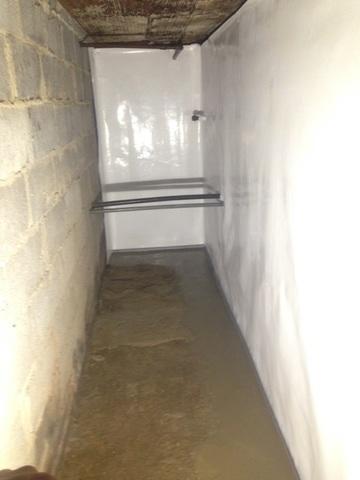
After 1
Before this closet was damp, and nasty. You can see that after the work we did this closet is in much better condition now
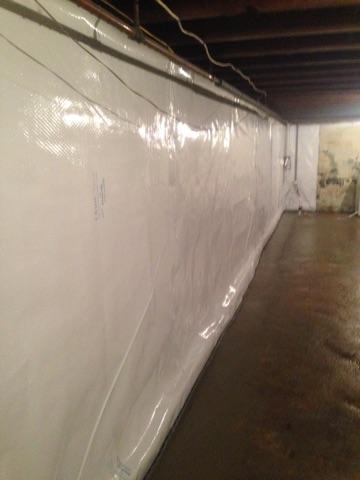
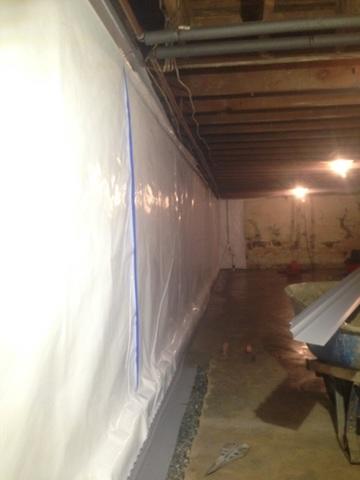
After 2
Here you can see the finished product. CleanSpace, FlowGuard, SuperSump, and dehumidification system.
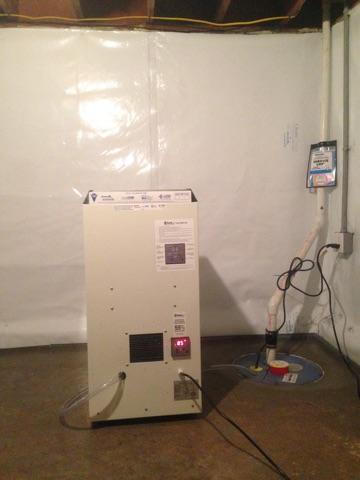
After 3
This image shows you our Dehumidifier (SaniDry XP) system working in unison with our SuperSump system
