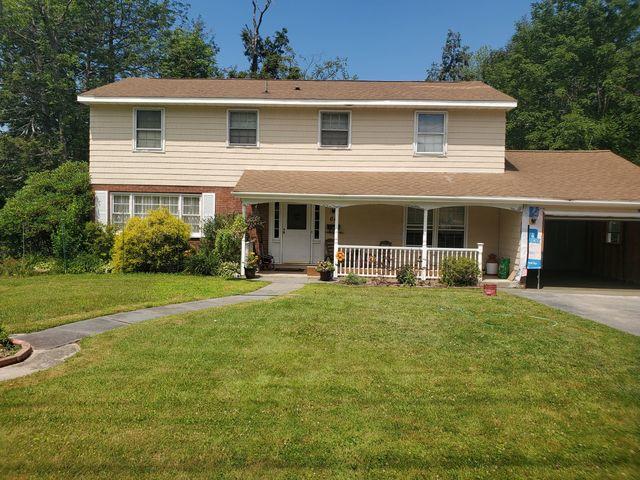
Outside
How the home we were performing our project on looked from the outside.
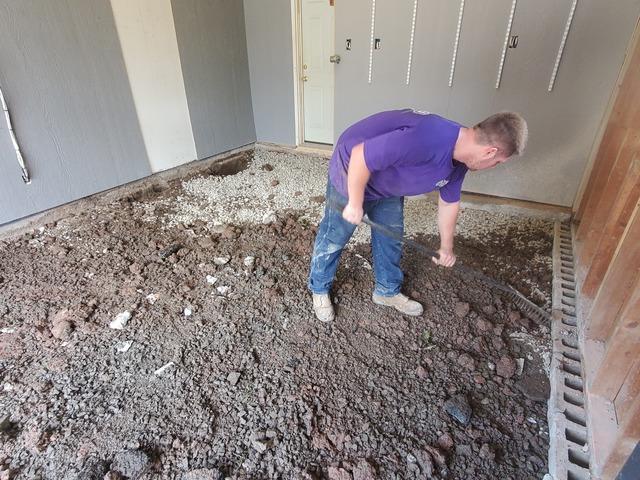
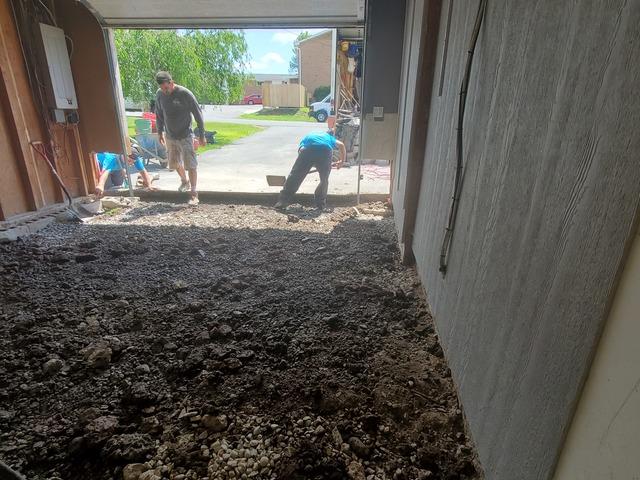
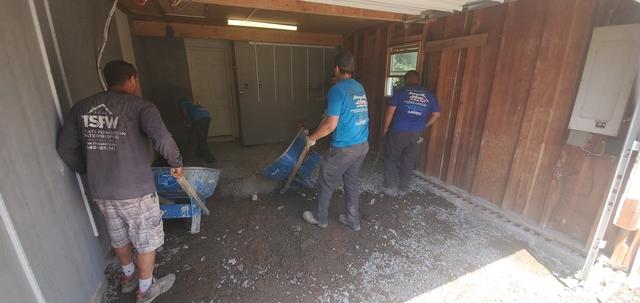
Jackhammering Completed
After jackhammering and removing the old slab we started to grade the ground underneath it.
f
f
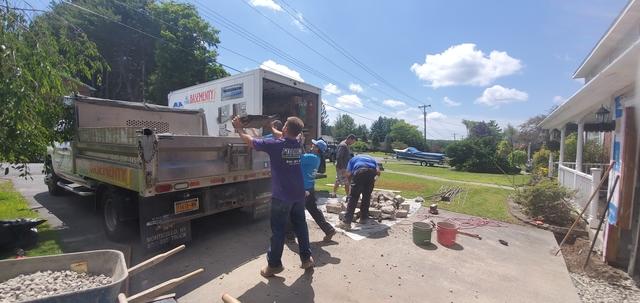
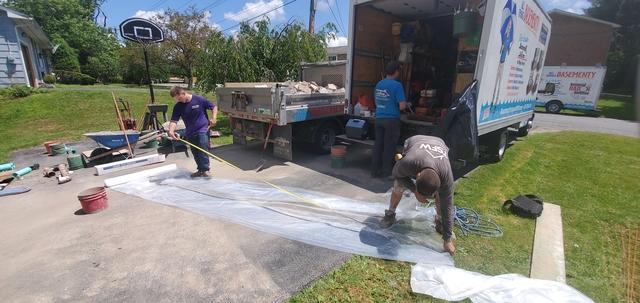
Playing Some Basketball
Our team putting the broken concrete into our dump truck
Fitment Time
Starting to fit our TrenchGuard into the the trench we created.
End Of The Trench
How the other end of our trench looked before being fitted with more TrenchGuard
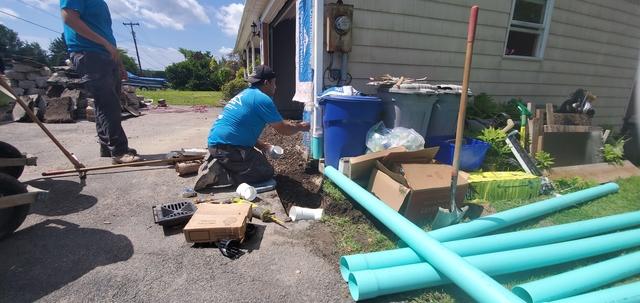
Assembling Our Discharge
After installing our TrenchGuard we moved onto assembling our discharge line outside the garage.
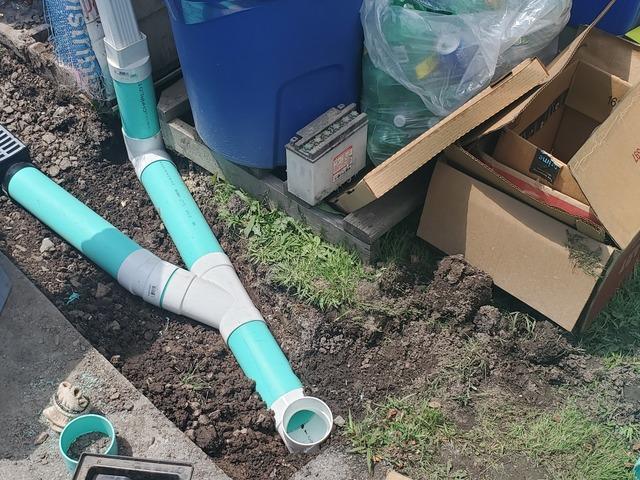
Discharge Complete
How our schedule thirty five discharge line looked fully installed.
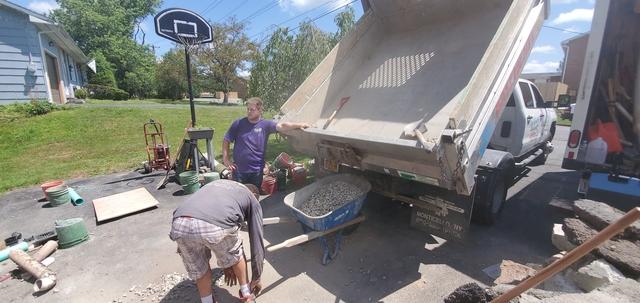
Time For Gravel
Starting to off load our gravel to make way for the new slab
Dump Time
Pouring our gravel onto the floor before leveling it out.
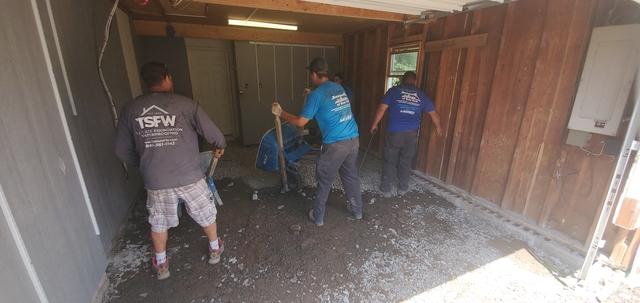
More Gravel
Laying more gravel throughout the garage/
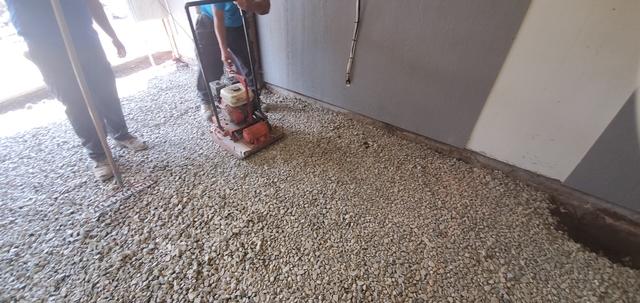
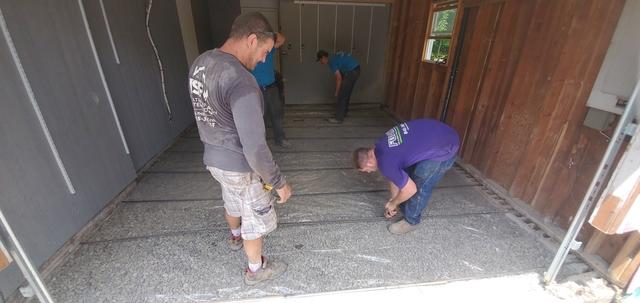
Mowing Time
After all the gravel had been distributed throughout the garage we used our "jiggler" to compact all the gravel before laying our plastic tarp and rebar.
Hair Cut Time
Cutting our plastic to be laid between the gravel and rebar. This will make sure that none of the gravle shifts.
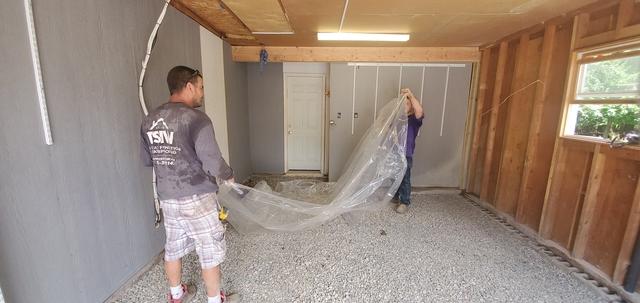
Time To Lay The Blanket
Laying our plastic blanket between the gravel and rebar.

Look At All That Metal
Laying our rebar.
Got To Make Them Tight
Tying our rebar together to make sure that nothing shifts when we pour our concrete.
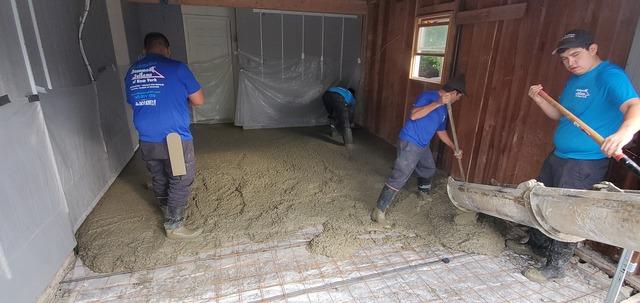
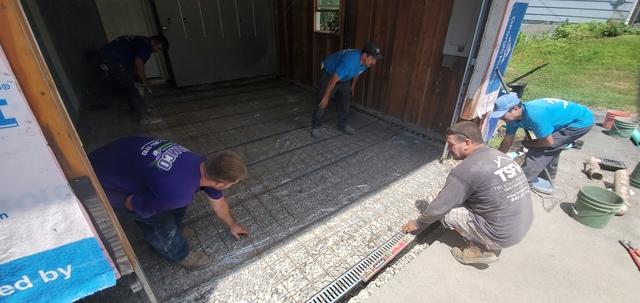
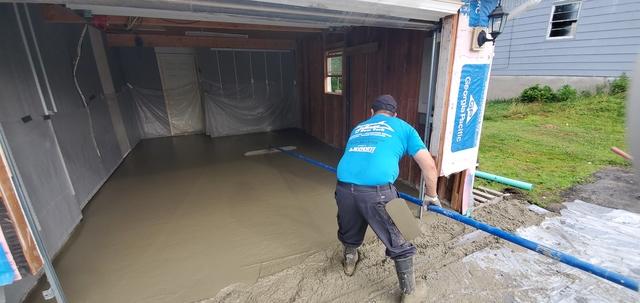
Concrete Day
Starting to pour our new concrete slab.
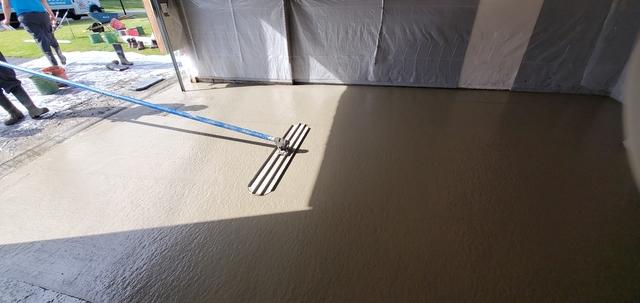
Time To Finish
Starting to apply our first finish to the concrete.
Look At It Go
Continuing to apply our first finish to the concrete.
Hold On Tight
Using team work to get to a part of the concrete that needed to be finished without ruining the work that we already completed.
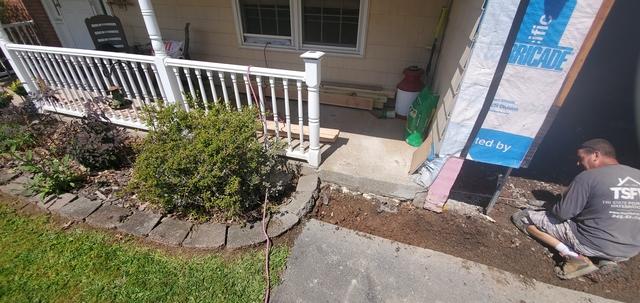
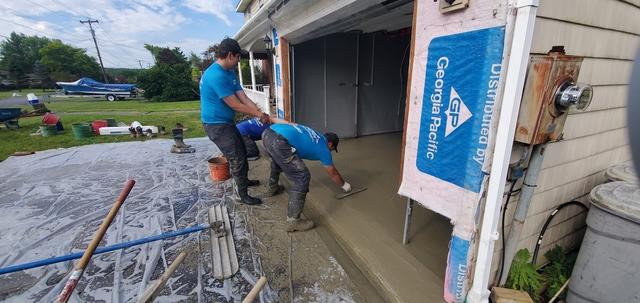
Finishing The Front
Putting the final touches on the front of the garage before moving inside.
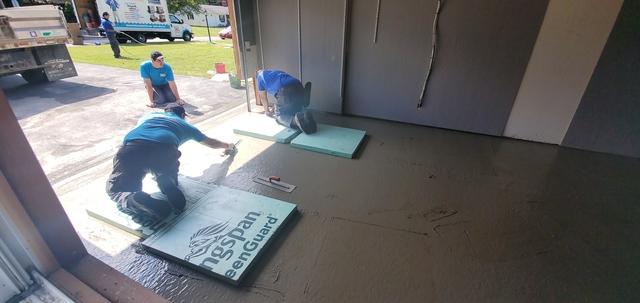
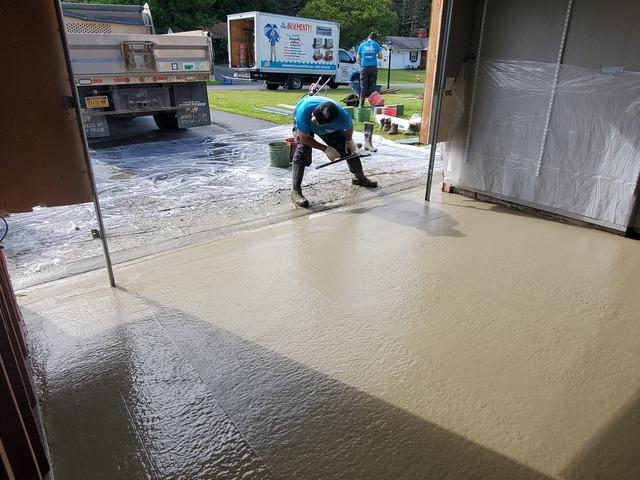
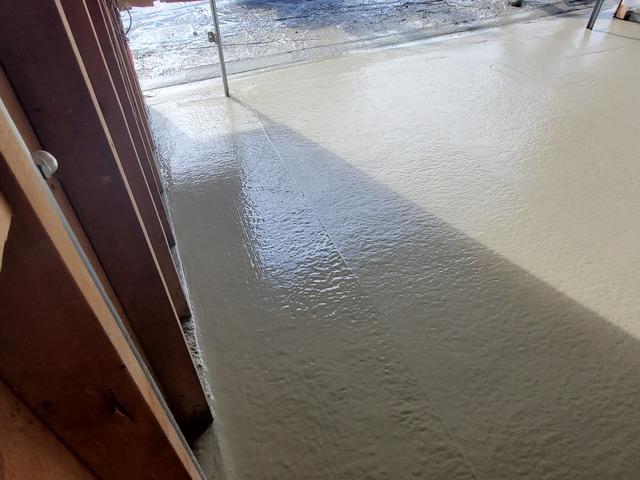
Starting Our Final Finish
Starting to apply our last finish on the concrete before calling this project complete.
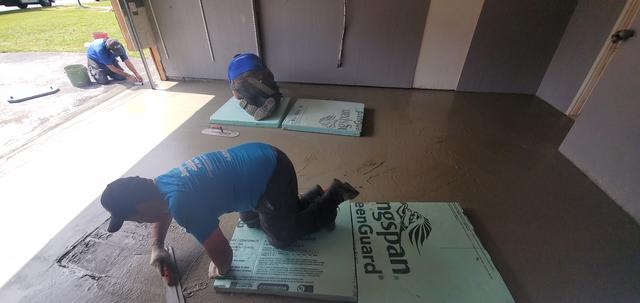
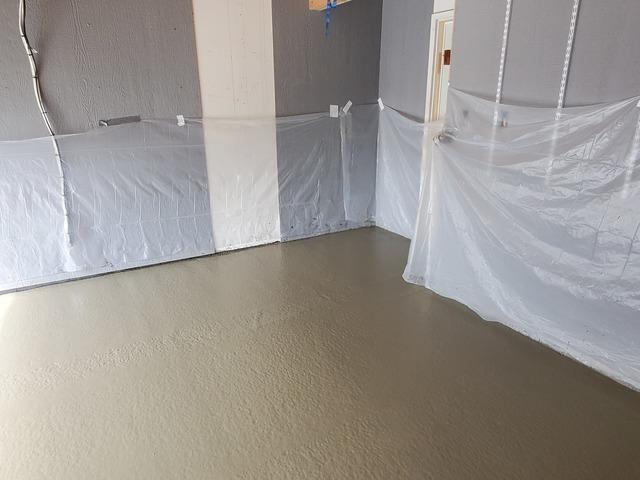
Center Final Finish
Starting to apply our last finish on the concrete before calling this project complete in the center of the garage
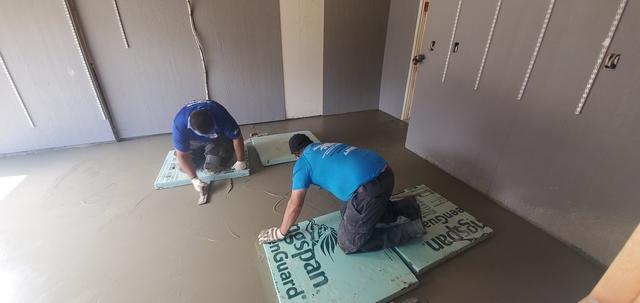
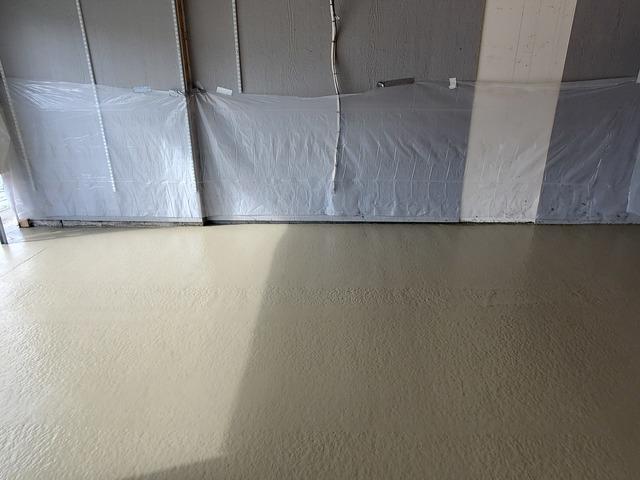
Back Final Finish
Starting to apply our last finish on the concrete before calling this project complete in the back of the garage
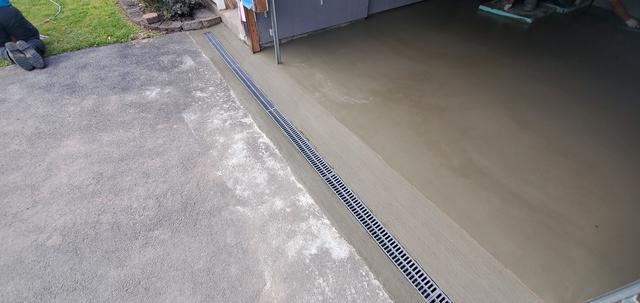
Fully Encapsulated TrenchGuard
How our TrenchGuard system looked fully encased in concrete..
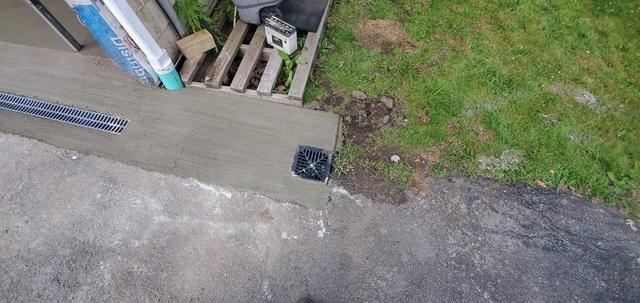
Even The Discharge Gets Concrete
Our discharge line fully covered to look seamless.

Front To Back
How the garage looked from the front to the back after completing the project.
Front
How the garage looked from inside at the front after completing this project.
Center
How the garage looked from inside at the center after completing this project.
Back
How the garage looked from inside at the back after completing this project.
And That's A Wrap
Another satisfied customer.
