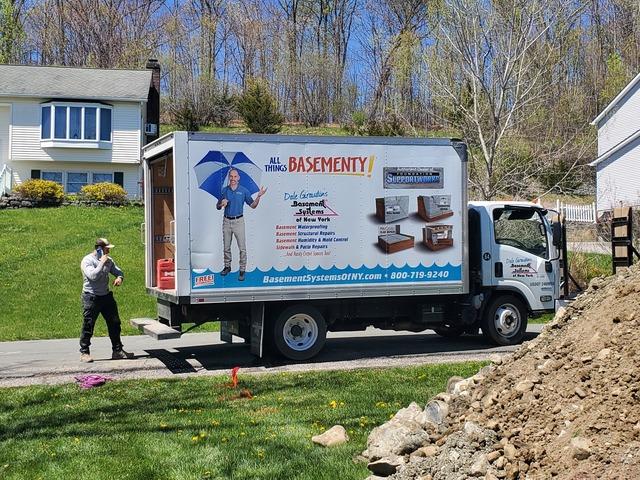
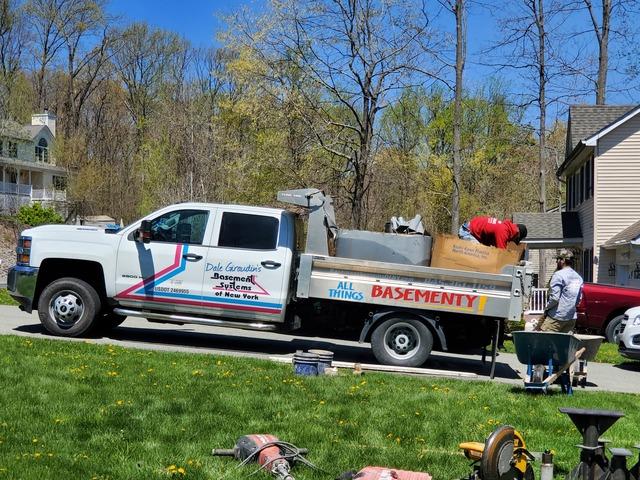
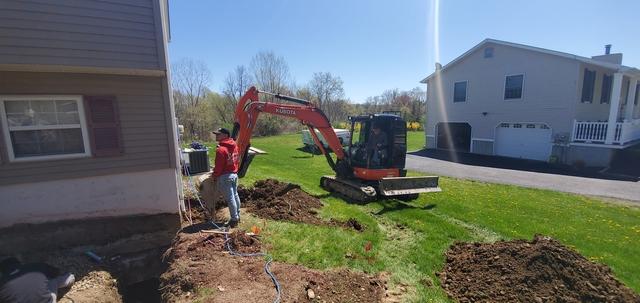
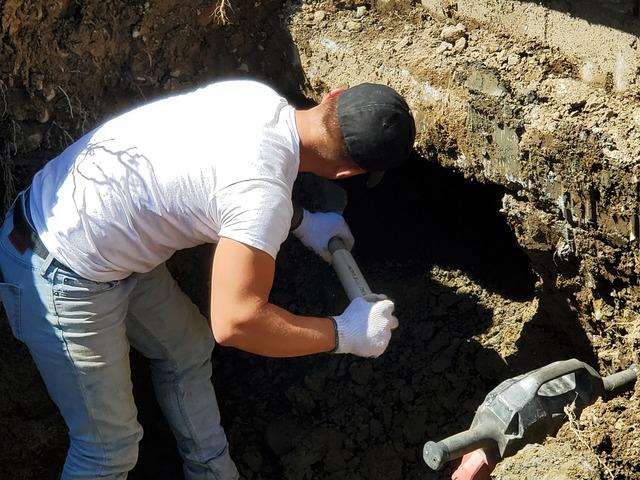
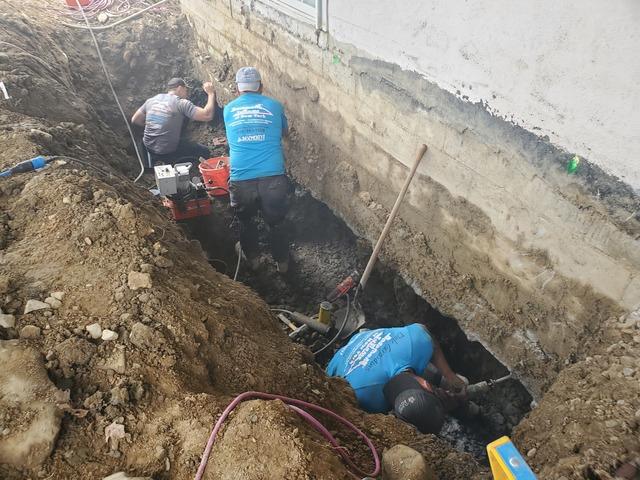
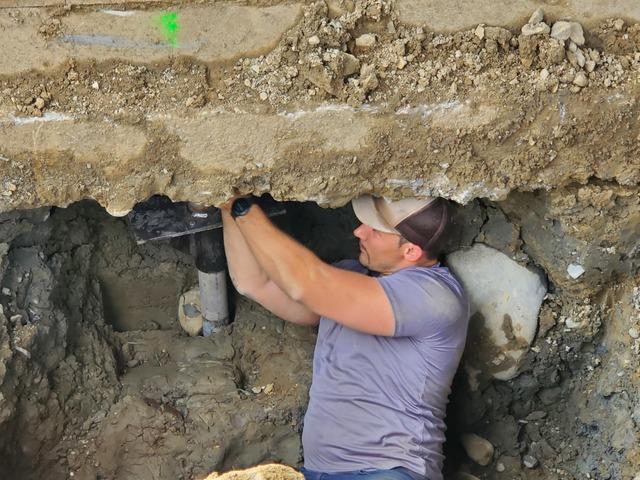
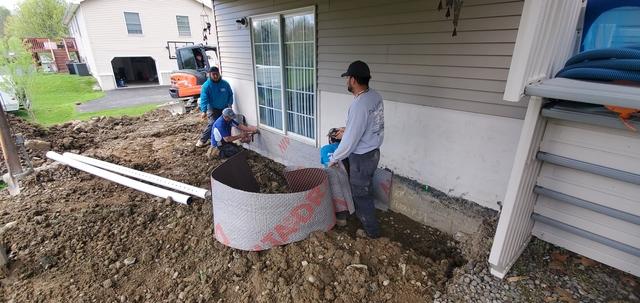
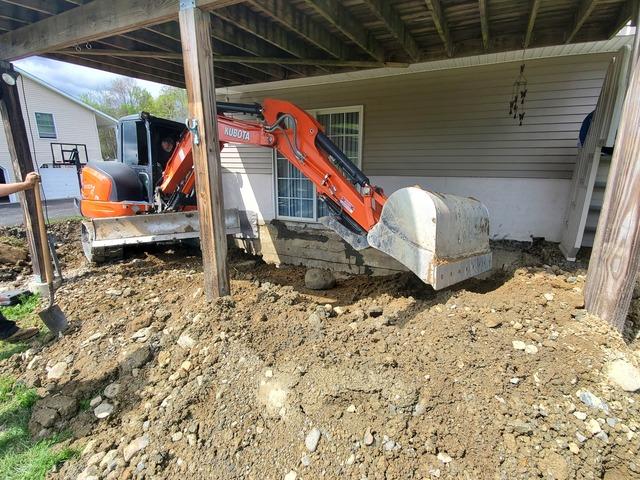
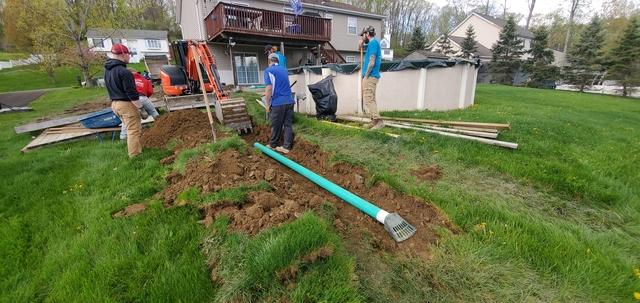
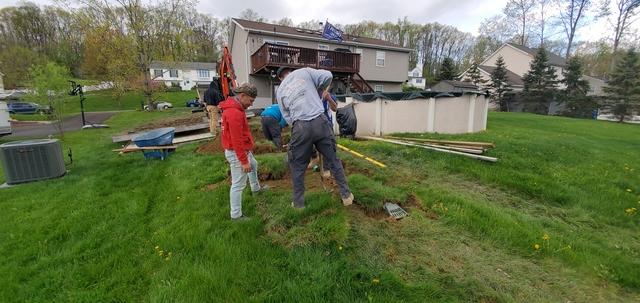
Multi-Tasking
handling multiple things during a project.
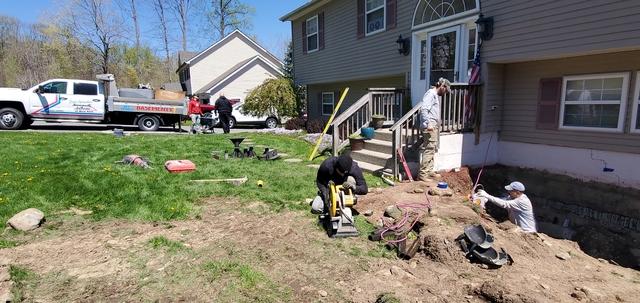
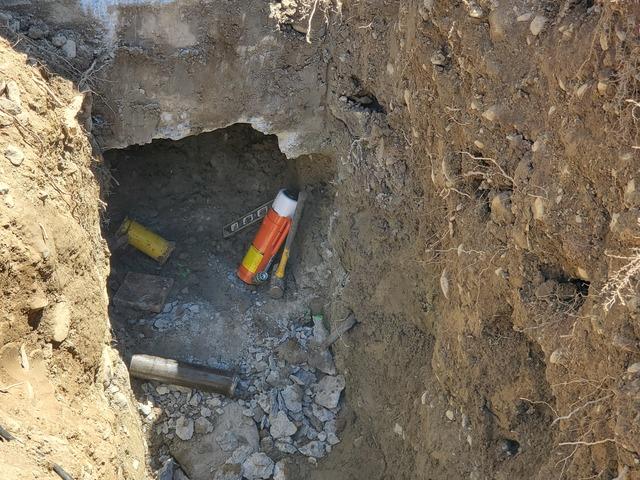
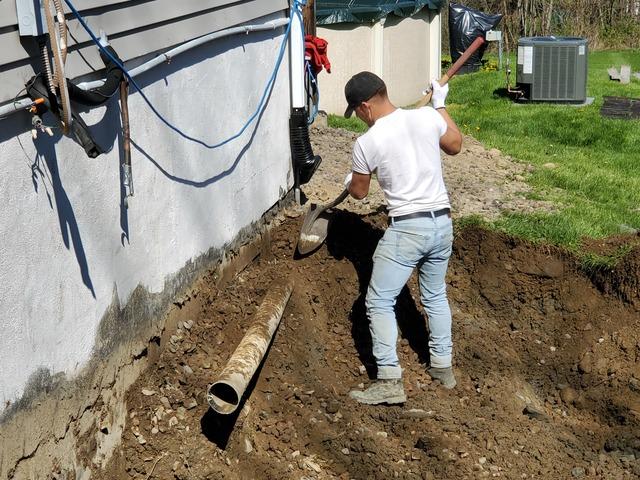
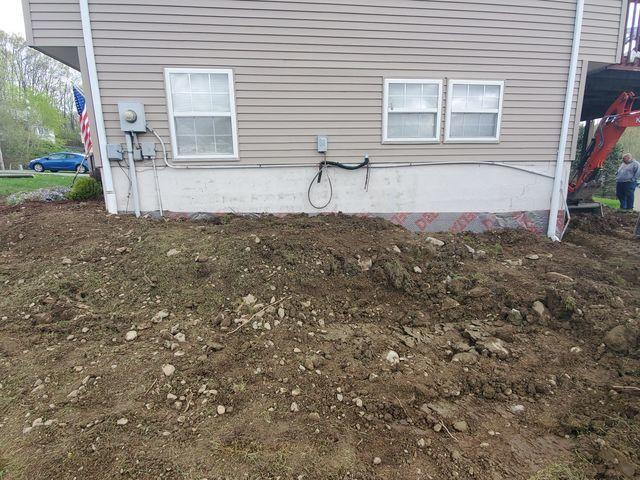
Digging Has Commenced
Starting this project off we worked our way from the front to the back.
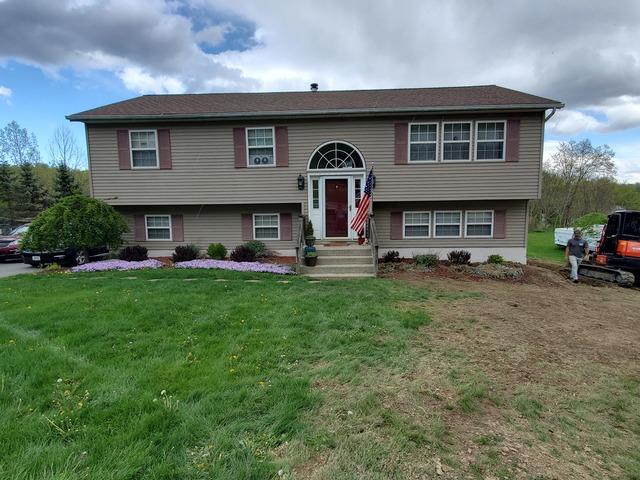
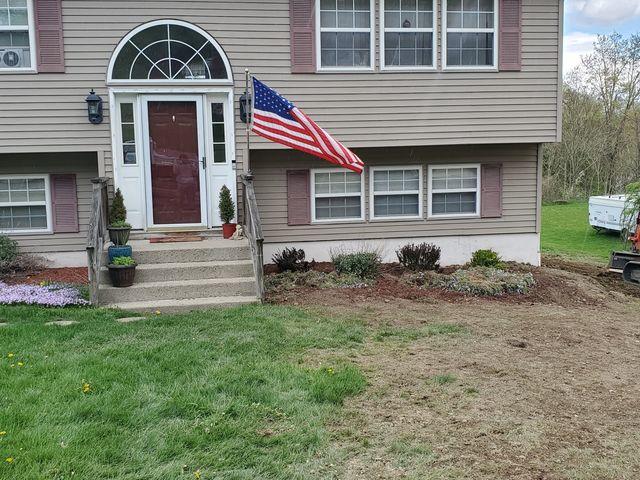
Side View
How things looked from the side of the home before we started working on this area of the home.
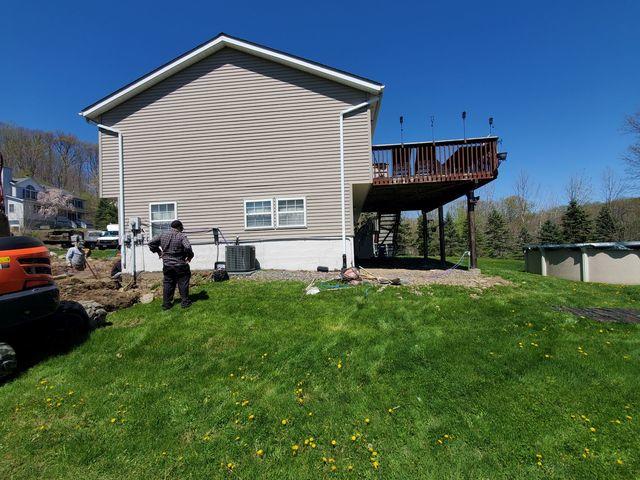
Back Side
How things looked from the back of the home before we started working on this area of the home.
Unloading
As we completed digging in the front we started to unload segments that needed to be cut in order to obtain the proper depth below the home to install our piering system.
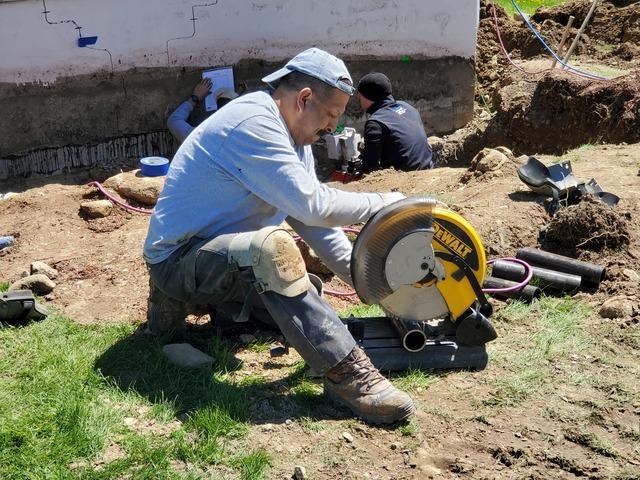
Cutting Segments
Once all our segments were unloaded we started cutting the ones that we needed to shorten in order to obtain the proper depth needed for our piering system.
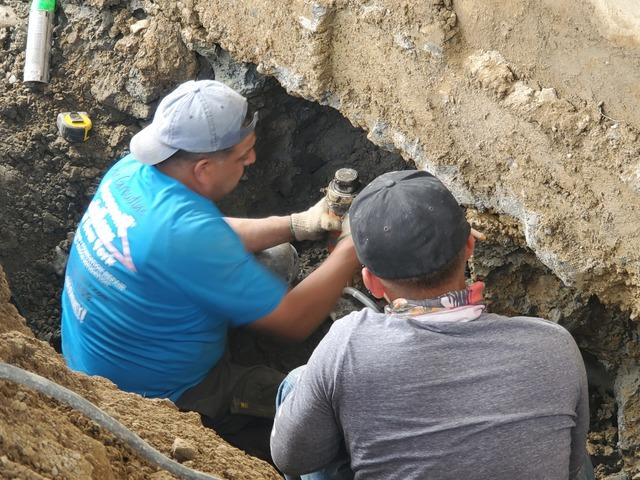
Setting Up
Starting to set up our pushing systems.

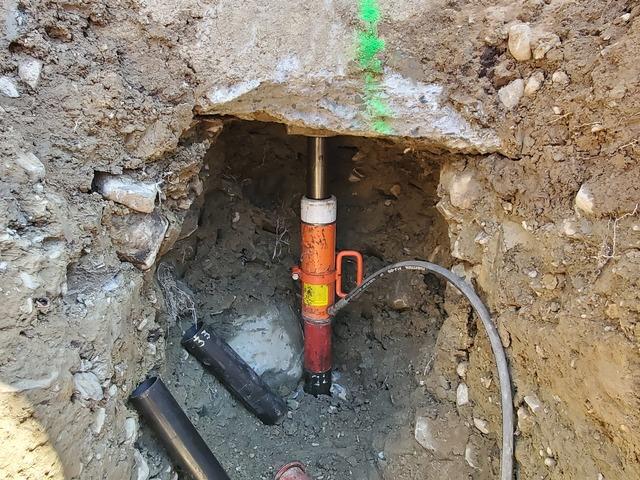
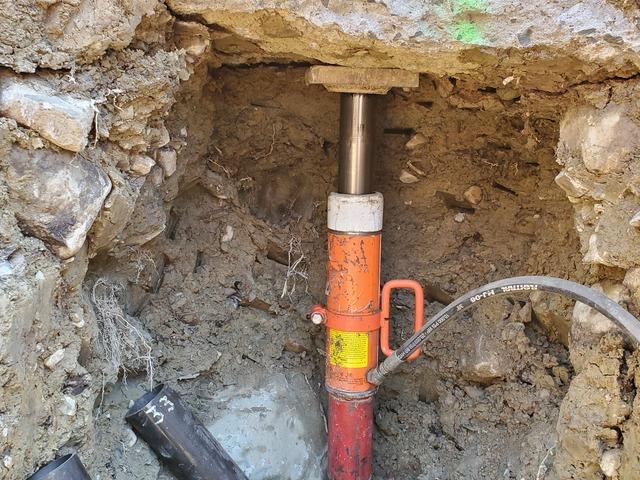
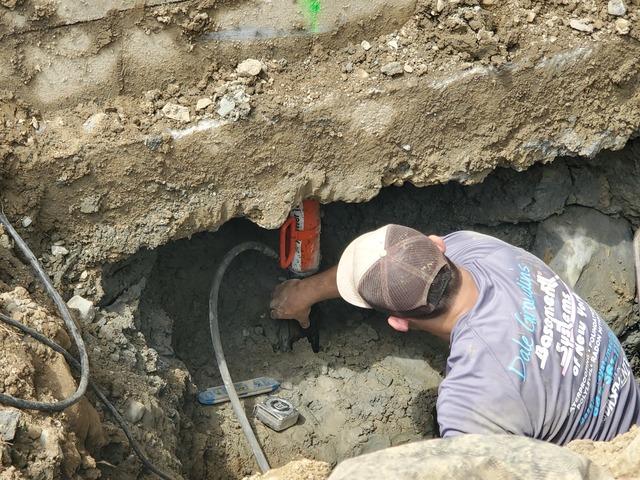
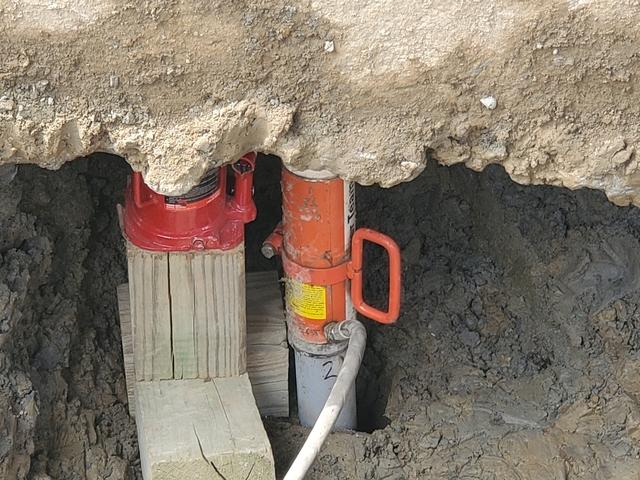
Pushing System One
After digging and cleaning the area out we strategically placed our pushing system below the home. These system helped us to push our segments down to bedrock as well as release pressure off the home.
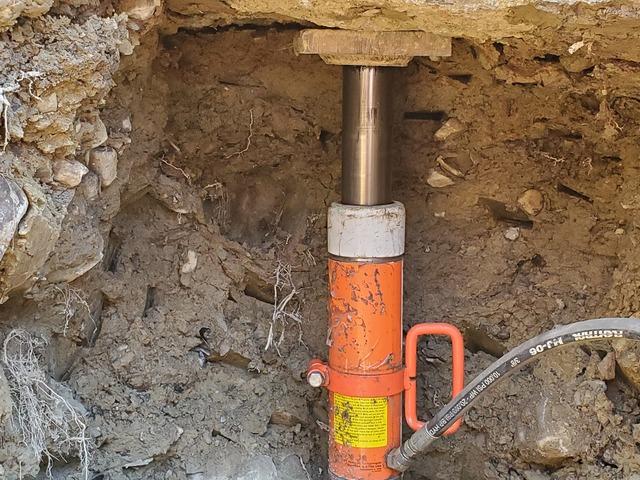
Pushing System Two
After digging and cleaning the area out we strategically placed our pushing system below the home. These system helped us to push our segments down to bedrock as well as release pressure off the home
Pushing System Three
After digging and cleaning the area out we strategically placed our pushing system below the home. These system helped us to push our segments down to bedrock as well as release pressure off the home
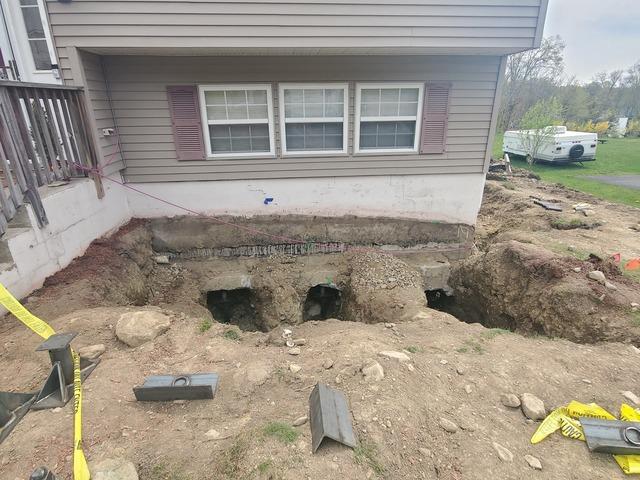
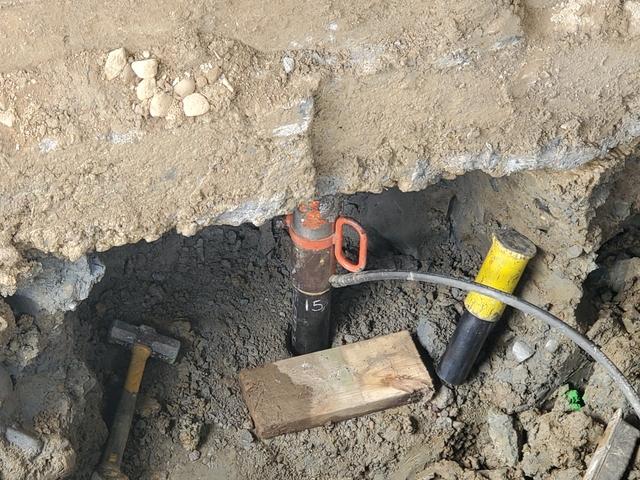
Holes For Our Piering Systems
Once we reached the proper level of bedrock we then installed our piering systems on the front of this home in order to prepare it for lifting and leveling.
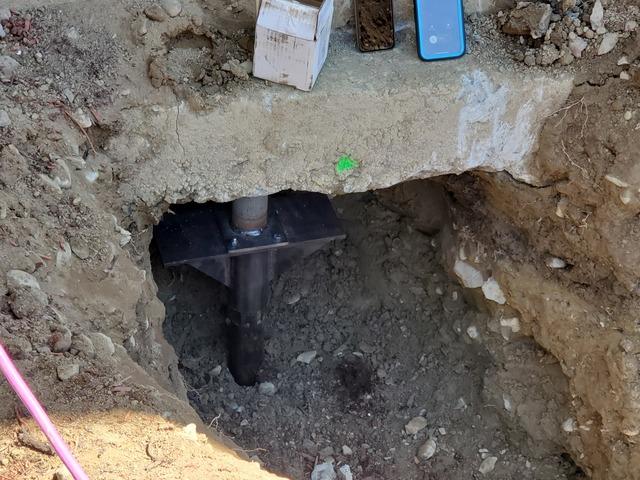
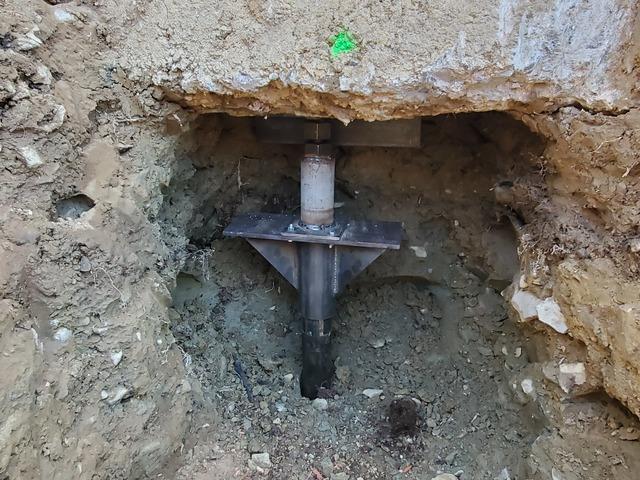
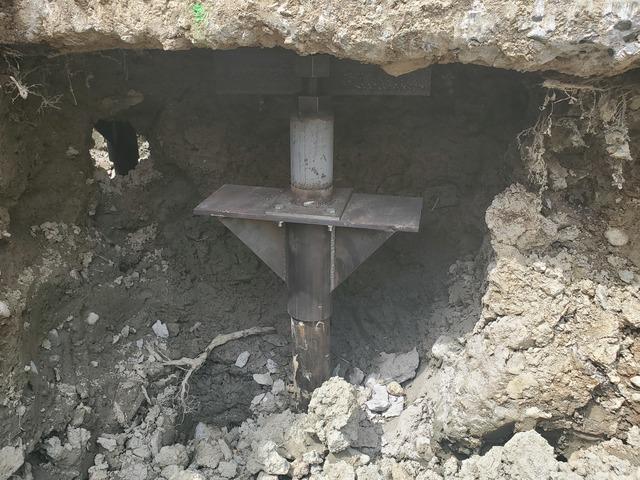
Close Up Of Pier #1
Here we can see one of our piers, which was installed in the front section of this home under the foundation in order to properly lift the home in conjunction of the additional piers that we would be installing.
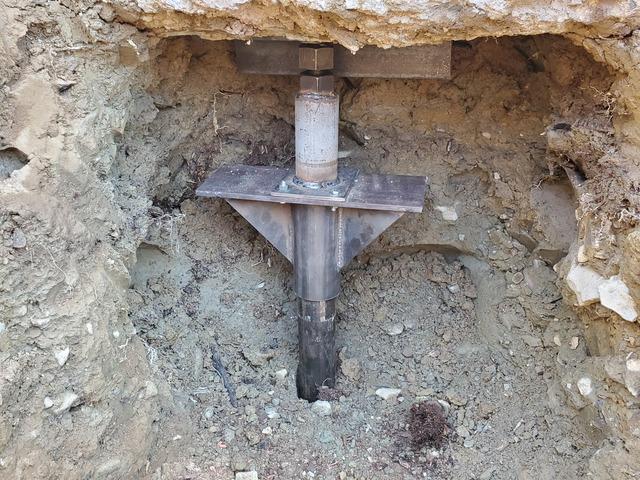
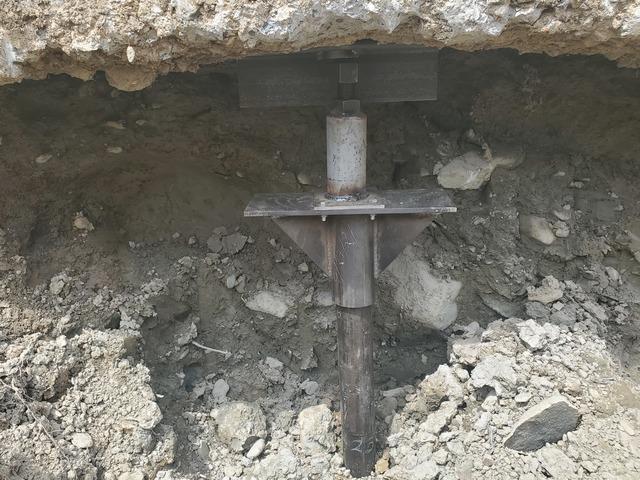
Close Up Of Pier #2
Here we can see one of our piers, which was installed in the front section of this home under the foundation in order to properly lift the home in conjunction of the additional piers that we would be installing.
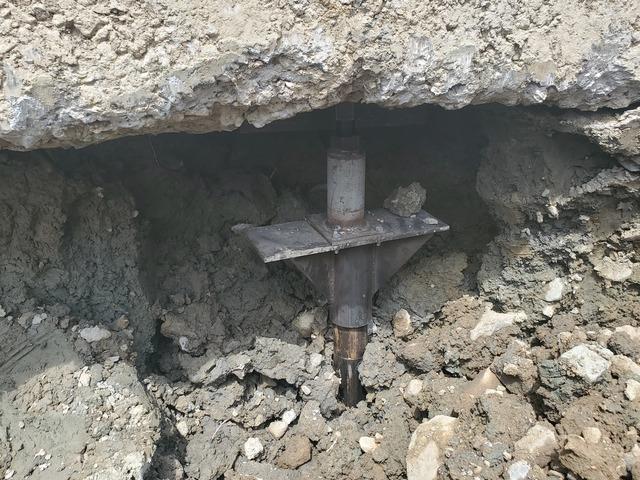
Close Up Of Pier #3
Here we can see one of our piers, which was installed in the front section of this home under the foundation in order to properly lift the home in conjunction of the additional piers that we would be installing.
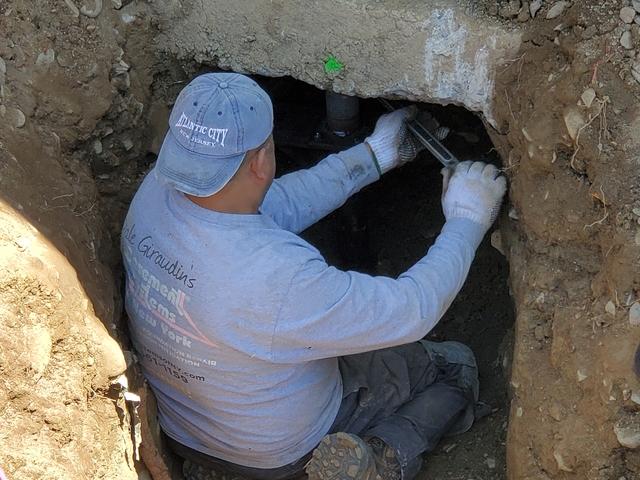
Righty Tighty Not Loosy Goosey
After all our piering systems were installed we make sure that all three along the front of the home were sung and secure before proceeding to perform the remainder of our project
Section Two Beginning
After we finished the front section of our piering system we started our excavation process on the side of the home.
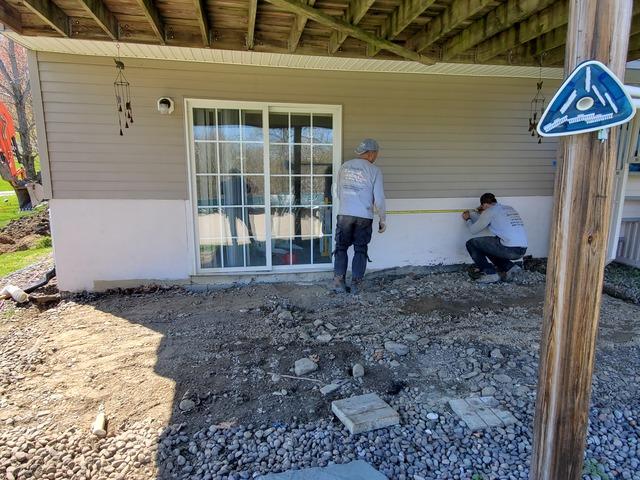
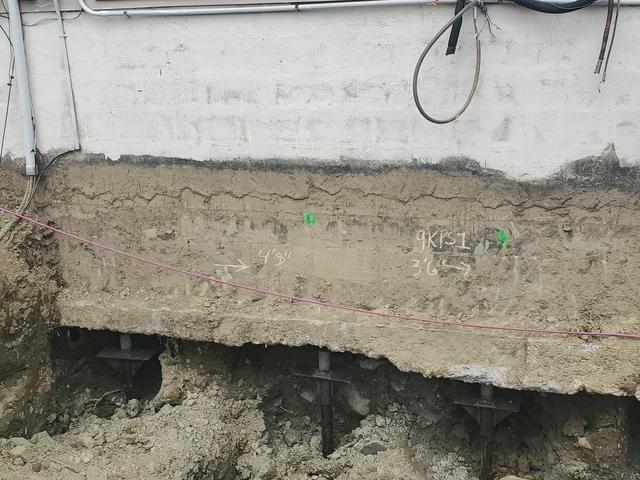
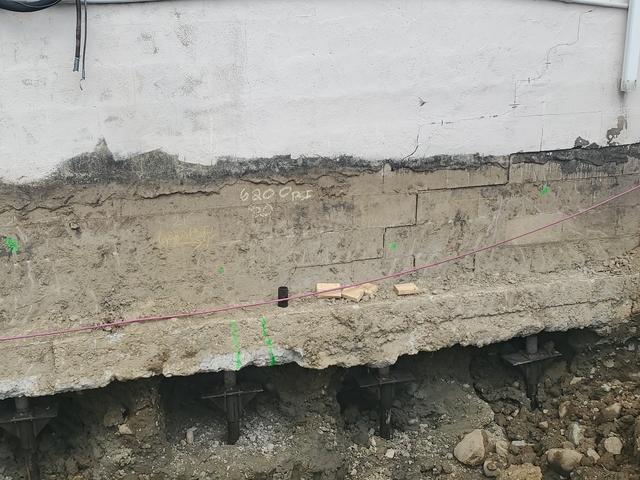
Cleaning The Foundation
Once we reached the depth that we needed to we started to clean the area and foundation meticulously in preparation of our system.
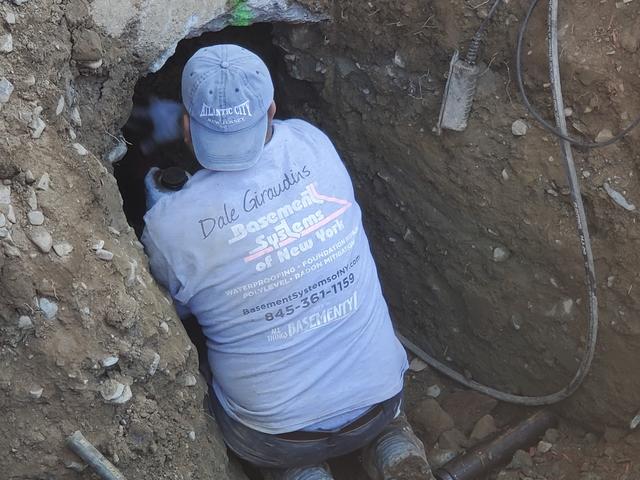
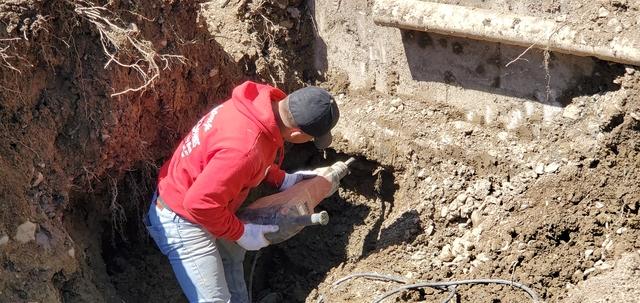
The Nitty Gritty
Making sure that every piece of debris was cleared from the area that we were going to be working in.
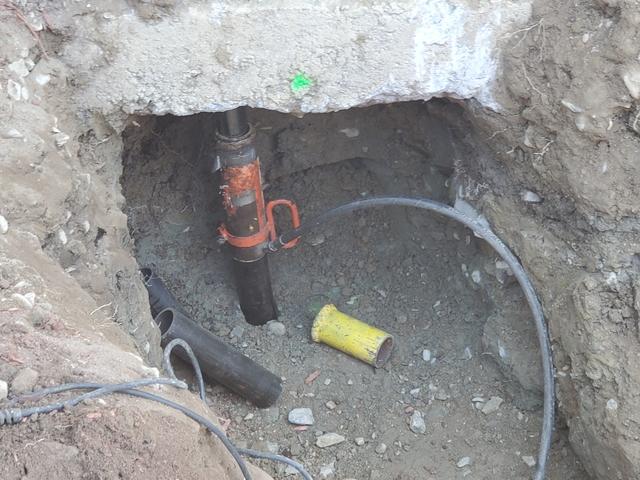
Removing The Old Footing Drain
Along with helping the structural integrity of this home we replaced their footing drains.
Pushing System Four
After digging and cleaning the area out we strategically placed our pushing system below the home. These system helped us to push our segments down to bedrock as well as release pressure off the home.
Pushing System Five
After digging and cleaning the area out we strategically placed our pushing system below the home. These system helped us to push our segments down to bedrock as well as release pressure off the home.
Pushing System Six
After digging and cleaning the area out we strategically placed our pushing system below the home. These system helped us to push our segments down to bedrock as well as release pressure off the home.
Left To Center
Successful installation of our piering system underneath the home before lifting it.
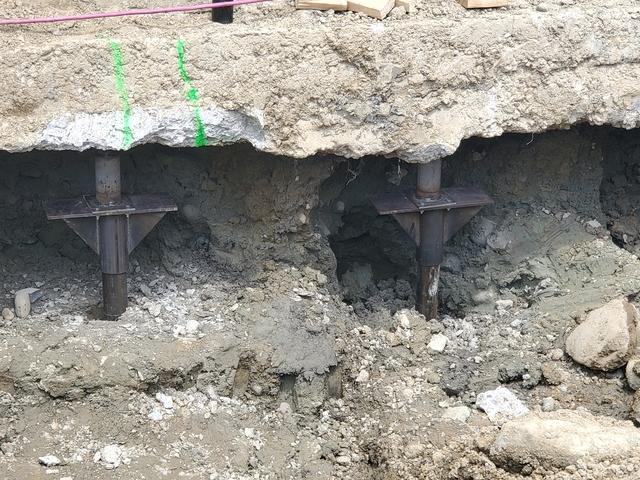
Center
Successful installation of our piering system underneath the home before lifting it.
Center To Right
Successful installation of our piering system underneath the home before lifting it.
Dug Out
After digging out the back area of this home we began to repeat the process that we had along the front and the side of this home.
Making Sure We Have The Right Heigh
In order for us to put our pushing system underneath the home we needed to make sure we had the proper level of clearance due to when it is removed our piering system will be installed in its place.
Pushing System Back Of Home #1
After digging and cleaning the area out we strategically placed our pushing system below the home. These system helped us to push our segments down to bedrock as well as release pressure off the home.
Pushing System Back Of Home #2
After digging and cleaning the area out we strategically placed our pushing system below the home. These system helped us to push our segments down to bedrock as well as release pressure off the home.
Pushing System Back Of Home #3
After digging and cleaning the area out we strategically placed our pushing system below the home. These system helped us to push our segments down to bedrock as well as release pressure off the home.
Close Up Of Pier #1 On The Back Side
Here we can see one of our piers, which was installed in the front section of this home under the foundation in order to properly lift the home in conjunction of the additional piers that we would be installing.
Close Up Of Pier #2 On The Back Side
Here we can see one of our piers, which was installed in the front section of this home under the foundation in order to properly lift the home in conjunction of the additional piers that we would be installing.
Close Up Of Pier #3 On The Back Side
Here we can see one of our piers, which was installed in the front section of this home under the foundation in order to properly lift the home in conjunction of the additional piers that we would be installing.
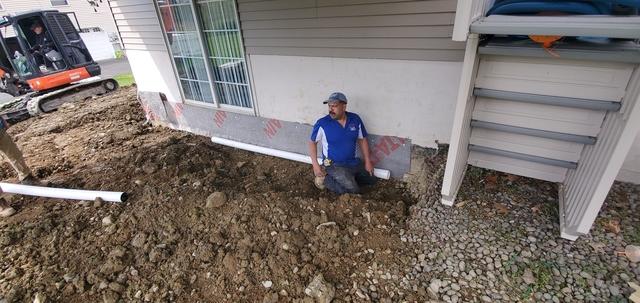
Tightening Things Up
Before leaving for the day we made sure that everything was nice and tight.
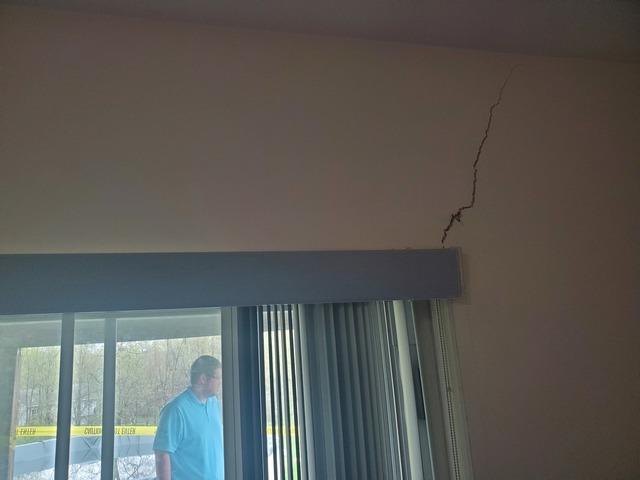
Signs of Correction Upstairs
Due to the shear force needed to lift and level this home it was inevitable for signs of correction upstairs by their deck sliding glass door.
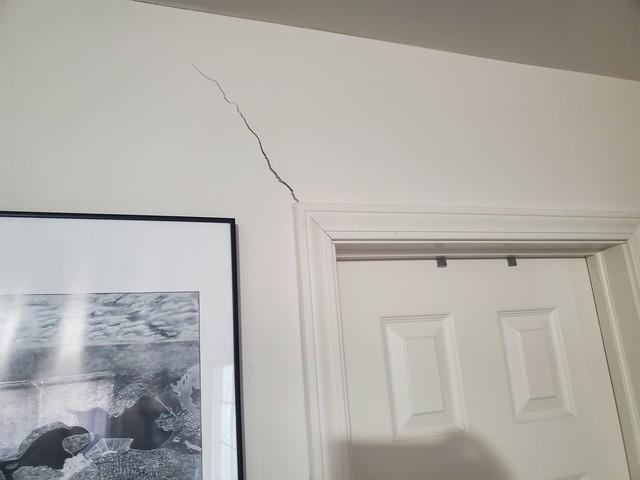
Signs of Correction Downstairs
Due to the shear force needed to lift and level this home it was inevitable for signs of correction downstairs by their sliding glass door.
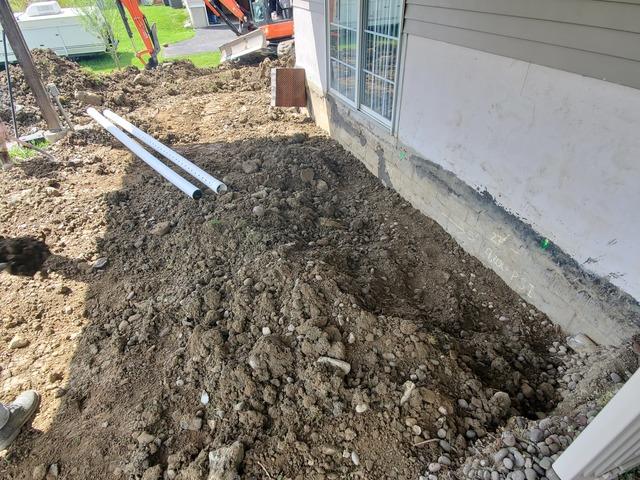
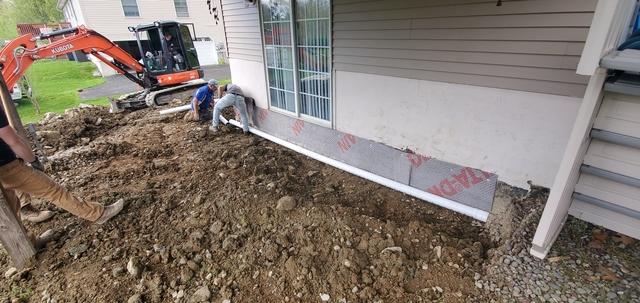
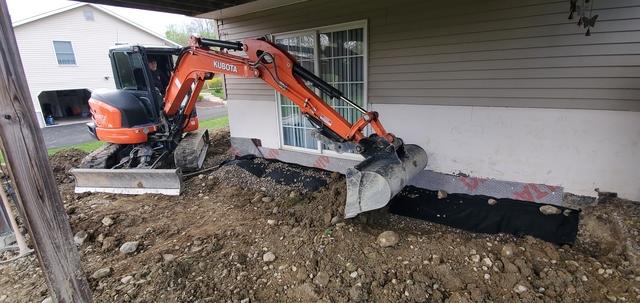
Back Fill Completed
After the perimeter of the home had been backfilled we started to apply our foundation waterproofing coating to it, as well as starting the installation of our footing drains.
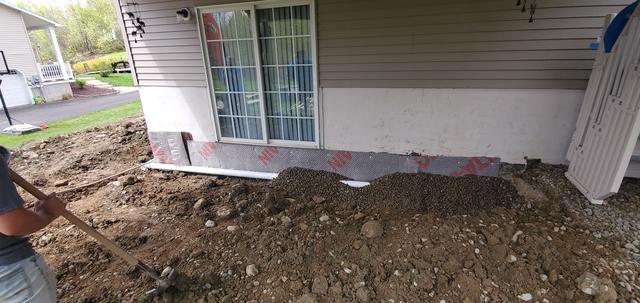
Finishing Up Our Foundation Waterproofing Coating
After completing the installation of our foundation waterproofing coating on the front and side of the home we started to install in on the back side.
Leveling The Right Side
Before installing our footing drain we made sure that everything by the right corner of the home was level and that gravity would do its job properly.
Leveling The Left Side
Before installing our footing drain we made sure that everything by the left corner of the home was level and that gravity would do its job properly.
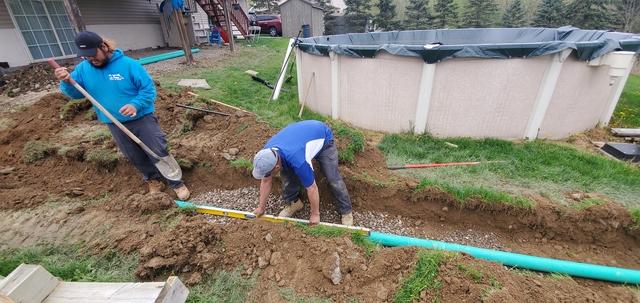
Securing The Footing Drain
Laying gravel on top of our footing drain in order to pin it so it would not move while we covered it with gravel.
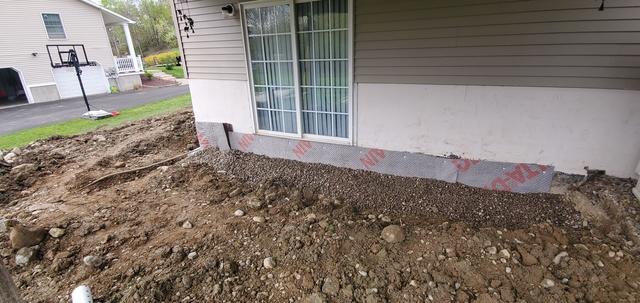
Footing Drain Fully Done
Fully installed footing drain that would eventually be connected to our discharge line that will run out to daylight.
Resurfacing and Grading
Once the footing drain was done we had our excavator replace the dirt that we had disturbed on top of everything and roughly grade the area by the front posts of the deck.
Finishing Up The Grading
Once the footing drain was done we had our excavator replace the dirt that we had disturbed on top of everything and roughly grade the area by the sliding glass door.
leveling
After laying our gravel we made sure that everything was level and equal so that it looked nice, as well as no one would get hurt.
Break Time
After starting the first section of our discharge line everyone took a short break as we waited for our excavator to finish what he was working on.
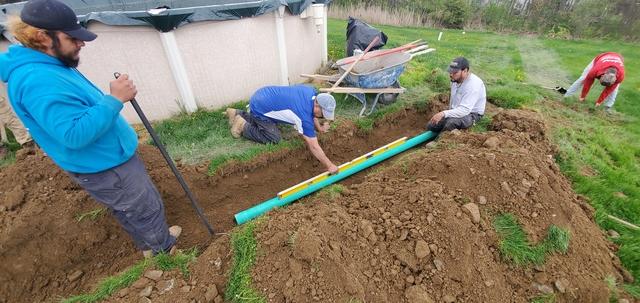
Discharge Line Being Leveled
Before placing our discharge line in its permanent spot we made sure that it was level so that water would properly flow freely with gravity.
Leveling More Sections Of Our Discharge
Before placing our discharge line in its permanent spot we made sure that it was level so that water would properly flow freely with gravity.
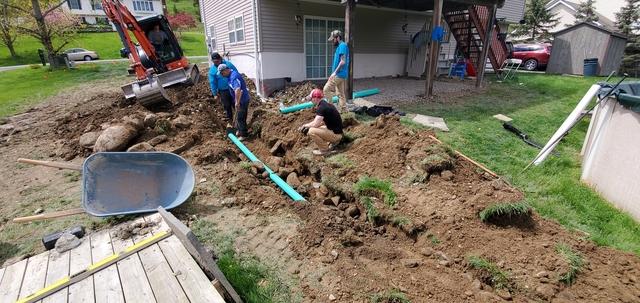
Discharge For Days
Running our discharge line from the corner of the home to daylight
Covering Up
After our discharge line was completed we started to clean up the mess we made.
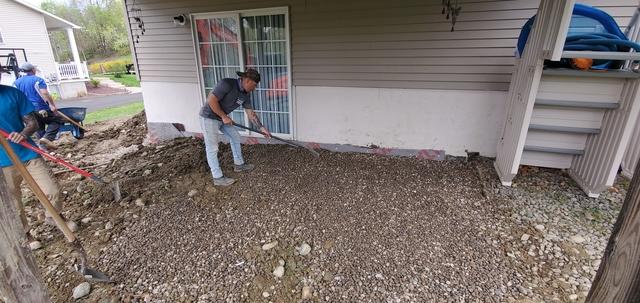
And That's a Wrap On The Front (Wide)
After the huge mess we made we cleaned up after ourselves by backfilling and rough grading the front of the home.
And That's a Wrap On The Front (Close Up)
After the huge mess we made we cleaned up after ourselves by backfilling and rough grading the front of the home.
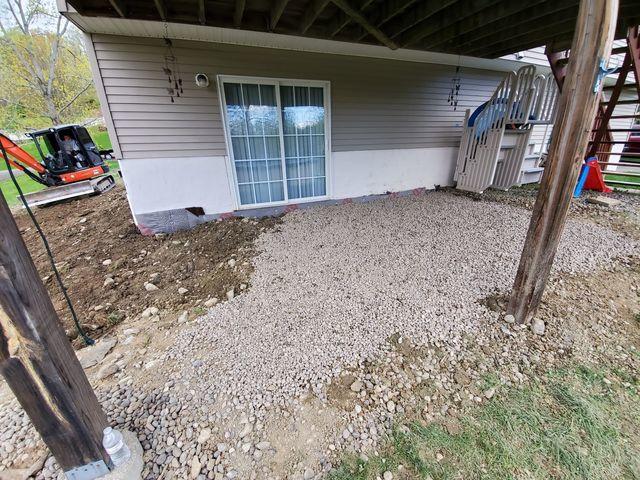
And That's a Wrap On The Side
After the huge mess we made we cleaned up after ourselves by backfilling and rough grading the side of the home.
And That's a Wrap On The Back
How things looked after we did our rough grading and laid gravel on top of the dirt to return everything to a state of normalcy.
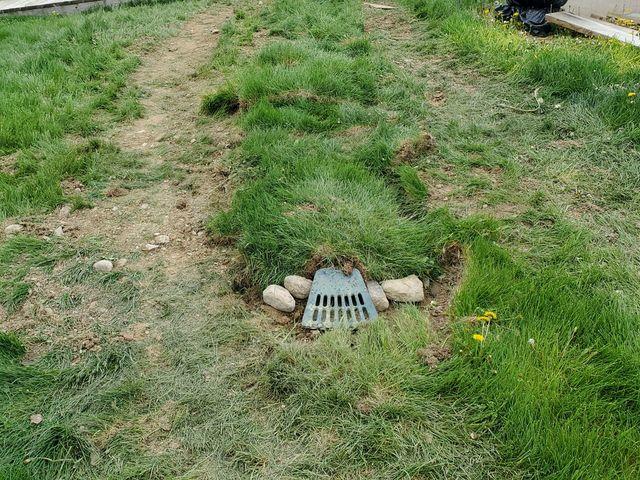
Discharge To Daylight
After installing our footing drains we ran our discharge out to daylight to put the finishing touches on this project.
